
Maps, also known as levels or stages, are the main levels of Transformice and are played across rounds. Maps can be created by players and submitted to the Atelier 801 forum using the code given when submitting. Maps created by admins sometimes play in normal rooms and always play in vanilla rooms.
Map types
For information on the criteria for uploading a map, refer to the Atelier 801 forum post.
| ID | Name | Description | |
|---|---|---|---|
| ∅ | Vanilla | Also known as admin maps, these are basic maps created by the Transformice administrators. These are the only maps to appear in the vanilla game mode. | |
| 0 | Standard | Basic maps that usually involve a shaman but sometimes can be done without the help of a shaman. | |
| 1 | Protection | Maps that are similar to Standard but have a lot more criteria to them. | |
| 2 | Prime Perm | This map category is unused. | |
| 3 | Prime Bootcamp | Bootcamp exclusive levels that are not extremely hard but not too easy. | |
| 4 | Single Shaman | Maps that require the shaman’s help to complete. | |
| 5 | Art | Maps that have gameplay but also feature artwork that would not be possible with normal materials. | |
| 6 | Mechanism | Maps that have a certain mechanic/solution to complete this level. | |
| 7 | No Shaman | Maps that have no shaman and must be completed by the player. Not to be confused with racing maps. These maps must reward better skilled mice but must be possible by mice of any skill level. | |
| 8 • 32 | Dual Shaman | Maps that have two shamans and allows them to cooperate. However, they must not be impossible if one shaman was to die. These maps are indicated by two feathers, one blue and one pink. These also are found in survivor mode under “Dual Shaman Survivor.” | |
| 9 | Miscellaneous | Maps that do not fit under any other criteria. | |
| 10 • dual 24 | Survivor | Survivor exclusive levels that do not contain a hole to collect cheese, but there can be cheese placed. These maps purpose are to play the Survivor game mode. | |
| 11 • 21 | Vampire Survivor | Survivor exclusive levels that do not contain a hole to collect cheese, but there can be cheese placed. These maps purpose are to play the survivor game mode, but contain vampires chasing down surviving mice instead of a shaman making the mice fall off the map. | |
| 13 • 23 | Bootcamp | Bootcamp exclusive levels that have more criteria than Prime Bootcamp levels, and must me more difficult than Prime Bootcamp levels. | |
| 17 • 38 • 42 | Racing | Racing-exclusive levels that are similar to No Shaman maps. These maps have more Criteria than No Shaman maps. | |
| 18 | Defilante | Defilante exclusive levels that contain many Spring, Speed, Death and '+1' tools. The maps must offer at least two paths of different difficulties and reward people for taking the harder path. | |
| 19 | Music | These maps are music to other maps like Single Shaman, Protected and No Shaman maps except they offer a video decoration that plays videos suggested by players in the mode. | |
| 22 | Tribe House | These maps are Tribe House exclusive and require no cheese to submit. These maps are only visible between each tribe and cannot be played as they do not contain a hole or cheese. | |
| 41 | Module | These maps are for any minigame that are not fully supported by the Atelier801 team. | |
| 43 • 44 | Deleted | These maps are only exclusive to custom rooms that do not specify a specific mode (e.g. /room One) and were once submitted but deleted from lack of popularity or impossibility. |
Map settings
These are map settings that can be altered to add extra challenge or help to maps:
- Gravity: The shaman and the mice will be able to jump higher or lower, depends on the gravity of the map.
- Wind: The shaman, mice and shaman objects will be pushed to a certain direction.
- Collision: Mice have a physical presence.
- Soulmate: You and another mouse are bound together with a string.
- Portal: Shaman is able to use portals to teleport mice from one place to another.
- Inverted: The map is upside down, the controls are inverted, and there is no shaman.
Map mechanics
These are mechanics possibly contained in maps that can help or hinder a map:
- Bombs: Explosive bombs appear in the map
- Dual Shaman: Two shamans cooperate to get mice to the hole.
- Battle: Two shamans compete to get the mice into the mousehole of their color.
- Exploding balls: Balls will explode after a few seconds.
Removed map mechanics
These are mechanics that are no longer used on any active official maps.
- Moving cheese: The cheese changes position depending on how much time has passed, where the mice are positioned, etc.
Types of grounds
These are types of ground which can be used to build maps in Transformice:
- Wood ground: Default friction and restitution.
- Ice ground: Has no friction, is slippery, and cannot be wall jumped off.
- Lava ground: Very strong restitution, which sends you flying in the opposite direction in which you landed.
- Chocolate ground: Strong friction, therefore is sticky, easy to wall - jump, can’t walk with cheese.
- Trampoline ground: Moderately strong restitution which makes it bouncy.
- Earth ground: Same friction and restitution as normal ground, but looks like soil.
- Grass ground: Similar to earth ground but has grass on top of it.
- Sand ground: Similar restitution as normal ground, but its friction is slightly lower.
- Cloud ground: Transparent ground, has no collision with mice.
- Water ground: Mice without cheese are able to "dive" into the ground and surf on top of it, mice with cheese will sink to its bottom.
- Stone ground: No restitution, friction is the same as normal ground.
- Snow ground: It looks are similar to earth ground, but has snow on top of it. Its friction and restitution are slightly lesser than earth ground.
- Rectangle ground: Similar to normal ground, but its color can be changed.
- Circle ground: Similar to rectangle, but round.
Keep in mind that the properties can be changed in the Map Editor.
Map list

|
|
|
| |
| Map categories | Vanilla maps • 2010 | Event maps | Removed maps | Other maps |
- For a list of 2010 vanilla maps, see Map/Vanilla/2010.
These are maps created or approved by the administrators. These are the only maps to appear in the vanilla game mode and are indicated by a grass terrain icon.
| # | Image | Shaman | Description |
|---|---|---|---|
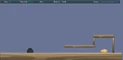
| 0 | 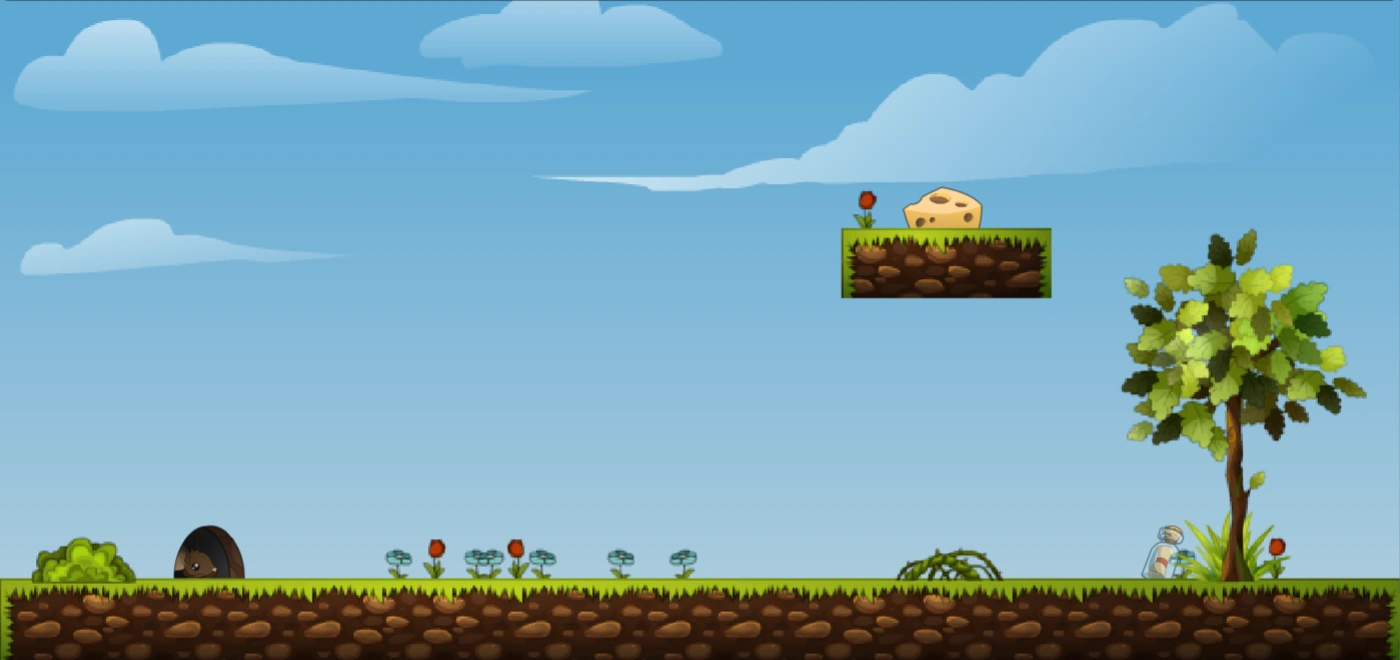  |
The shaman needs to build a ramp to the platform. New shamans that aren't familiar with the controls yet can also just put a bunch of balloons under everyone and let them ride up.
| |
| 1 |   |
The wood ground you spawn on can be stabilized with a simple ghosted anvil (or anything else heavy) where the ground is, or a red anchored plank. Can be completed without the shaman by rushing to the cheese and back to the hole.
| |
| 2 | 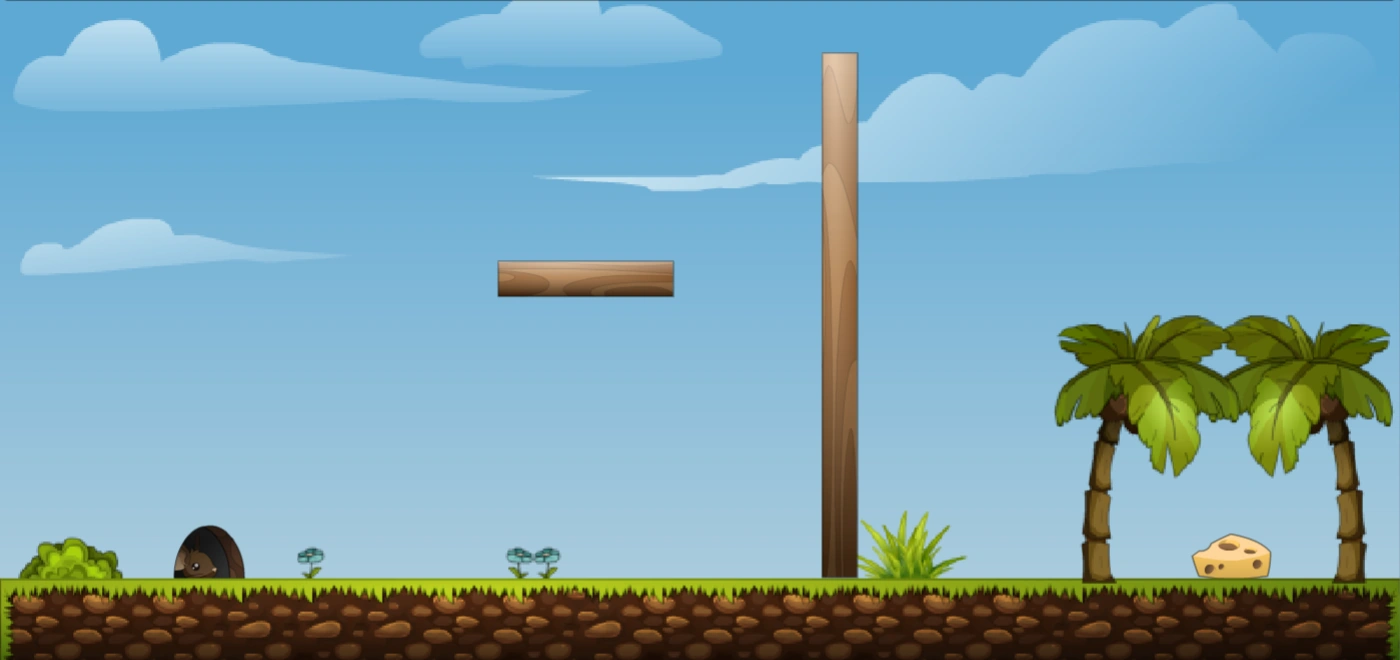  |
Weight needs to be applied to the smaller platform to bring it down, or ghost planks underneath the bar to push it up. It's a pulley system. Another interesting method is to have the shaman place an expanding long plank (N elevator) on the platform, which pushes the long bar up for an unknown reason. Most shamans tend to make large ghost boxes on the small platform until they bring it down. A simple method to push the long bar out of the way is to place an invisible box beneath the long bar. Can be completed without the shaman by wall-jumping up the long bar. Enough mice on the bar can allow other mice to complete the level without wall-jumping.
| |
| 3 |   |
The shaman needs to build a bridge expanding from the starting location to the cheese. Shaman can also first lift the plank with invisible boxes, and only then build a bridge that would be horizontal and not diagonal now.
| |
| 4 |   |
A shaman-built ramp from the right side of the map can be built extending to the top of the diagonal on the left. Mice can then get back to the hole from the left hand side. Another method is to build a ladder etc. in the middle climbing on top of the diagonal. Sometimes shamans will make a C plank on the left hand side and make a ramp from on the plank, creating a way to the diagonal. This way, mice can fall off the top of the diagonal and into the hole.
| |
| 5 |   |
The shaman may bridge the gaps on the bottom, though they are jump-able, before constructing a ramp/ladder to the top. You can shortcut back to the hole from the cheese by falling off the left of the upper platform and then falling back to the right.
| |
| 6 |   |
This level proves that a lot of weight on a wobbly bridge is bad. The bridge can snap if enough weight is put on it, such as 10+ mice or an anvil. Do note, that if your pack has reached the cheese safely, it does not yet mean, that you can return, because the mouse with cheese is heavier than the one without. Can be completed without the shaman by taking turns with other mice to cross the bridge. With enough mice in the room, a coordinated completion of this map is very unlikely.
| |
| 8 | 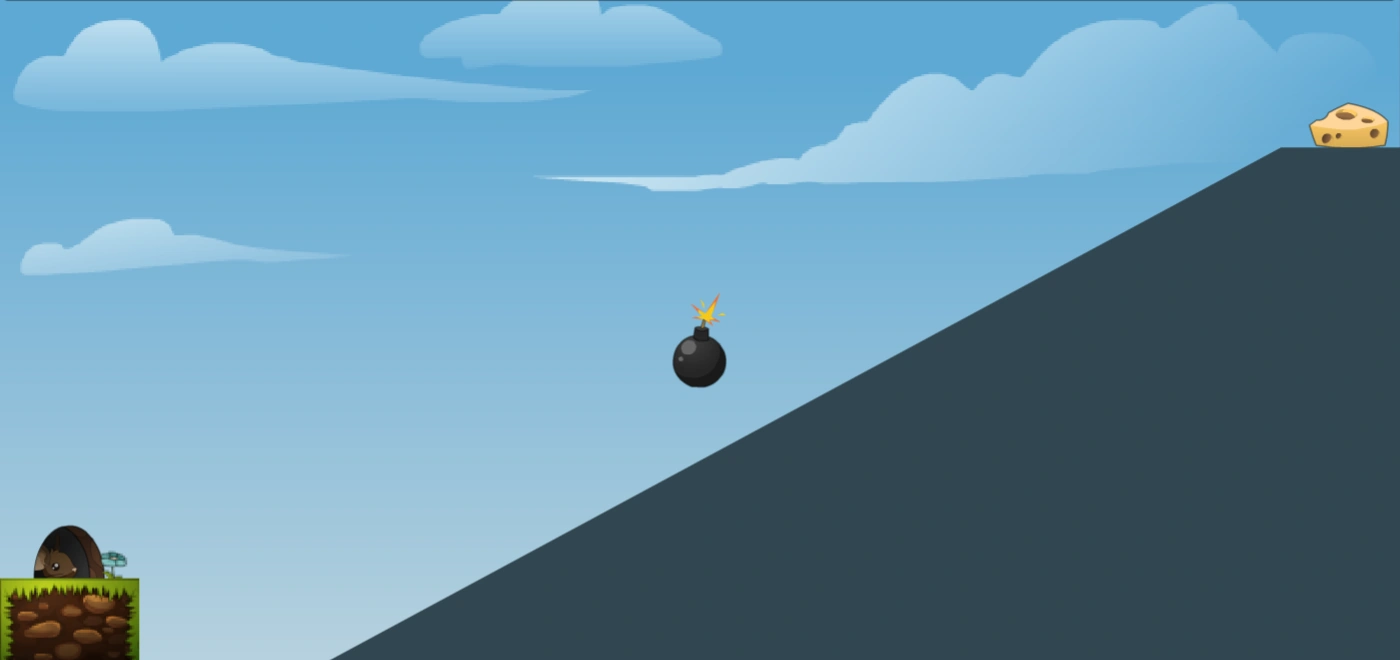  |
It is possible to jump over the bombs in this level by jumping towards the left and looping over the bomb, or going underneath and dodging them. It is rather possible (yet not much fair) to use other mice as a meat shield - just don't be the first mouse in the pack.
| |
| 9 | 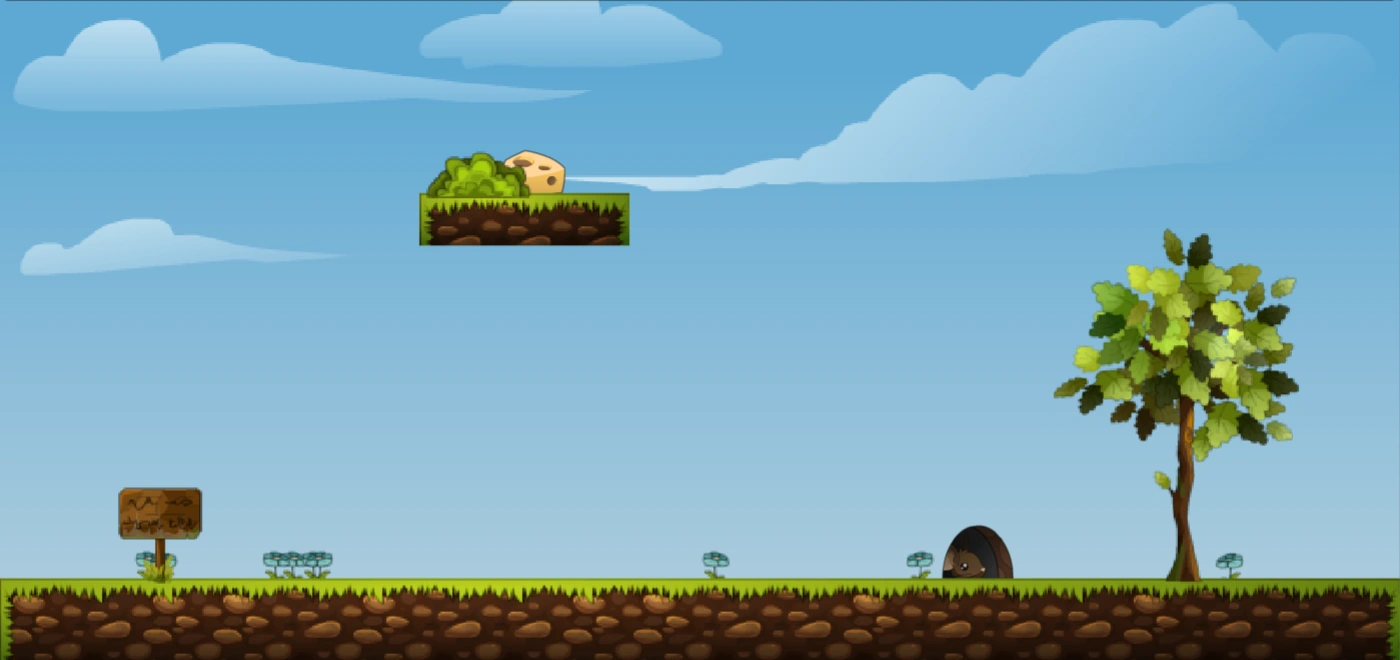  |
The shaman can build a ladder, ramp or an N elevator to aid the other mice to get the cheese on the platform.
| |
| 10 | 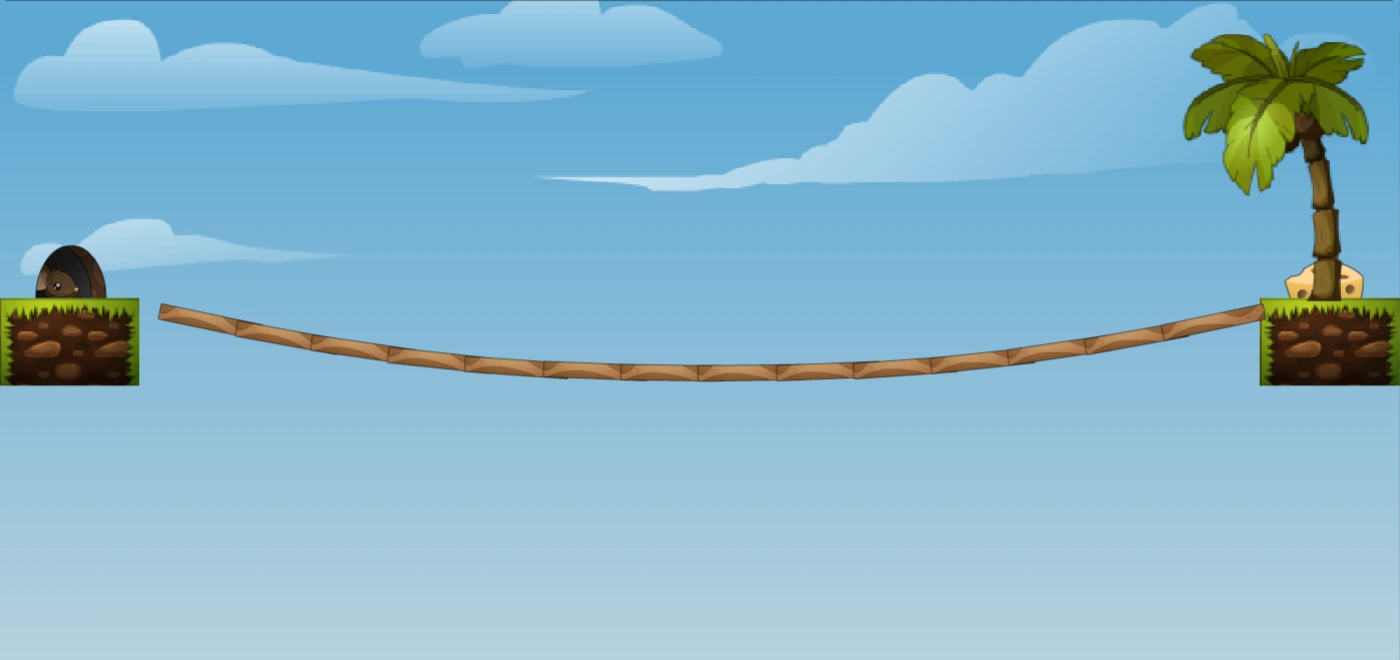  |
Identical to map 6 besides the lack of a shaman.
| |
| 11 | 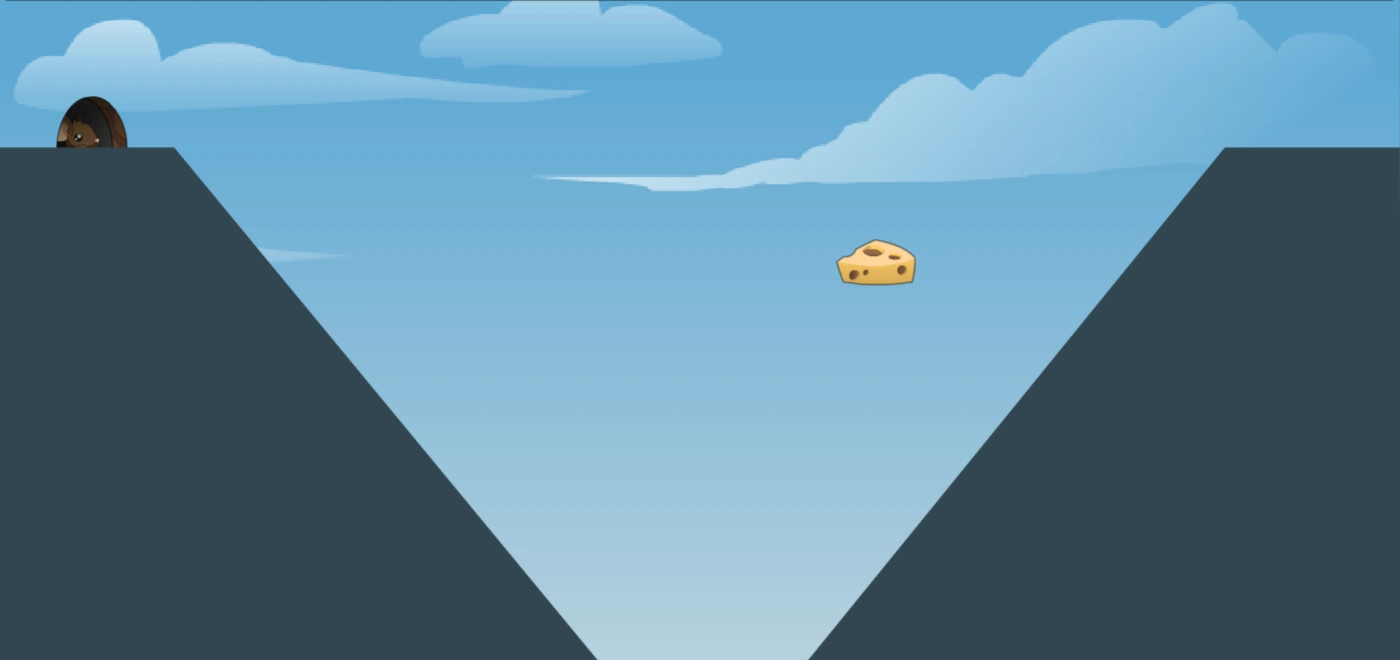  |
A kind shaman might decide to block off the gap at the bottom of the valley so that no mice fall out. A platform can also be built to aid jumping up for the cheese itself. Can be completed without the shaman by using upwards momentum collected from running up the ramp to jump left and collect the cheese. The hole can then be reached with relative ease.
| |
| 12 | 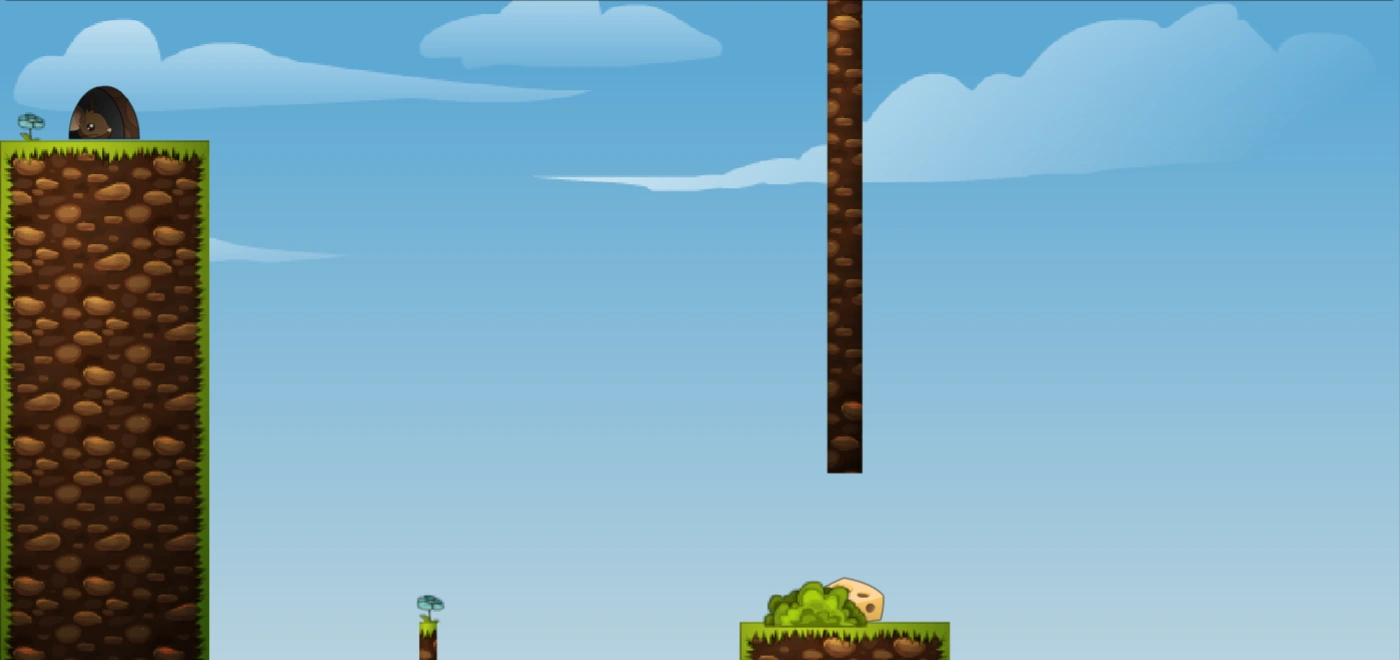  |
First, bridge the gap between the peg and the cheese, and then fill the remaining hole. From here, either a ramp system, or a complex elevator solution can be employed. The elevator won't make it by itself, so you have to attach a ramp to one side of the elevator. Trampolines are another popular strategy, though if they're not anchored with the "c" key, they often fall off the side. Can be completed without the shaman by corner-jumping off the peg to collect the cheese, corner-jumping again off the platform onto the peg, then wall-jumping up to the hole.
| |
| 13 |   |
In theory, mice take their turns using the weight-activated platform to cross, however, due to lag/bugs, mice are known to fall off or through the platform. A more safe method is for the shaman to build a bridge from the left side to the right side. Can be completed without the shaman by crossing twice with the platform. Take turns to ensure you won't fall.
| |
| 14 |   |
Just avoid the bombs and get to the cheese and back. Making a mad dash on this level is dangerous but sometimes rewarding.
| |
| 15 |   |
Be patient on this one, everyone blindly rushing usually kills the entire group.
A quick rush may be successful on this map, since the plank is partially stabilized. The shaman should place an anvil on the left side of the plank so that it won't fall to the right. Can be completed without the shaman by coordinating with other mice to weigh down the platform and let everyone cross. Bear in mind that mice with cheese weigh more, so perhaps be a kind soul and weigh down the platform for a while once you've collected your own cheese.
| |
| 16 | 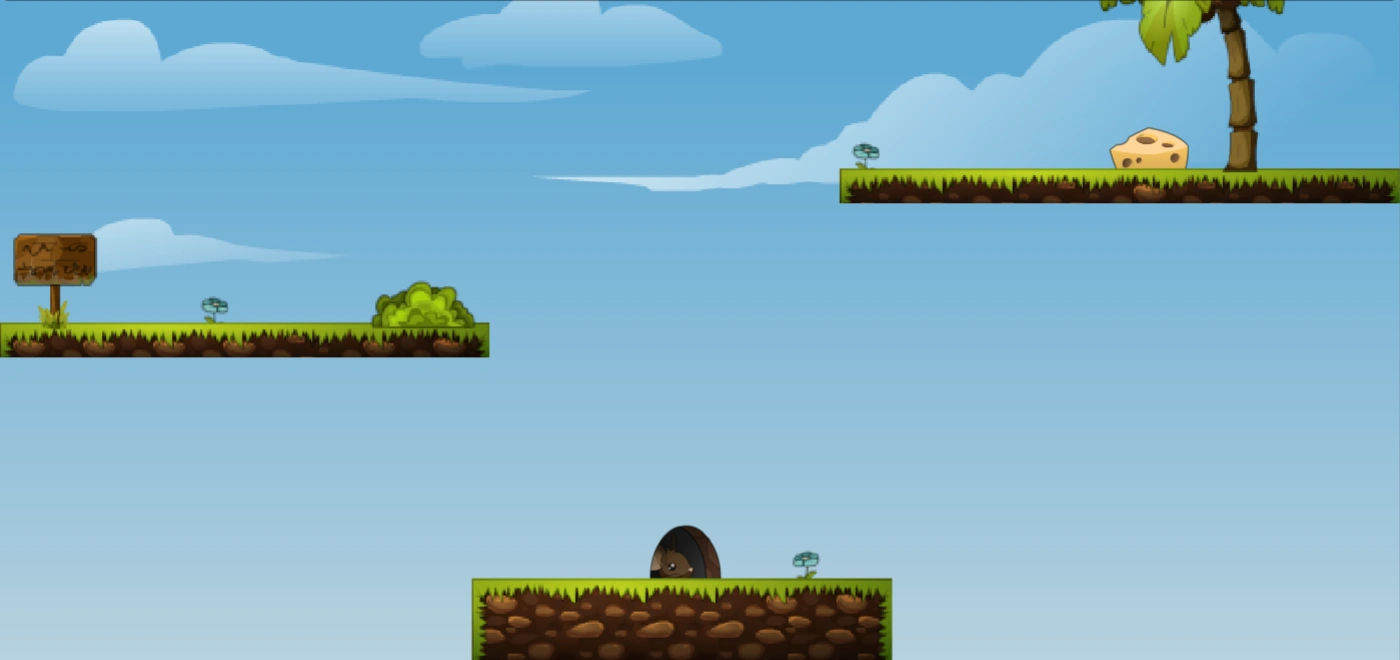  |
If a ladder or ramp etc. is built, the shaman should take care not to block the mousehole, so that it will be possible to return the cheese. Otherwise, the shaman can try to destroy the ladders using a down cannonball after all the mice have obtained their cheese.
| |
| 17 | 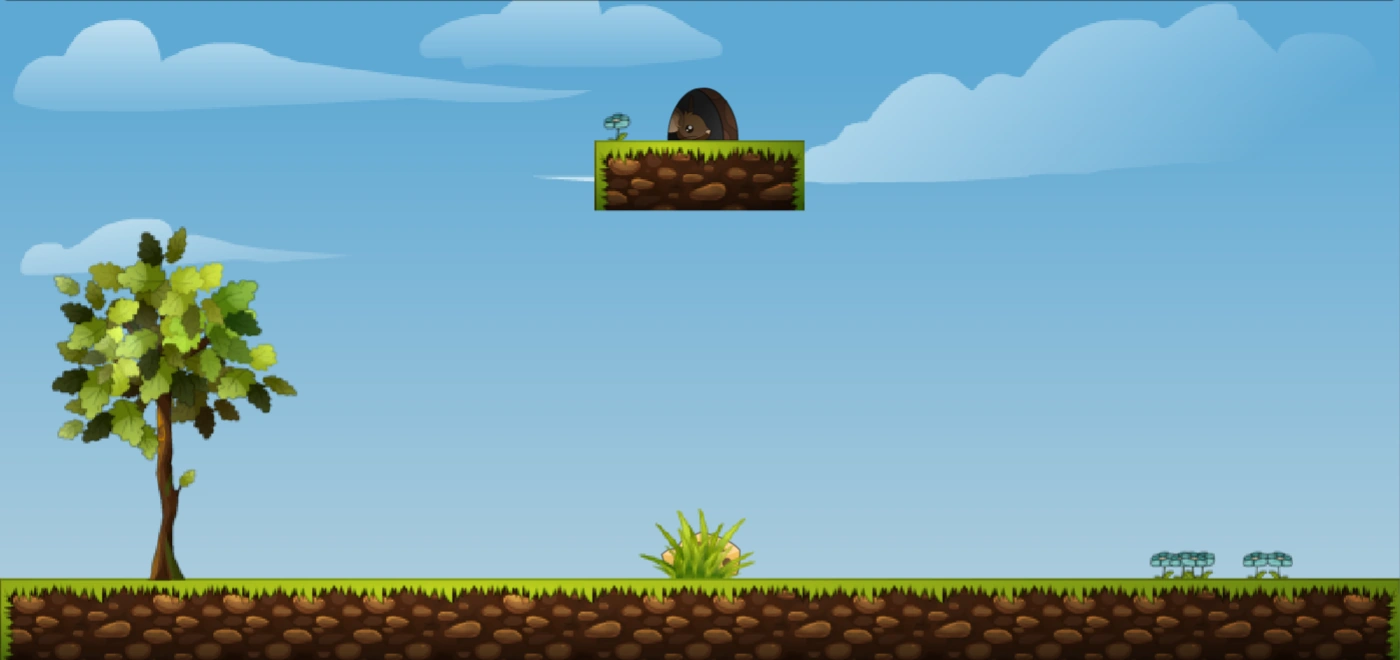  |
The shaman should build a ramp (or catapult). An elevator will not get you all the way up without wall jumping.
| |
| 18 | 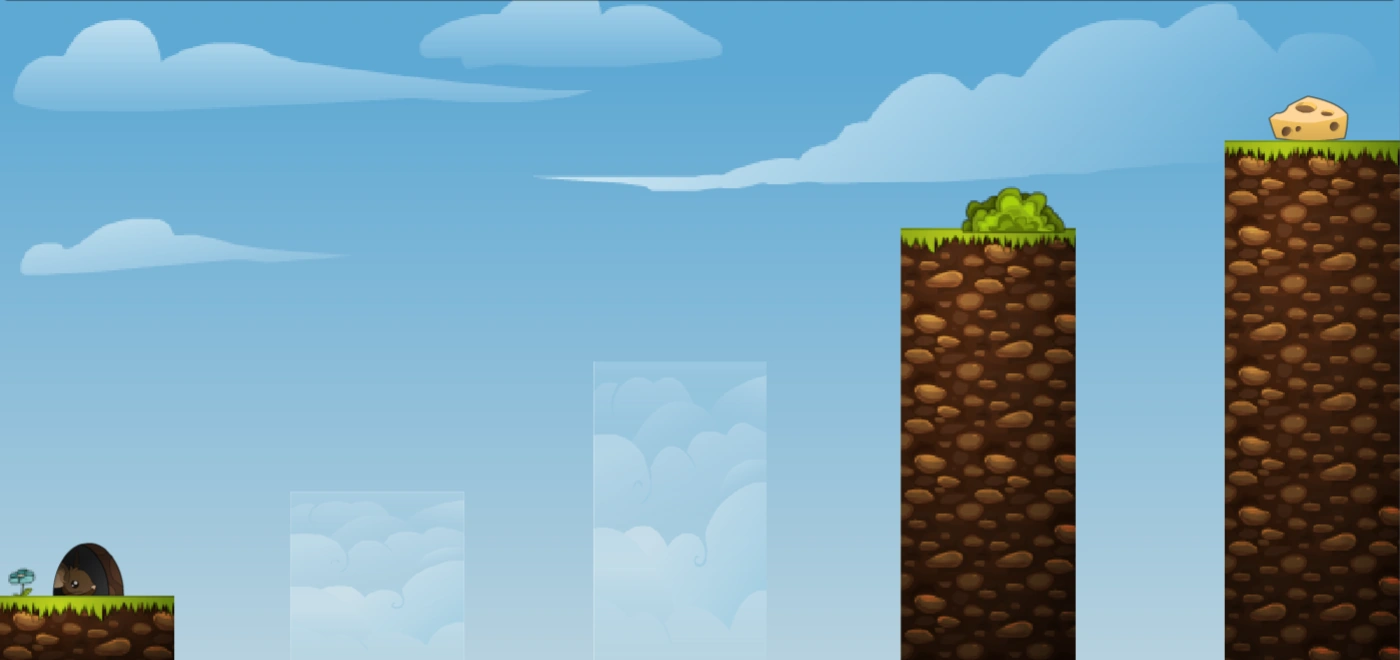  |
Either patiently wait for the shaman to build a way across, or wall jump up. The shaman can rotate a Large Box, so that it is rotated like a diamond, then place it in the gaps for the mice to climb across.
| |
| 19 |   |
Run for the cheese then wait for a shaman to build a ramp back. The shaman may or may not decide to block the 2 pits. Can be completed without the shaman by running to the cheese, wall-jumping up the back of the ramp, then sliding down the ramp and jumping with the momentum to the hole.
| |
| 20 | 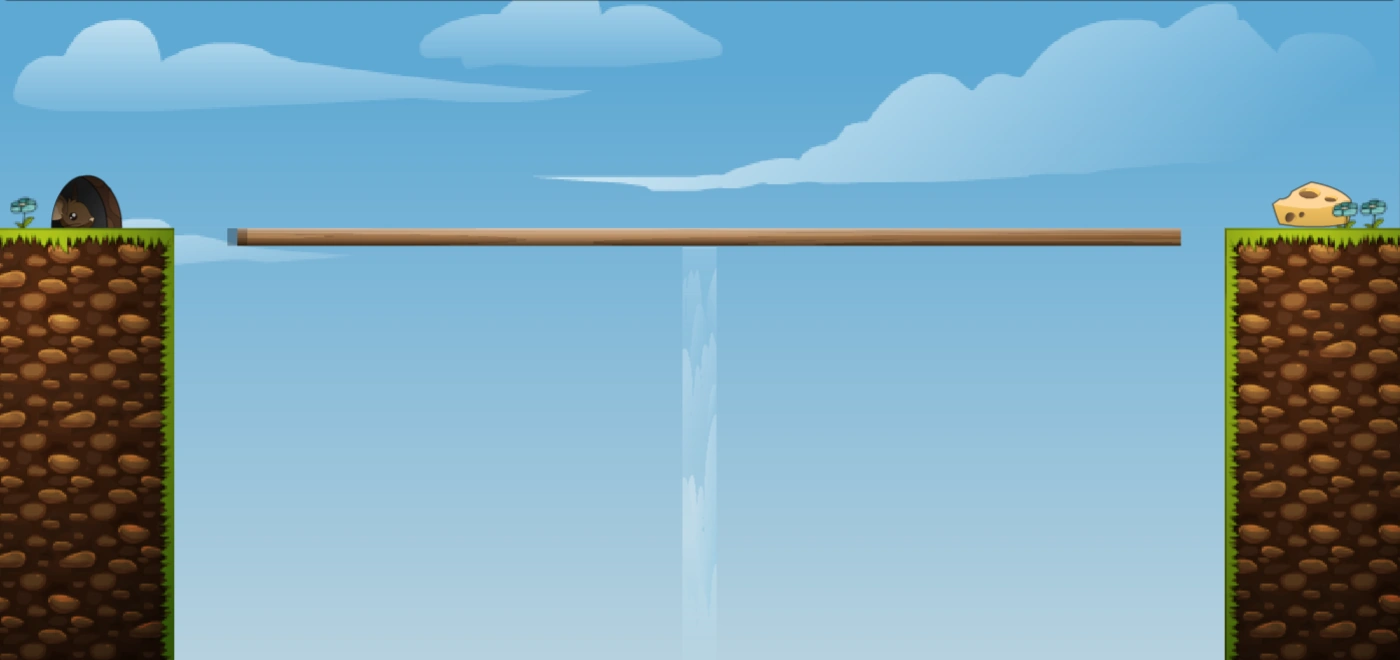  |
Be patient on this one, everyone blindly rushing usually kills the entire group. An early rush is very likely to kill everyone involved. The shaman should build another bridge across, or try to stabilize the plank by placing green jointed planks underneath. Can be completed without the shaman by coordinating to send a few mice across, then allowing them to counterbalance more mice as they come across. VERY unlikely to happen in large rooms.
| |
| 21 |   |
A large unstable platform that can have objects attached, and two cloud pillars. The shaman should either weigh down the platform or anchor it into place with a B joint, then bridge over to the hole, using the other pillar to rest the build on if necessary. | |
| 22 |   |
Jump directly between the poles rather than air-jumping if you want to get a first. Otherwise, just take your time to cross.
| |
| 23 |   |
Try to be patient, and take turns, otherwise everyone will end up dead. Heading left and waiting out the initial rush is a good strategy, as collecting First is largely up to luck anyway.
| |
| 24 |   |
Either wall jump to try to get 1st place, or wait until the shaman builds objects to weigh the small platform down. The shaman can also build an N elevator on the platform, which for some reason can open the gate. Can be completed without the shaman by wall-jumping up the gate and falling down onto the cheese.
| |
| 25 |   |
There is a giant pit in the middle of the map that the shaman needs to build across. All that is needed to solve this map is a bridge.
| |
| 26 | 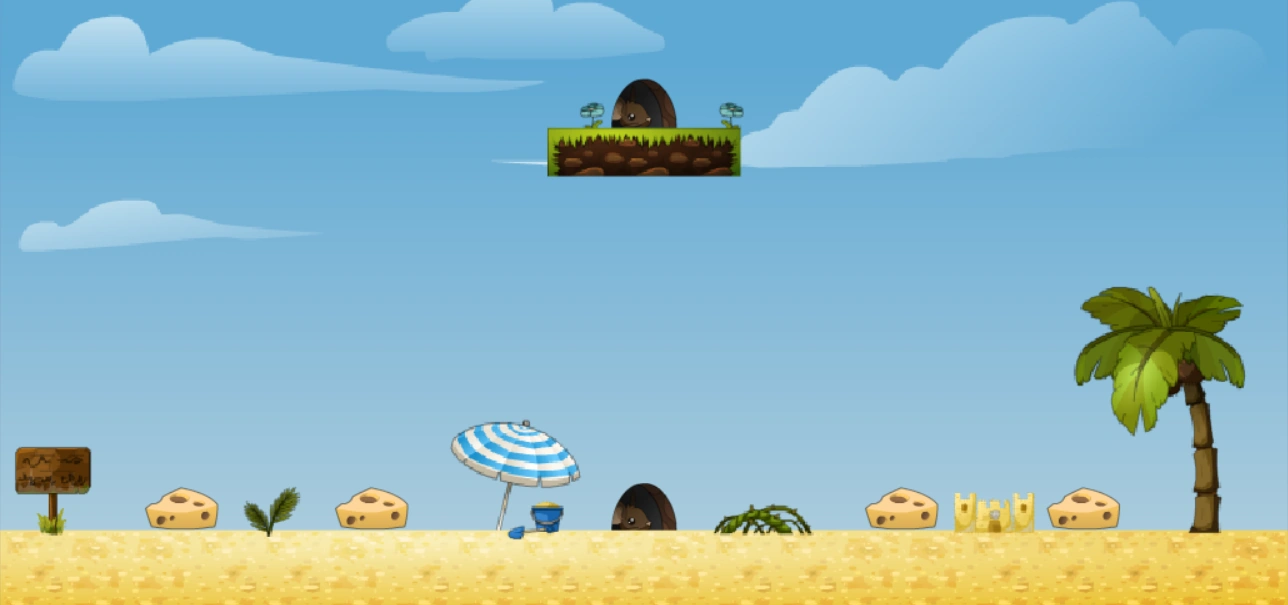  |
Harder than it looks, a lot of the floor under the cheese is fake. Each time this map loads, the section of the floor that is real or not real is randomized, where only the floor under one of the four cheese is real. Either wait for the shaman to build over the fake holes, or fall down, grab the cheese, and perform a midair jump onto the mouse hole platform. Another method is to wait for some of mice to jump down, then see which cheese have floors and which don't. Can be completed without the shaman by falling down and clipping one of the centre cheeses while running towards the hole, then jumping at the last moment and wall-jumping to the hole. You can also wait for other mice to fall and see where the real floor is.
| |
| 27 | 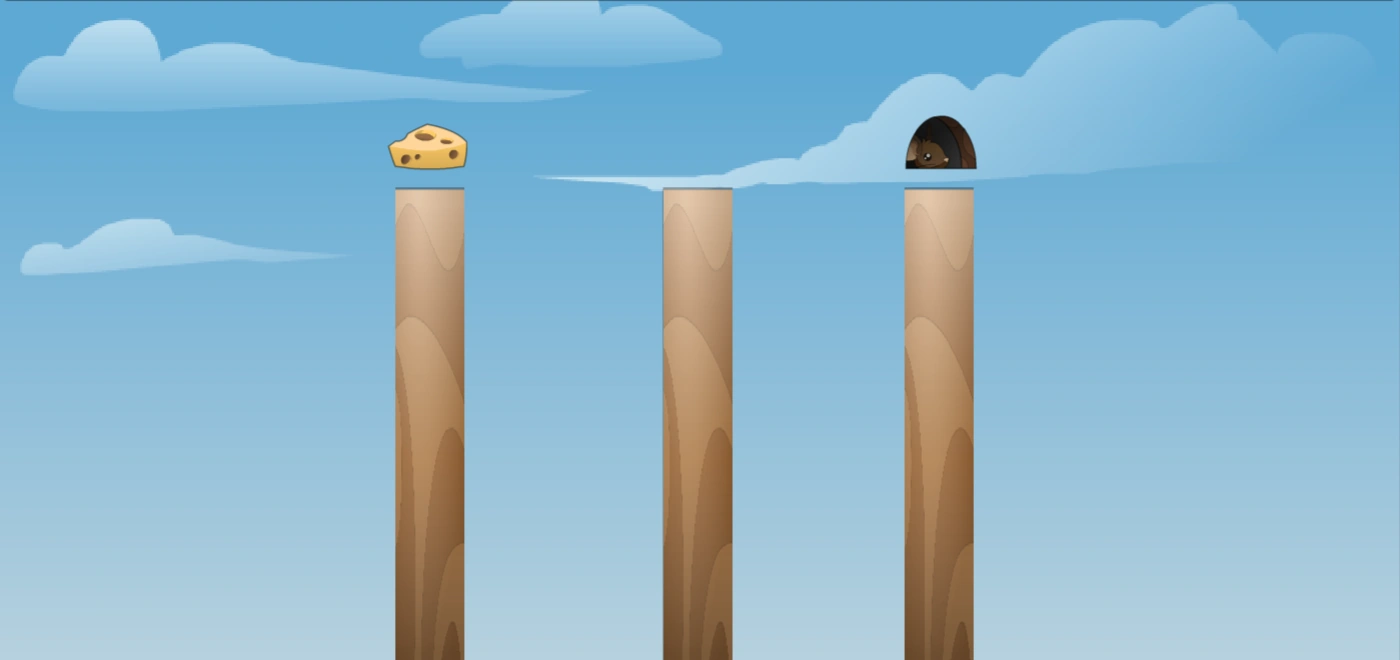  |
The pillars are all physics objects, so the shaman should nail them in place with a B joint if possible. Alternatively, the shaman can allow (or encourage, with a cannonball) the pillars to fall and then, assuming two pillars fell on top of each other to act as a high-enough floor, build up to the cheese and/or the hole. Can be completed without the shaman by being fast and air-jumping between the pillars. Try to avoid the need to wall-jump as this will knock the pillars over more quickly.
| |
| 28 | 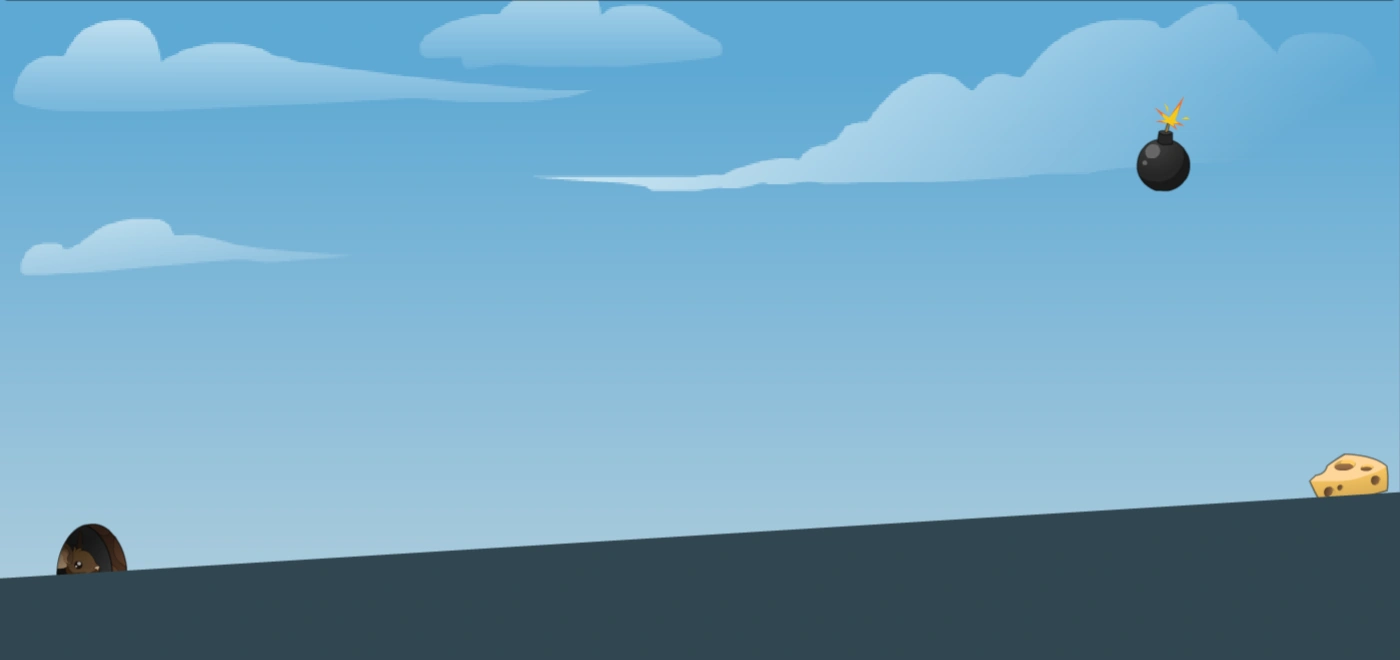  |
Get the cheese and get back avoiding the bombs. Shamans can help by building a series of see through large crates, this makes a bomb proof corridor for the mice to run through.
| |
| 30 | 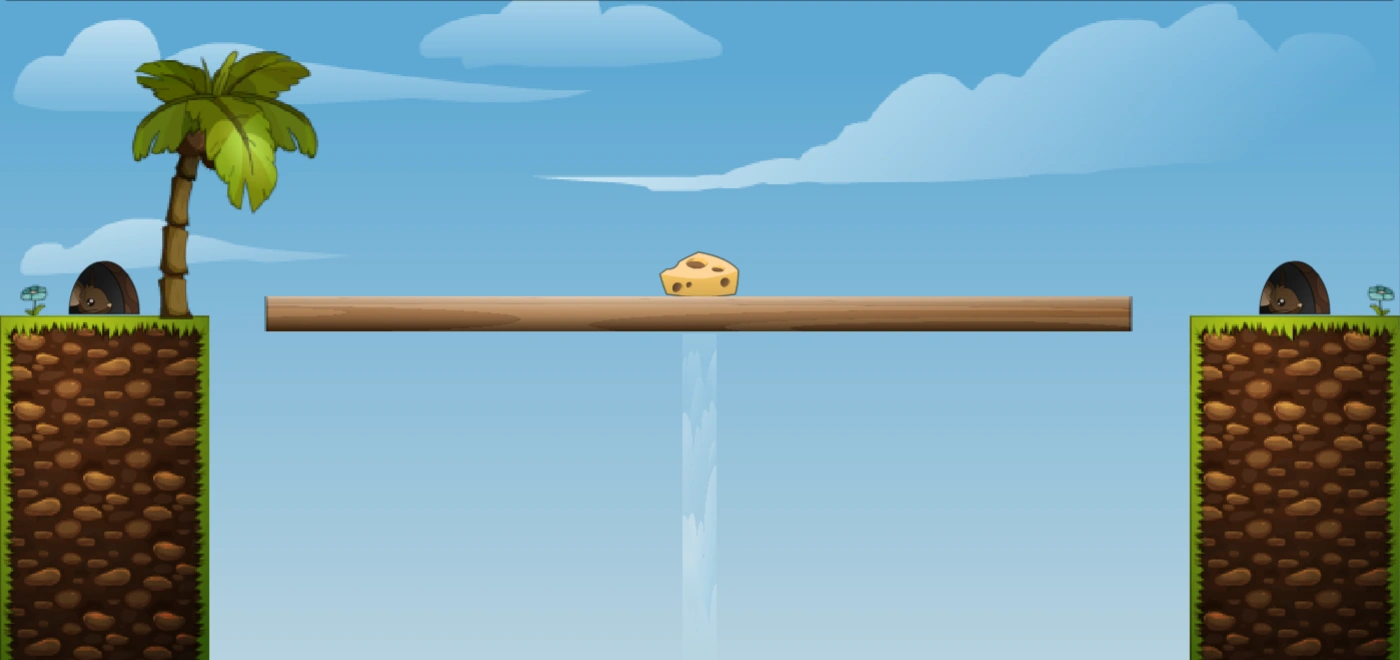  |
Remember, keeping the platform balanced is important. Can be completed without the shaman by rushing, since mice spawn on both sides which will keep the platform relatively stable at first. If the platform falls, the level becomes impossible without the shaman's help.
| |
| 31 | 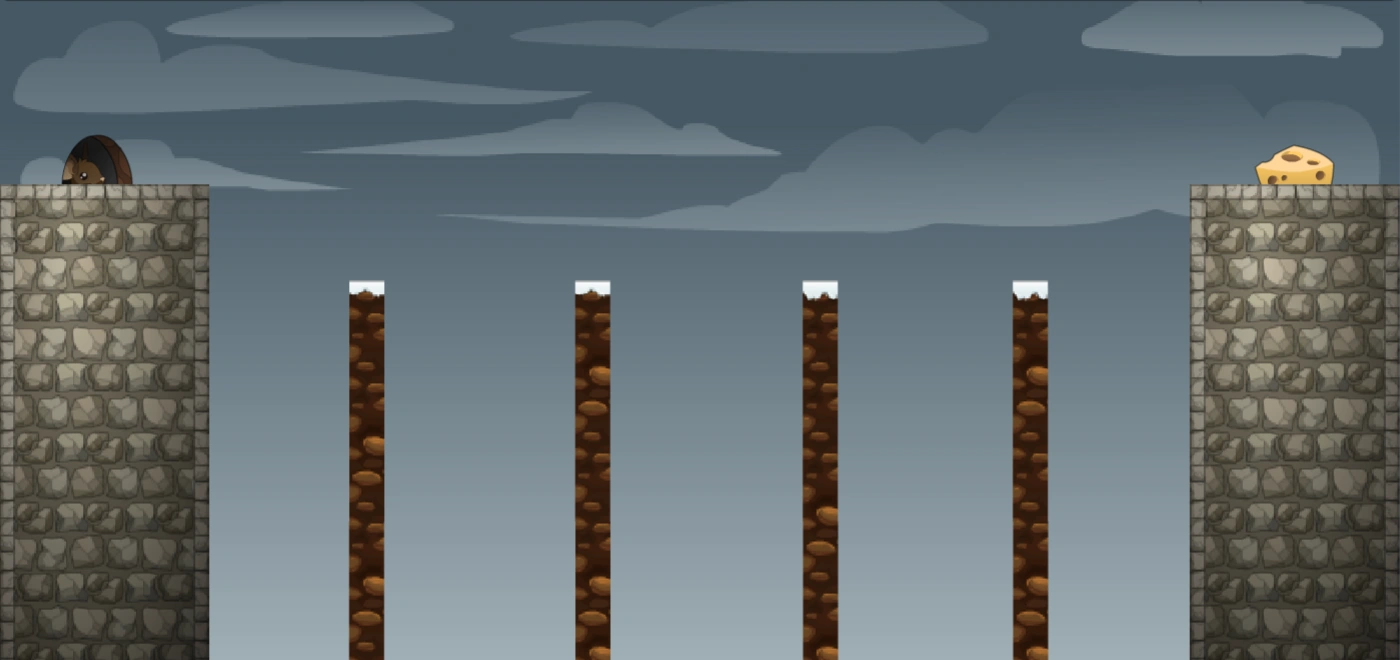  |
The snow-topped pillars falls over, creating a ramp (typically towards the right.) The shaman can tip the pillars early with a cannonball if they want, and should then focus on patching holes and preventing the ramp from falling away. Alternatively, the shaman can build directly from one stone pillar to the other, potentially dooming the mice still crossing below. Can be completed without the shaman by either crossing early or allowing the pillars to fall and climbing the newly-formed ramp to the cheese, and then riding the ramp down-left and wall-jumping up to the hole. | |
| 32 | 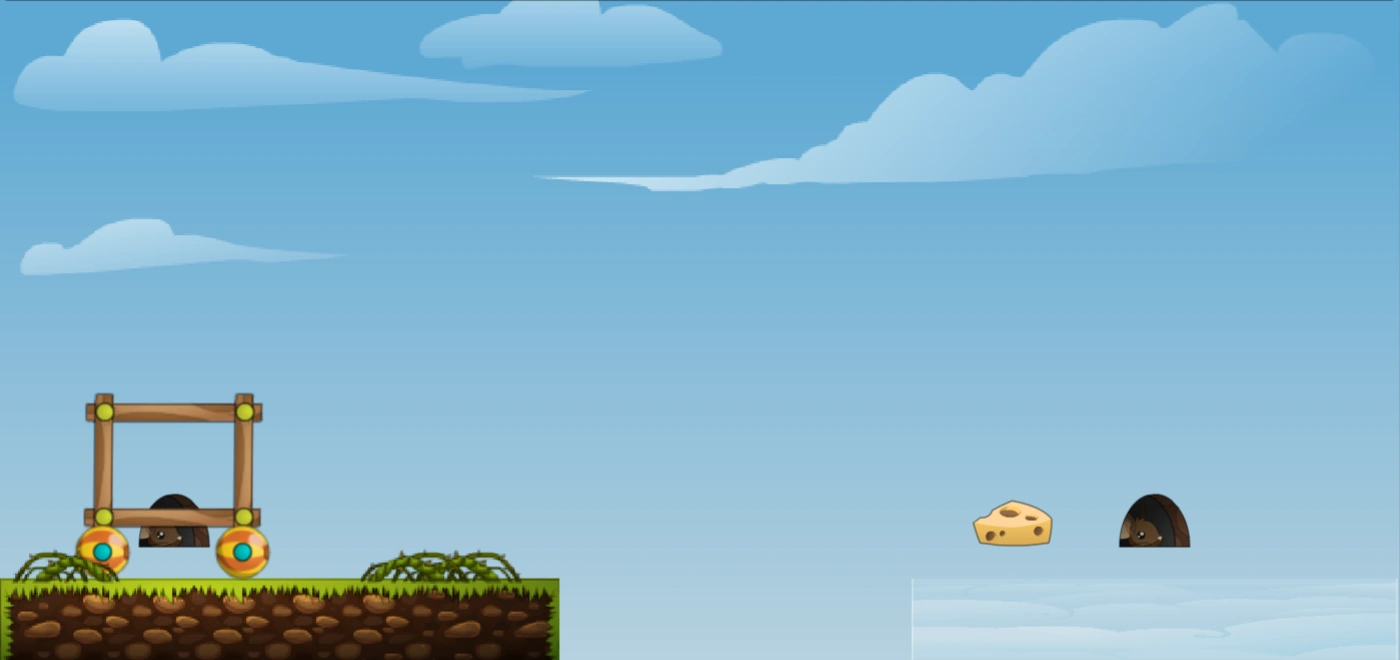  |
Wait for the shaman to build a bridge then push your cart across. If possible, try to escape from the cart.
| |
| 33 |   |
Wall jump over the anvils, or wait for the bombs to knock them over. Avoid the exploding bombs.
| |
| 34 | 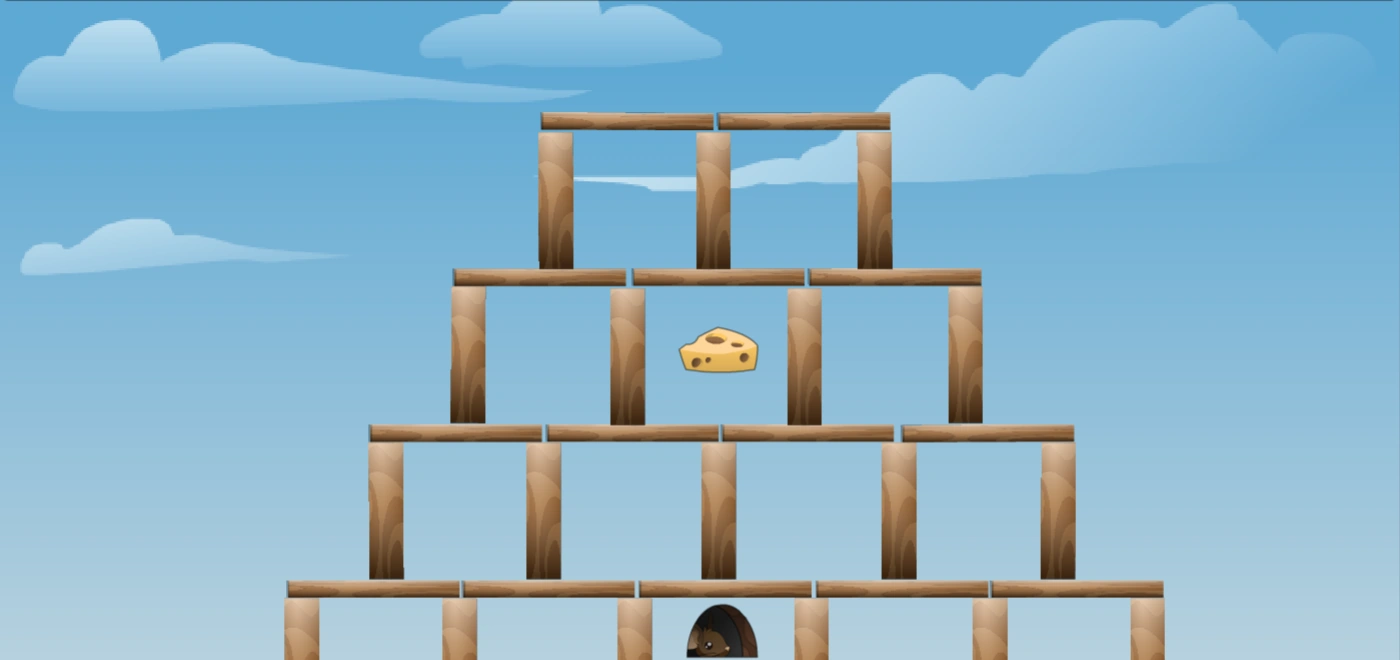  |
The shaman can simply direct a ghosted cannonball straight down, which will destroy the building and often drop the mice straight into the hole. The remaining mice are usually left safe on the debris, and the shaman can then build up to the cheese in their own time. Can be completed without the shaman by allowing or helping the building to collapse, and falling onto the cheese and then the hole. If you miss the cheese and the building fully collapses, finishing becomes impossible without the shaman's help. | |
| 35 |   |
Balance is important, make sure the platform doesn't tip. Can be completed without the shaman by paying attention in similar maps to which direction most of the other mice go, and then picking the opposite direction for this map. You can try to wait and balance out the platform, but the platform usually won't last long enough to make that work. As a general rule of thumb, most mice go right, unless there's an event collectible to the left.
| |
| 36 | 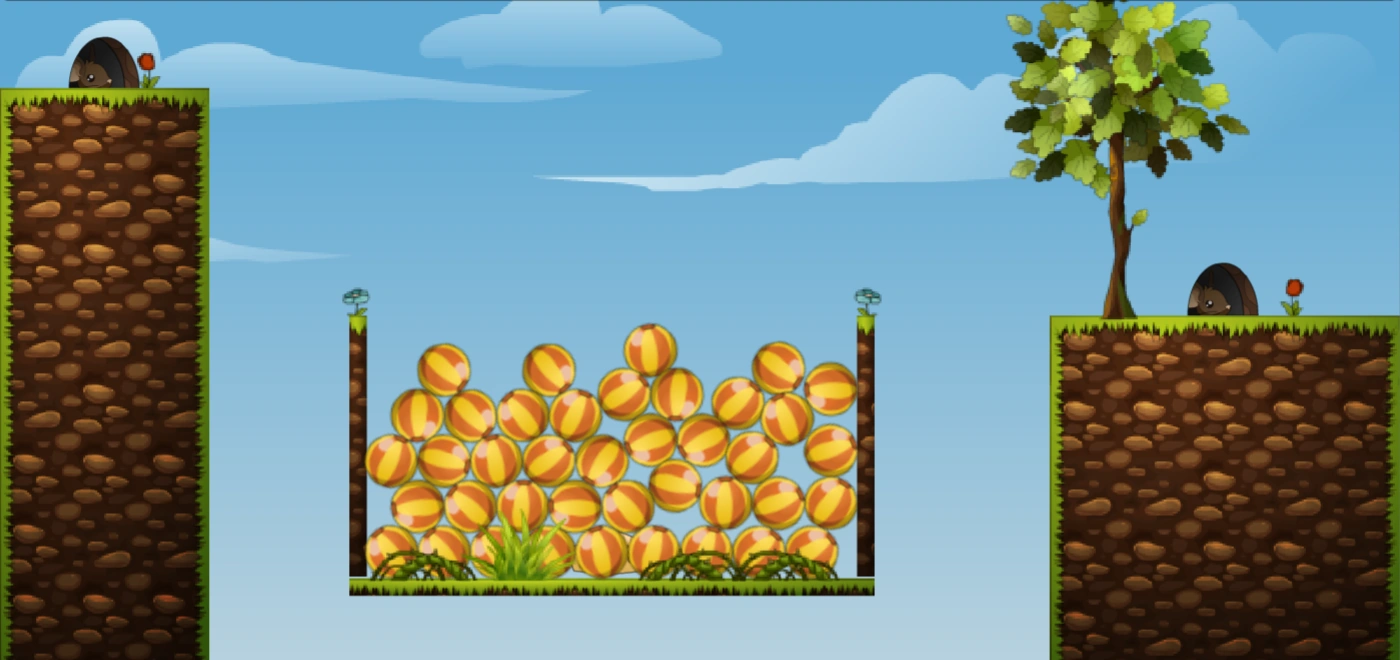  |
A popular technique for this map is using invisible (press space) anvils to knock the balls out to get the cheese in the bottom center. Invisible arrows (usually down) and spirits can also be used. Can be completed without the shaman by slowly digging out the balls and throwing them off the edge, burrowing into the ball pit until you reach the cheese. Usually requires consumables, and generally not recommended.
| |
| 37 |   |
Rock the platform back and forth to get cheese, or wait for shaman to stabilize and build a path or spirit you to the cheese. Can be completed without the shaman by coordinating with other mice to rock the platform back and forth. Once one side gets the cheese, the weigh down that side, so the other side is more likely to make it to the hole safely.
| |
| 38 |   |
This level features low gravity and as a result, the cheese can be easily retrieved by any group of at least 3 mice. It is also possible to get the cheese with only 2 mice, but both mice must have perfect timing to jump off each other at the peak of their jumps. It is also possible to just wait for the shaman to build a ramp or simply use a trampoline. Can be completed without the shaman by jumping on the heads of other mice to reach the cheese. If a mouse has cheese and is still jumping, they are inviting you to jump on their head. Consider extending the same help to other mice.
| |
| 39 |   |
This level has wind threatening to blow you off the map. The most reliable way of solving this map is to ghost a short plank and world anchor it on top of the floor, and then attach a trampoline to it.
| |
| 40 |   |
Go quickly one mouse at a time, or let the shaman build a bridge over. Apparently, the platforms are supported by invisible islands, and pros have been known to jump across after the platforms have fallen over. Don't attempt unless you know exactly where the supports are. Can be completed without the shaman by jumping across the platforms before they fall, and then jumping across the offscreen islands on the way back. Very difficult and usually not worth attempting.
| |
| 41 |   |
The bridge moves up and down in a rhythm, and is notably held together with actual shaman joints, meaning that they can be removed if the shaman has the right skill. Can be completed without the shaman by jumping across the bridge and back. Beware as the bridge pieces are inconsistent in length and position. | |
| 42 |   |
Take the sled down the slope and air-jump at the right time to reach both the cheese and the hole. This can be ruined if too many mice don't push the sled or go down the slope in front of it. On the bright side, this map is usually over quickly. | |
| 43 |   |
The fact that the mice do not overlap is what kills most people on this map. The shaman must immediately bridge the gap to the cheese, but it must be done in a way that doesn't block the cheese. This can either be done with a short plank for only one side, or a ghost long plank and two short planks below it. Can be completed without the shaman by hanging back on your side and trying not to get pushed off until the initial rush is over. Beware trolls who try to deliberately push mice down the pits.
| |
| 44 |   |
After the shamans battle each other with Spirit from across the map for the right to get the mice to their hole, the shaman who won builds a bridge to save the patiently waiting mice. Daring people can try to wall jump across, but it is tricky and requires a mid air jump to reach the wall. Can be completed without the shaman by corner-jumping and/or air-jumping to one side and wall-jumping up to that hole. Beware the shaman battle raging on overhead, as cannonballs and debris from builds can obstruct your way back up.
| |
| 45 |   |
In this, the mice simply wait for one of the shaman to finish a bridge. Adept wall jumpers may be able to finish the level without a shaman. Can be completed without the shaman by corner-jumping and/or air-jumping to one side and wall-jumping up to that hole. Same as map 44 but more difficult as the distance between the platforms is greater.
| |
| 46 |   |
Let the shaman build a bridge. Note that shaman spawn in front of their opponent's hole.
| |
| 47 |   |
This is a shaman fight; all the shaman has to do is build a ramp to their hole.
| |
| 48 |   |
This is the same as 47, except that now there is only a small platform for the cheese. Shamans should still build a ramp, it's just more difficult in this case.
| |
| 49 |   |
Shaman fight. Mice just have to get cheese and go into a hole. Although if both shamans choose to have a hardcore battle, avoid the cannonballs that will fly across the map. Can be completed without the shaman by falling onto the cheese and then running to whichever hole is most open. Be careful not to be caught in the crossfire of the inevitable battle.
| |
| 50 |   |
Mice must drop down to cheese and climb a ramp back up to a hole that a shaman must build. As the focus is on building to your hole, most shaman don't battle on this map, preferring instead to build faster and better than the other shaman.
| |
| 51 |   |
In this, the shamans fight each other and the mice simply wait until one of them (hopefully) builds a bridge. It is important to note that it is possible to build a bridge for the mice from the lower ledge, without actually having to go all the way to the bottom. This is crucial for pink, who would otherwise have to use a bridge to blue to get to the middle.
| |
| 52 | 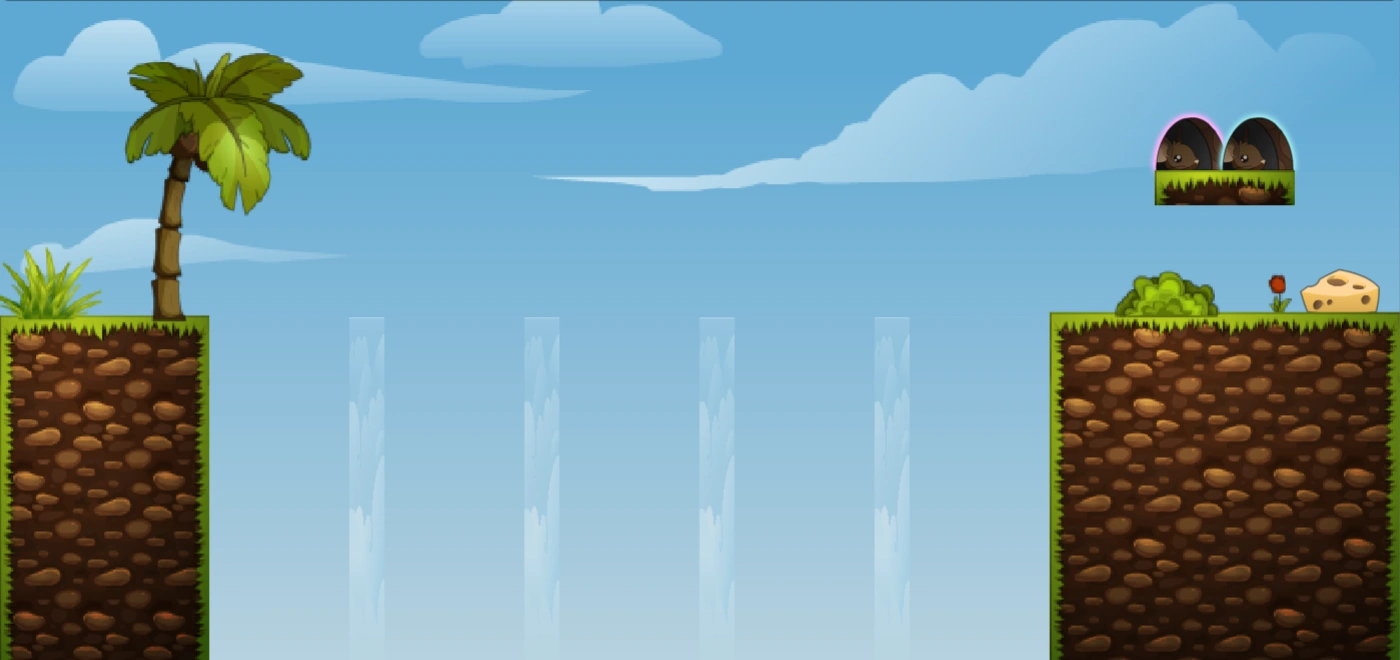  |
Shaman must use a ramp or spirit mice up to their hole.
| |
| 53 | 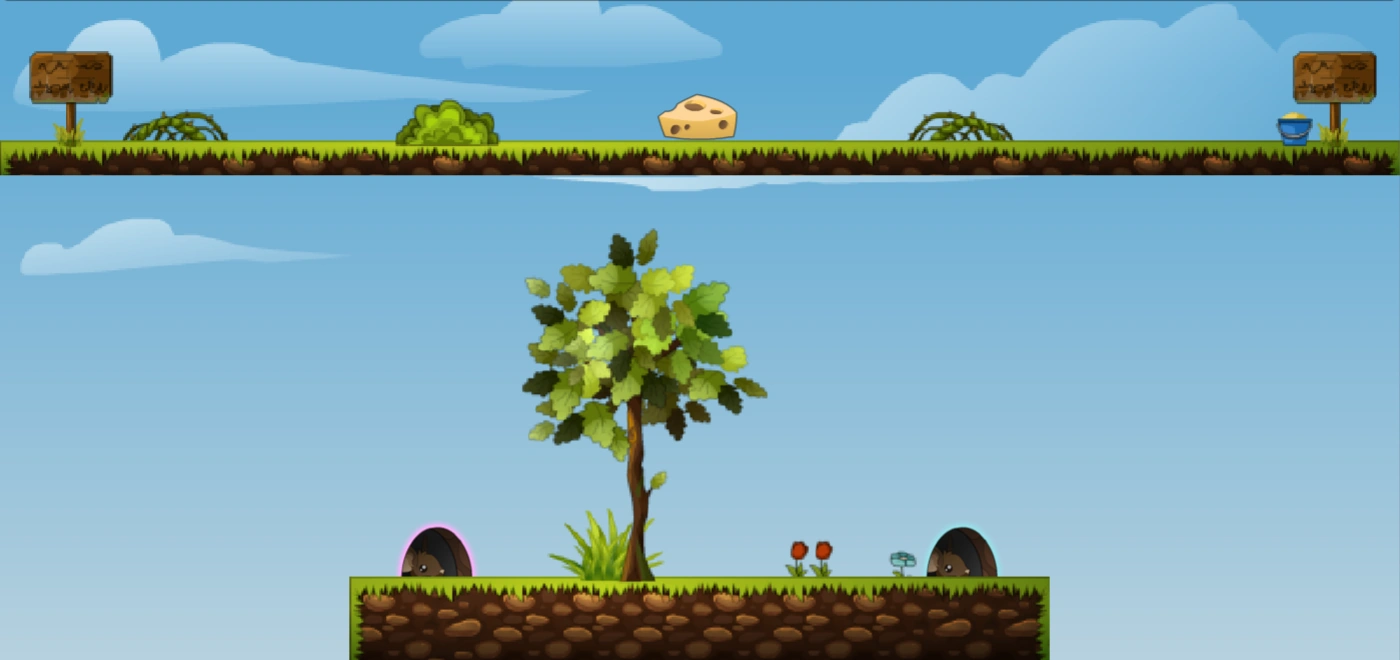  |
The shamans must make a ramp up to the cheese. It is also possible to perform a midair jump and wall jump up the edges of the middle platform to get to the holes, but this is highly unreliable, and even the most experienced mice have been known to fall. Can be completed without the shaman by hugging the edge of the top platform and running mid-fall to the bottom platform, then air-jumping to the wall and wall-jumping to the hole. Skilled players can reset their jump on the wall of the top platform, to lower their vertical speed and make the jump more easily.
| |
| 54 | 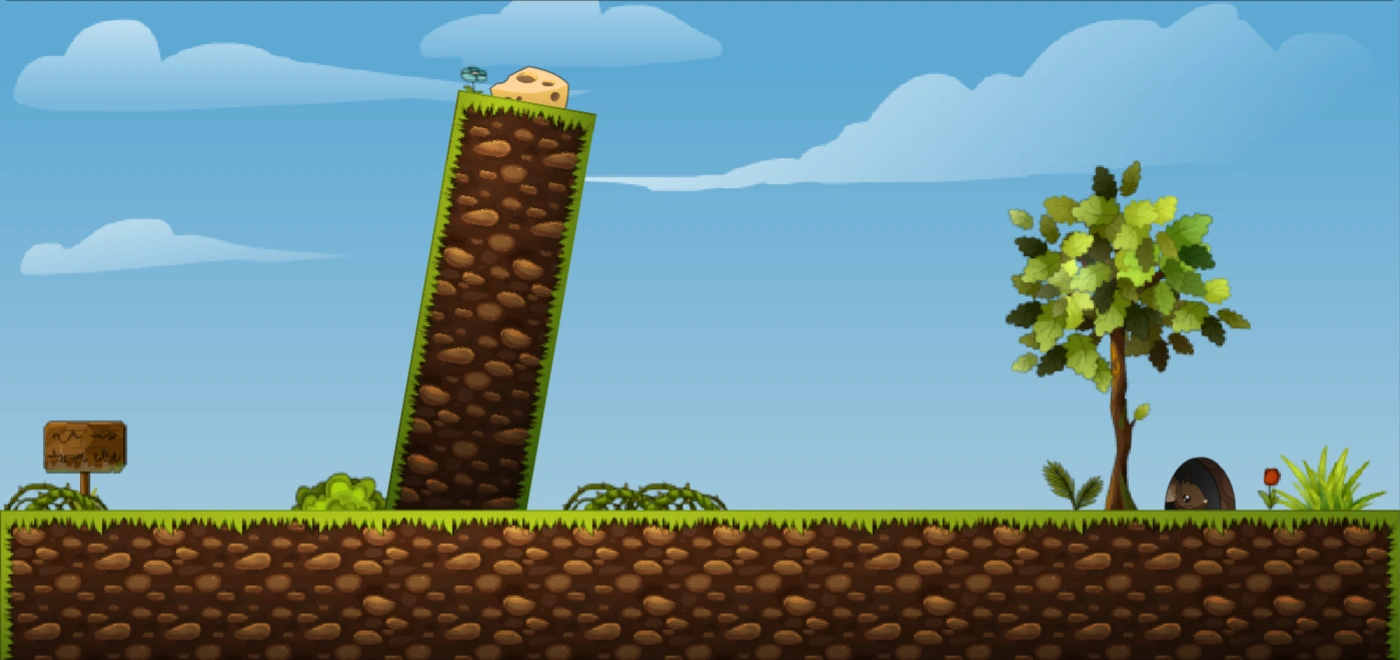  |
||
| 55 |   |
||
| 56 |   |
It is important to pay attention when the map changes because of maps like this. You spawn over a pit, and have to mid air jump to (preferably the right) lower platform. The shaman should try to plug up the gap as quickly as possible to let everyone go across and avoid mice falling to their death. Another way is to simply gather the cheese, and stand on someone to gain height to make the jump across. Can be completed without the shaman by allowing other mice to go first, then crossing when most of them are dead. If the shaman is dead, remember you have a limited time to cross, so perhaps take a risk to get to the hole quicker.
| |
| 57 |   |
Bounce on the trampolines to get the cheese, and go back. Be careful not to land on the corner of a trampoline, as this will propel you off the map in some cases.
| |
| 58 |   |
Bounce on the trampolines in order to reach the cheese, and then bounce back to the hole.
| |
| 59 |   |
Can be completed without the shaman by rushing across the spinning platforms and back. Simple yet somewhat difficult. | |
| 60 |   |
Can be completed without the shaman by sliding down the cliff, air-jumping to collect the cheese, then wall-jumping up and over the spinning platform. If you can accomplish this, consider rotating the spinning platform for the plebians you share a room with. They will be eternally grateful.
| |
| 61 |   |
A fake cheese is shown in the corner; At 1:48,a cage will appear over the cheese and trap the mice inside it.
| |
| 62 | 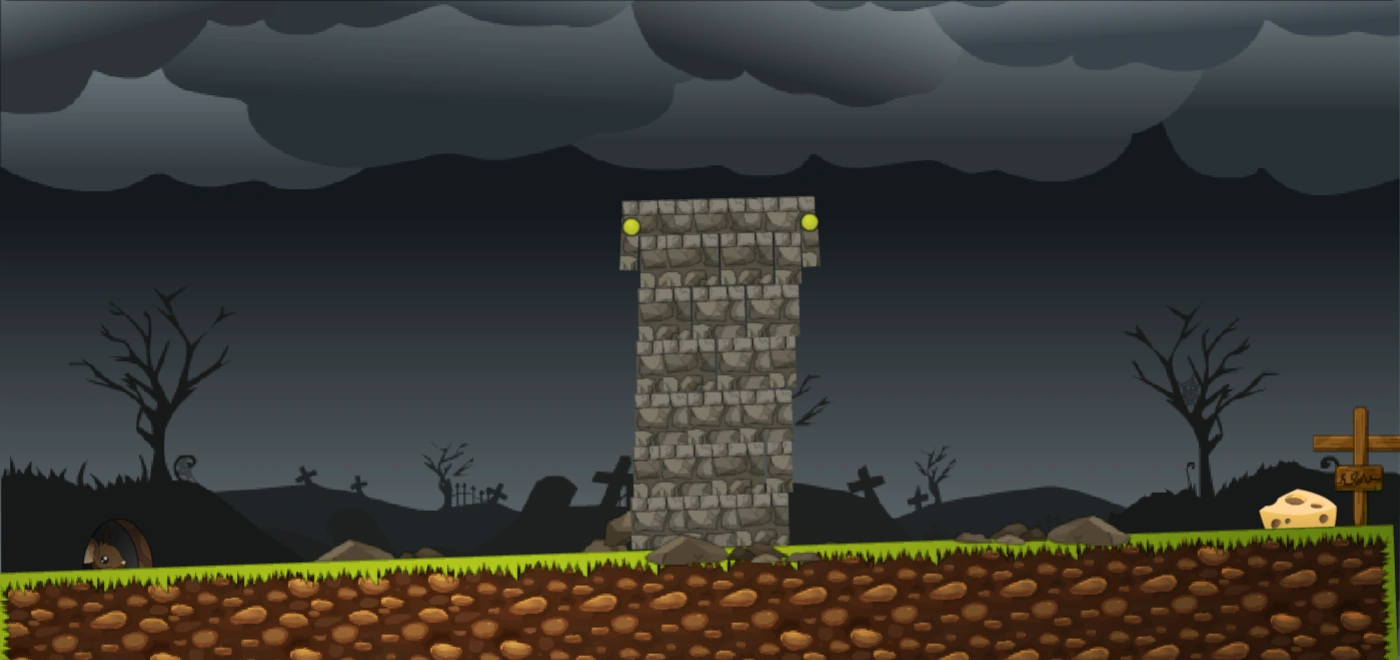  |
Can be completed without the shaman by wall jumping up and over the tower twice. The tower has a small lip near the top, so wall jumping up it with the cheese is very difficult.
| |
| 63 |   |
Jam the spinning plank with invisible items, use a trampoline, or rush blindly across. The most reliable way to stop the spinning plank is a solid (yellow) joint on the end of a long plank attached to the middle of the spinning plank. Can be completed without the shaman by running and praying.
| |
| 64 |   |
Jam the spinning plank with invisible items, use a trampoline, or rush blindly across. The most reliable way to stop the spinning plank is a solid (yellow) joint on the end of a long plank attached to the middle of the spinning plank.
| |
| 65 |   |
Jam the spinning plank with invisible items, use a trampoline, or rush blindly across. The most reliable way to stop the spinning plank is a solid (yellow) joint on the end of a long plank attached to the middle of the spinning plank. Another method is to go around the fan by placing trampolines on both sides. It isn't possible to moonwalk or slide under the fan.
| |
| 66 |   |
The shaman will need to build a bridge over the spinning plank to let the players get to the cheese. This will eliminate the threat of falling and the threat of the spinning plank.
| |
| 67 |   |
Bridging the gaps between the pillars is a quick and easy way to make it so players can get across. Experienced players should be able to take this on easily without a shaman, so long as they can wall jump, or if they can air jump. Can be completed without the shaman by air-jumping and/or wall-jumping. If the shaman is active, be careful not to get stuck under any of the planks they spawn.
| |
| 68 |   |
The shaman can attach a trampoline to a stable object in order to jump to the hole, or create an aircraft up to the hole.
| |
| 69 |   |
Simple map with an opening that can be used to shoot mice out like a cannon. The simple solution is to fill the opening with exploding balls to launch mice. Adept players can reach the cheese from the right via wall jump. Can be completed without the shaman by wall-jumping up the right-hand wall and collecting the cheese.
| |
| 70 |   |
Enclosed map with bouncy ground and walls. Easiest way is to avoid those bumps in the ground, just keep bouncing in the clear areas and get whatever cheese. Some mice also like to continue bouncing to reach hectic speeds.
| |
| 71 |   |
Exact replica of the map 67, only the pillars in the middle are made of ice. Because the pillars are made of ice, wall jumping is not possible, but with an air jump it is possible to complete the level without the shaman. Can be completed without the shaman by air-jumping across. If the shaman is active, be careful not to get stuck under any of the planks they spawn.
| |
| 72 |   |
The shaman has two options here, to create a trampoline or use planks to cross this map. If you choose to use planks, the shaman will want to create a global anchored long plank in between the first gap, and connect this with a diagonal, object anchored long plank towards the first blue pillar. Then create the inverse of this method on the other side.
| |
| 73 | 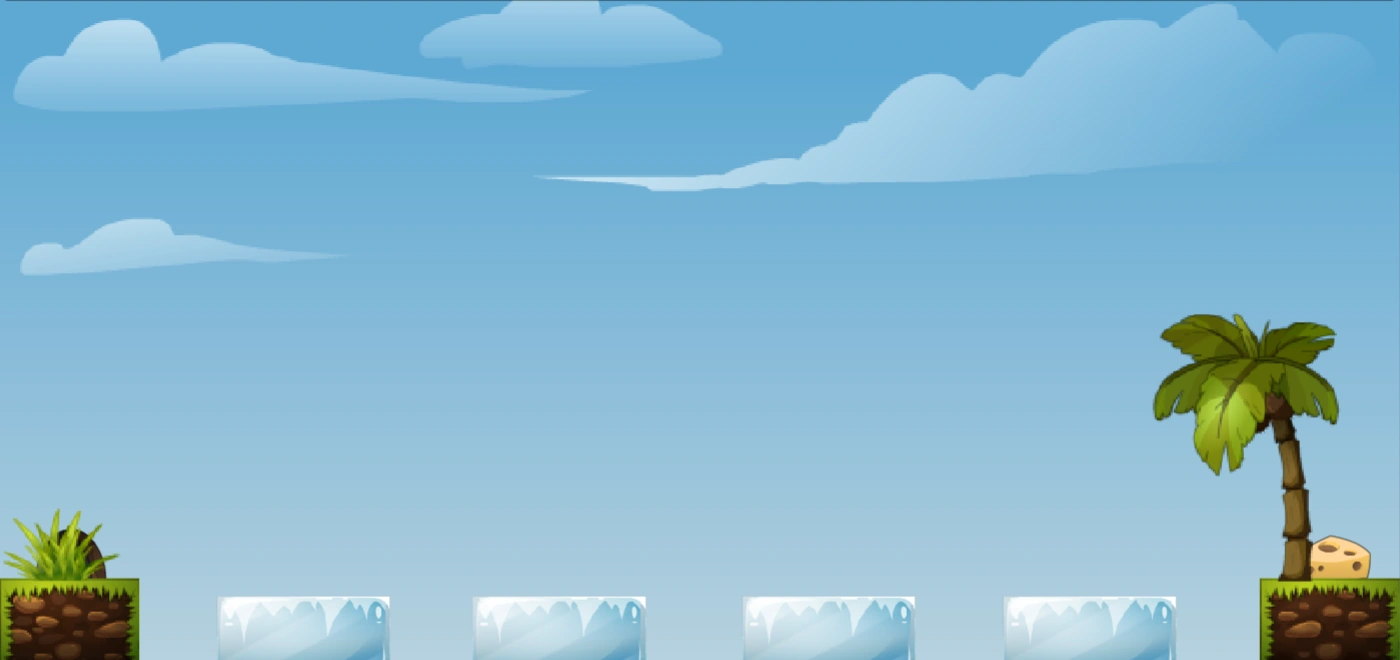  |
This is an ice version of map 40. The first and third blocks sinks by itself so reckless running leads to death. Daring players can also jump the invisible platforms to get to the cheese. The shaman will want to create a bridge connecting both sides in order to get the cheese. Can be completed without the shaman by running across the ice platforms to reach the cheese, and then over the hidden islands to reach the hole. Very difficult and usually not worth attempting if the shaman is active.
| |
| 74 | 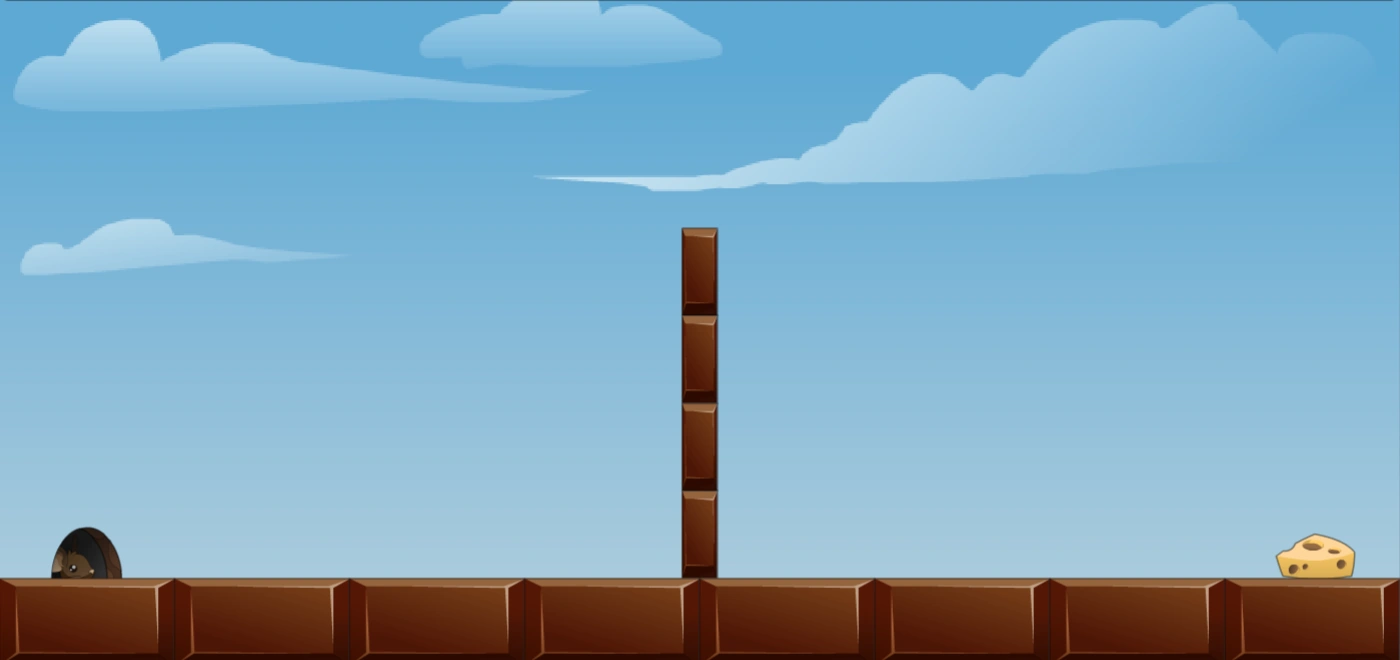  |
Players can wall jump this in slow-motion. Shamans can bridge the gap between the wall and the floor. This is a great map to practice Wall jumping. Can be completed without the shaman by wall-jumping up both sides of the chocolate wall. Very easy, but new players may be trapped if they continue to run into the wall as they jump up it with cheese.
| |
| 75 |   |
The "dominoes" will fall over and lemmings will try to jump on them to reach the top, which is nearly impossible. One common solution is the traditional bridge. Shamans can also spawn boxes, as there is a large platform underneath the level. Can be completed without the shaman by rushing and making sure not to tip the dominoes, air-jumping to the cheese, then riding the (probably fallen) dominoes back to the hole.
| |
| 76 |   |
The ice block here is actually exactly the same dimensions as the one in 77, meaning if you cannonball the top of it, it'll fall over. Can be completed without the shaman by taking it slow, and allowing other mice to push the block for you if possible. Otherwise, try to push little and survive a lot.
| |
| 77 |   |
A map where one mouse has to jump to the ground and push all the other mice to the cheese. Another mouse will have to push the block back to the hole. A popular solution is the fall off the edge, switch direction to push the block, and air jump back on top of the block. All of this has to be done very quickly or else you will fall. You can also influence the direction of the block by having every mouse run to the direction you want to go, but method is seldom used.
| |
| 78 | 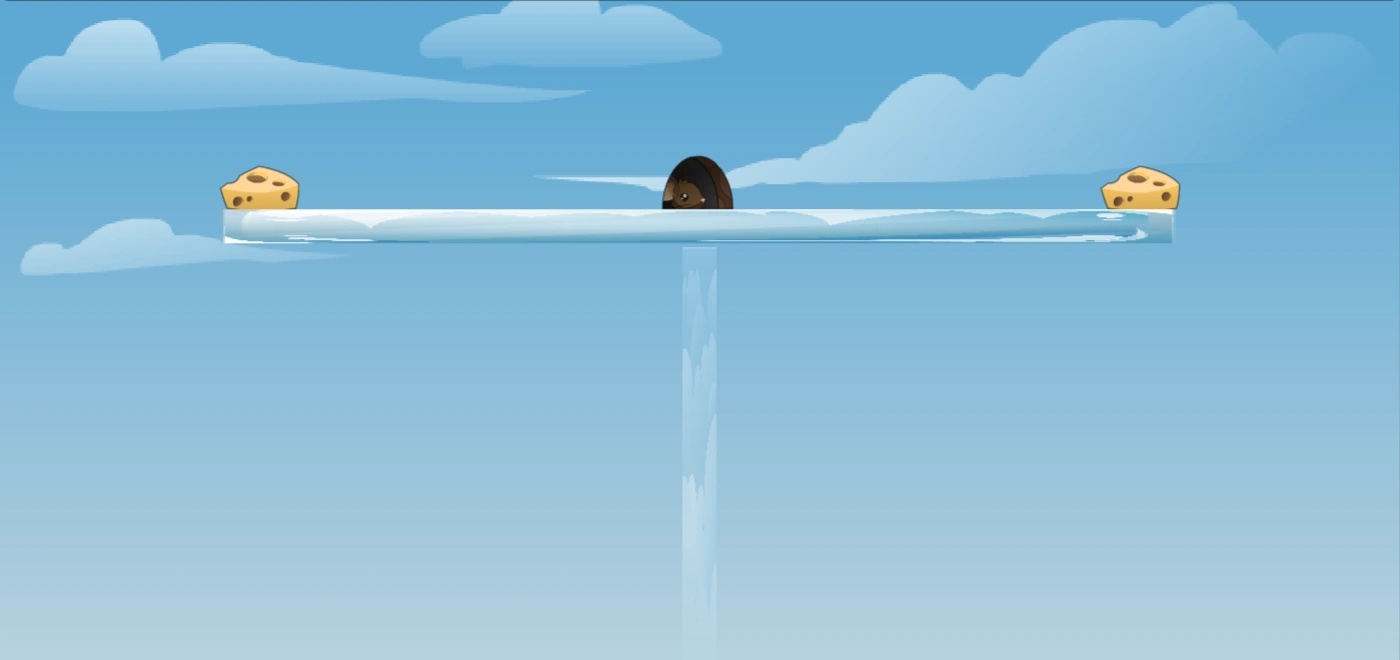  |
This map is the same as map 126. The long ice plank will soon slide off as mice quickly try to get their cheese. The only thing one can do is conform as there is no shaman to help.
| |
| 79 | 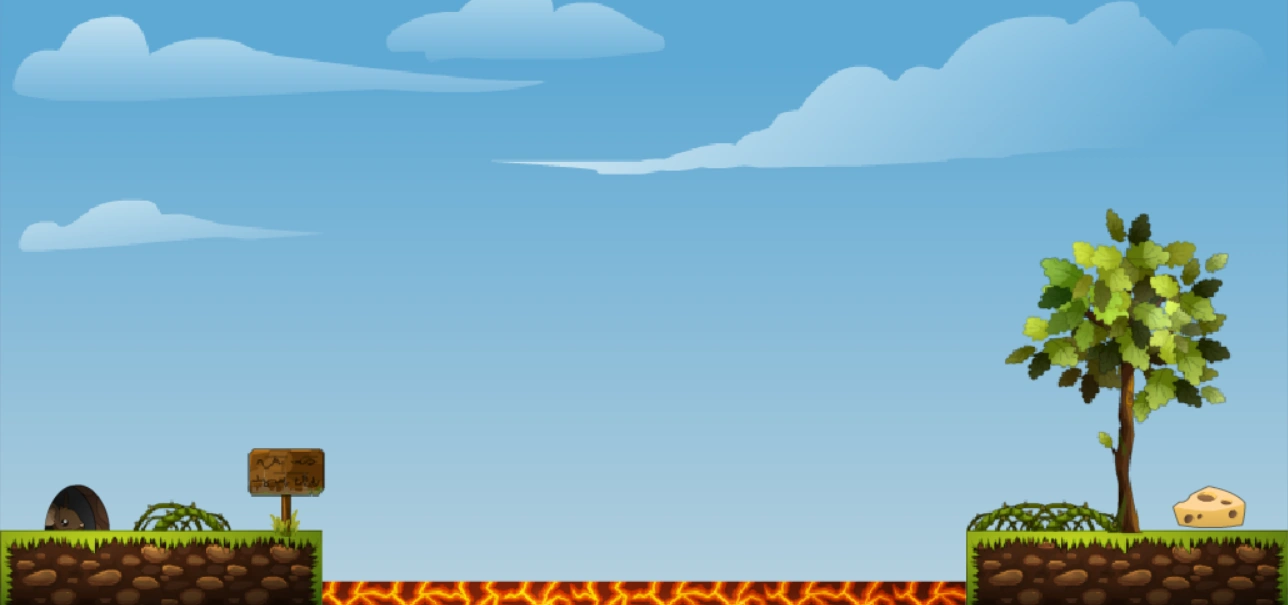  |
A map where you will be sent flying high into the air, and usually off the map, if you come in contact with the red part of the floor. The shaman should build a bridge going high over to prevent it from touching at all. Again, you may consider air jumping to prevent being killed by the platform if you cross it without a bridge.
| |
| 80 | 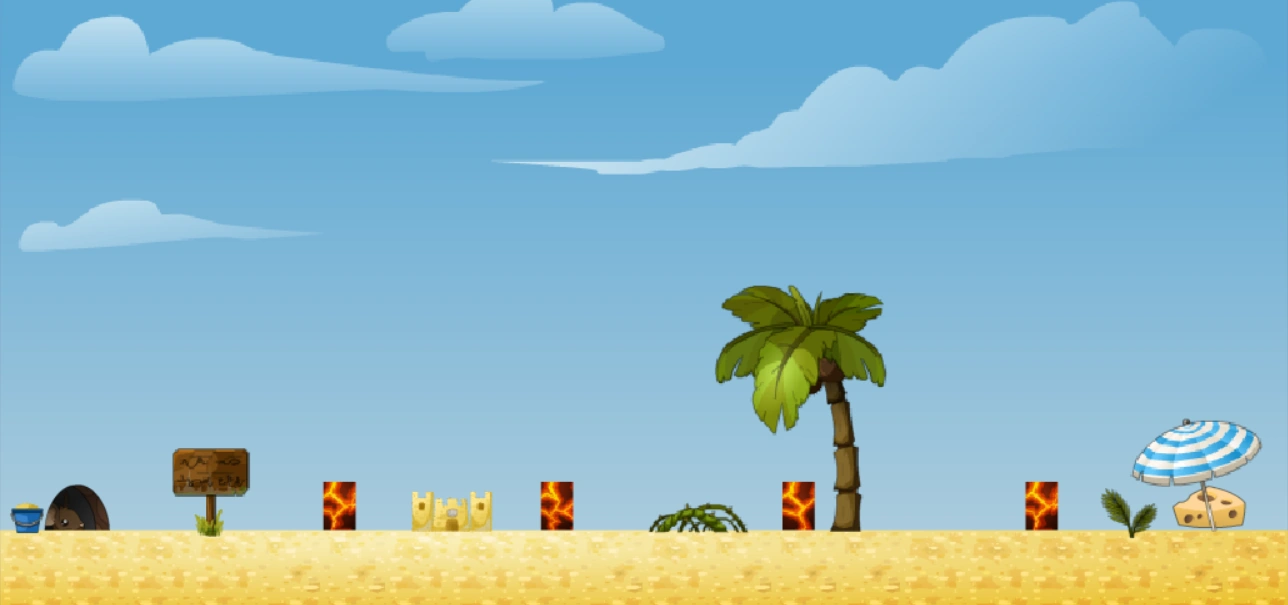  |
The most ideal way to solve this map is to spawn anvils right next to the blocks. Adept players can jump immediately after bouncing to avoid getting thrown off the map, however, death most commonly appears when the mice go too high.
| |
| 81 |   |
This is the map where the gravity reverses itself. The shaman has to build sturdy platforms above the mice or else they will be killed. However, a way to survive is to cling to the side of the stage by running into it to avoid soaring upwards. Gravity will once again apply normally at 1:30 or after the shaman has died.
| |
| 82 |   |
Mice are paired up and connected together with a string. Your partner's name will appear in green. The shaman will have to build something to get across the gap, typically a bridge. It is also possible but very difficult for partners to work together and wall jump to get the cheese.
| |
| 83 |   |
Mice are paired up and connected together with a string. Your partner's name will appear in green. The shaman can build bridges over the gaps. Partners who are working together can run next to each other and time jumps to get over the gaps. Partners will need to run with each other and jump at the same time.
| |
| 84 |   |
Mice are paired up and connected together with a string. Your partner's name will appear in green. Similar to map 79, except the lava is raised. The shaman will have to build a bridge over the lava. Be careful, platforms that touch the lava will fly away and destabilize any bridge being built. Partners that jump on to the lava will typically kill themselves and their partners unless they use air jumping to stop themselves. Some partners may be able to work together by getting into the air and moving above the lava by using the string to jump.
| |
| 85 |   |
||
| 86 |   |
Exact replica of map 67, only the pillars in the middle are trampoline grounds. Wall jumping is not possible. Mice may wait for the shaman to build a bridge, but it is possible to complete the level without the shaman.
| |
| 87 |   |
Mice are paired up and connected together with a string. Your partner's name will appear in green. One mouse must run across the top of the platform while the other hangs beneath it to get the cheese. Then the partners must switch positions. Partners are known to troll on this level. Be careful if you have a cheese as the hole is directly above the cheese and your partner will fall.
| |
| 88 |   |
Mice are paired up and connected together with a string. Your partner's name will appear in green. One mouse must stay on top of the platform and hold his or her partner who is hanging off the edge getting cheese. Then the partners must switch positions. It is possible for mice without a partner to get the cheese by air jumping.
| |
| 89 |   |
||
| 90 |   |
The cheese is located high above the player's heads. The shaman must build an airship so that the mice may reach the cheese. A systems of ramps/elevators is also possible, but could be very complicated.
| |
| 91 |   |
The shaman will have to build a bridge to the cheese or an aircraft (not recommended, as it will most likely become unstable and kill mice). It could also be possible to build a flat bridge and put a trampoline at the end.
| |
| 92 |   |
||
| 93 |   |
The shaman must build a platform to get over a cliff and a bridge to reach the cheese and the hole. The mice can get to the cheese and hole early by running off the cliff and using a midair jump to get from the cheese to the hole. Portals can also be used to get past the cliff.
| |
| 94 |   |
This map requires the shaman to place a portal in the left cage, and another in the right cage with the cheese. Then the shaman must place the first portal that was in the left cage, into the middle cage with the hole so mice can finish the level.
| |
| 95 | 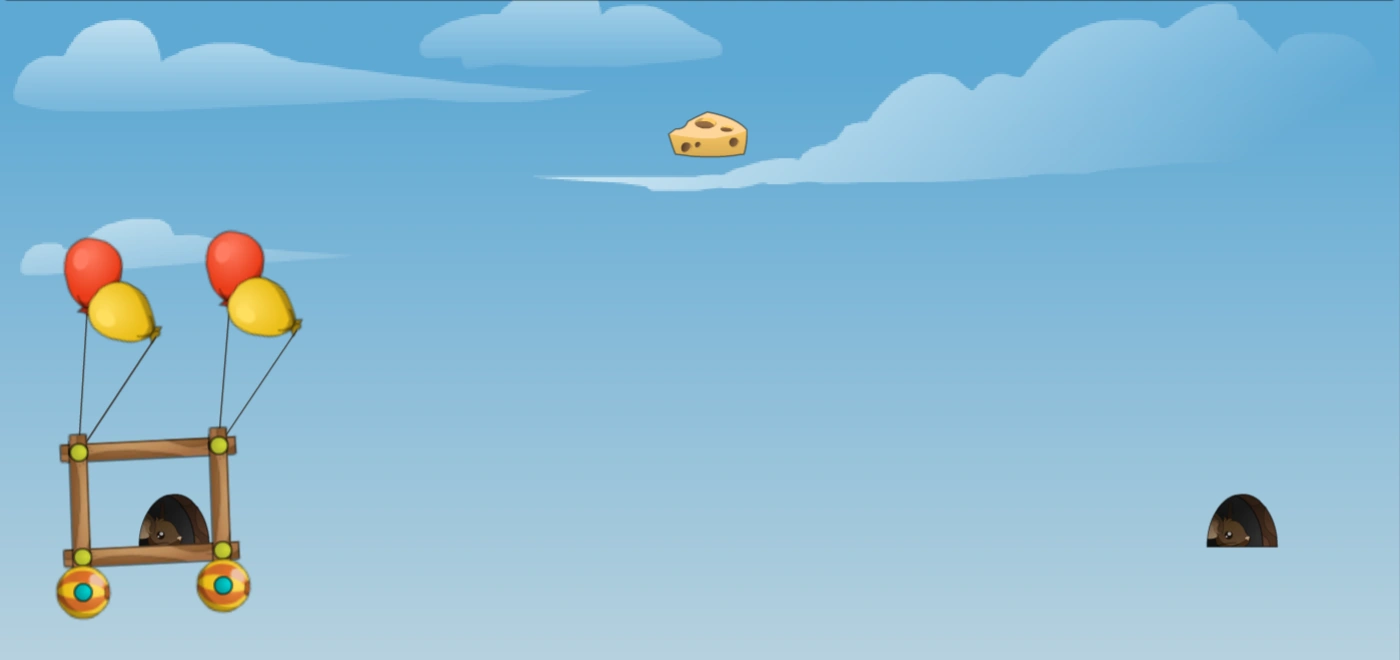  |
Mice must navigate the aircraft so it floats up to the cheese. Then either the shaman can put weight on the ship to make it fall into a hole, or the ship can fly too far up so the balloons break and the ship falls over the hole. The safest technique is to summon one ghost anvil before you reach the cheese. This way the blimp will rise slowly, making it easier to summon other objects once you reach the cheese. This level is frequently affected by lag, which tends to glitch the aircraft.
| |
| 96 | 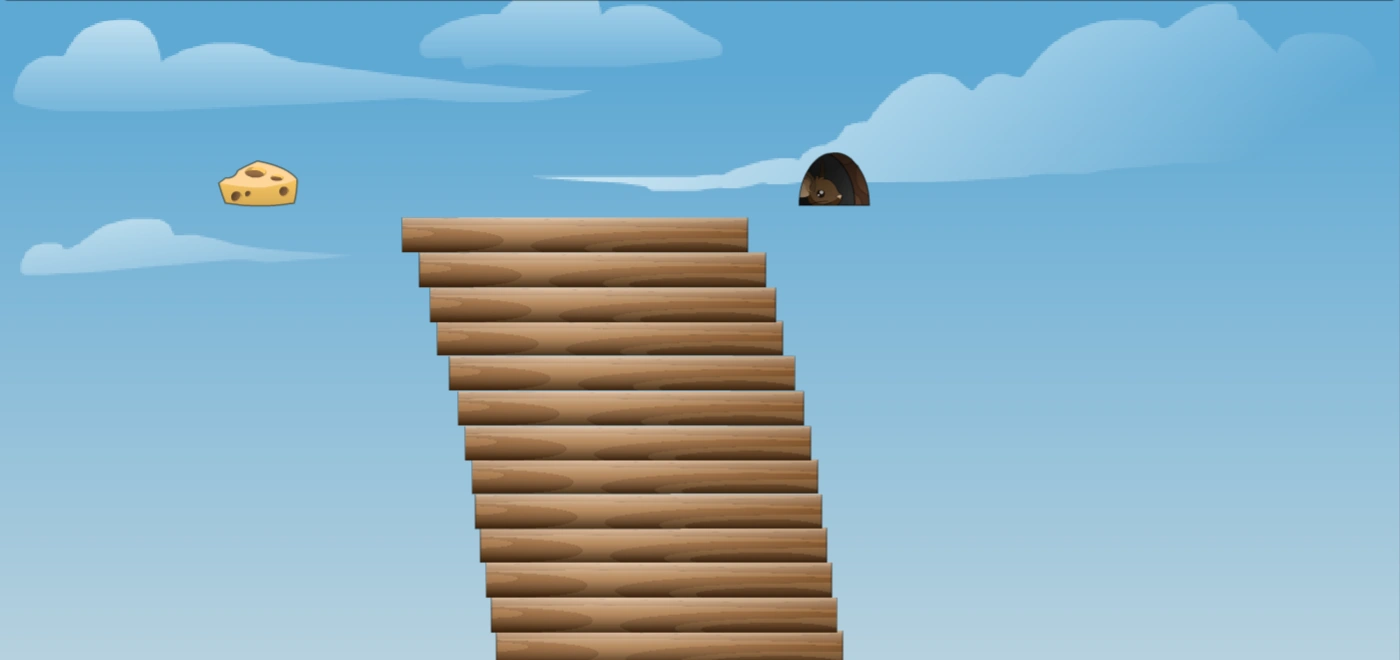  |
||
| 97 |   |
Very experienced players may be able to wall-jump their way up to the cheese. The shaman can build a bridge across the gap or have everybody jump over it. It may be possible to create a small elevator to get the mice up. It is recommended, though, that either balloons or ramps are used.
| |
| 98 |   |
The cheese is located under a ground, mice can easily reach it by air jumping. The problem is getting back to the hole: it is the shaman's job to guide the mice back up. Both sides are accessible, but the left is recommended.
| |
| 99 |   |
||
| 100 | 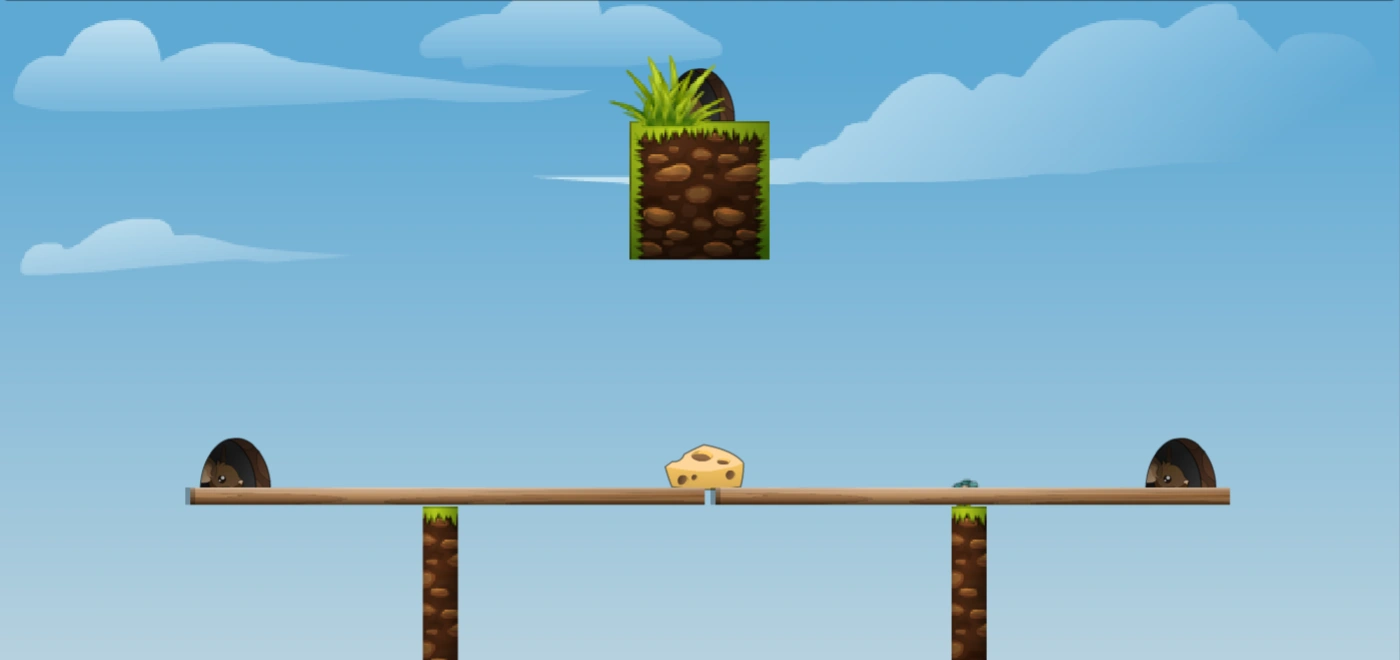  |
Features two logs balanced on planks which will tip over. The mice must avoid all running toward the cheese or else the logs will slide off. The shaman can either place anvils in the center of the planks or stabilize it with a b anchor plank. If the planks slide off, the shaman can create either a bridge, or spirit the mice across the gap.
| |
| 101 |   |
Simply build a bridge/ramp up to the cheese using conjuration.
| |
| 102 |   |
Simply build a bridge/ramp up to the cheese using conjuration. Some shamans like to challenge mice by making a wall jump.
| |
| 103 |   |
Simply build a bridge/ramp up to the cheese using conjuration.
| |
| 104 |   |
Simply build a bridge/ramp down to the cheese using conjuration.
| |
| 105 |   |
Simply build a bridge/ramp under the wall, then back up to the cheese using conjuration.
| |
| 106 |   |
Simply build a bridge/ramp round the platform to the cheese using conjuration.
| |
| 107 |   |
Simply build a bridge/ramp down to the cheese using conjuration.
| |
| 109 |   |
A random mouse (not the shaman) starts off with the cheese. All mice must chase her, and the first ten mice who touches her get the cheese.
| |
| 114 |   |
| |
| 115 |   |
||
| 116 |   |
Both the shaman and mice start at the left platform. The shaman must add weight to the bridge in order for the mice to get to the cheese, though the shaman must be careful not to break the bridge at the same time, by either being careful with what weight is added, or building under the bridge preparedly.
| |
| 117 |   |
The bombs will spawn at the top of the mountain and fall. You can try to get hit by a bomb and get the cheese via air jump or wait for the shaman.
| |
| 118 | 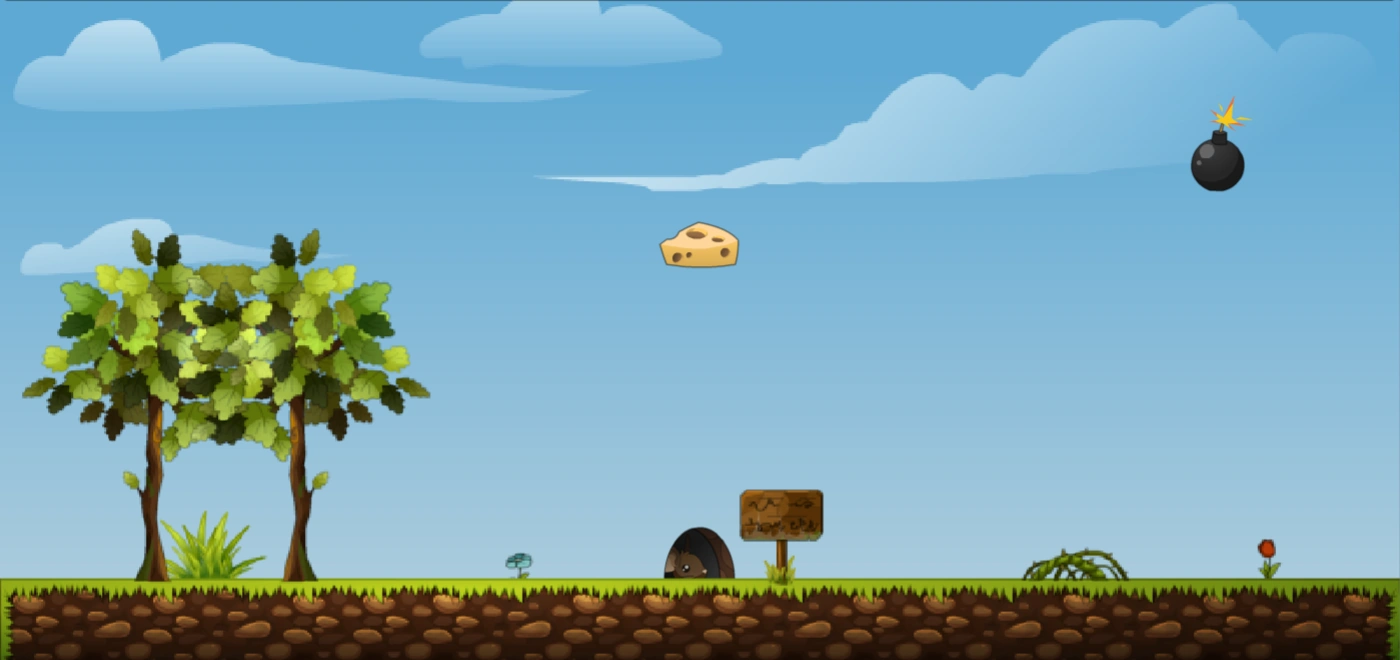  |
The bombs will spawn all over the map just like it happens on Map 14. You can wait for the shaman or get hit just below a bomb and then be launched to get the cheese.
| |
| 119 | 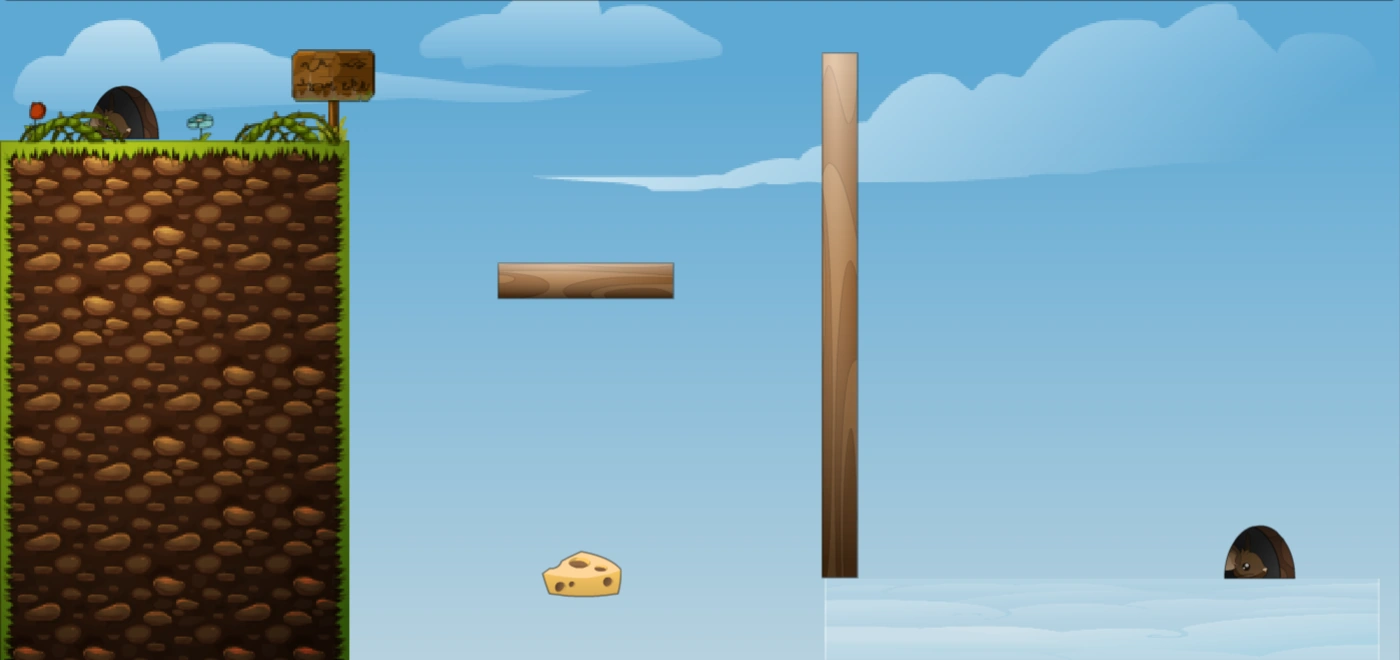  |
Weight needs to be applied on the small platform to make it lower and rise the long wood ground. Shaman will need to place some planks over the cloud ground for mice to walk over it. Mice can also get the cheese and then wall jump back to the left hole.
| |
| 120 |   |
the same as of Map 117. However, the ground is now plane.
| |
| 121 | 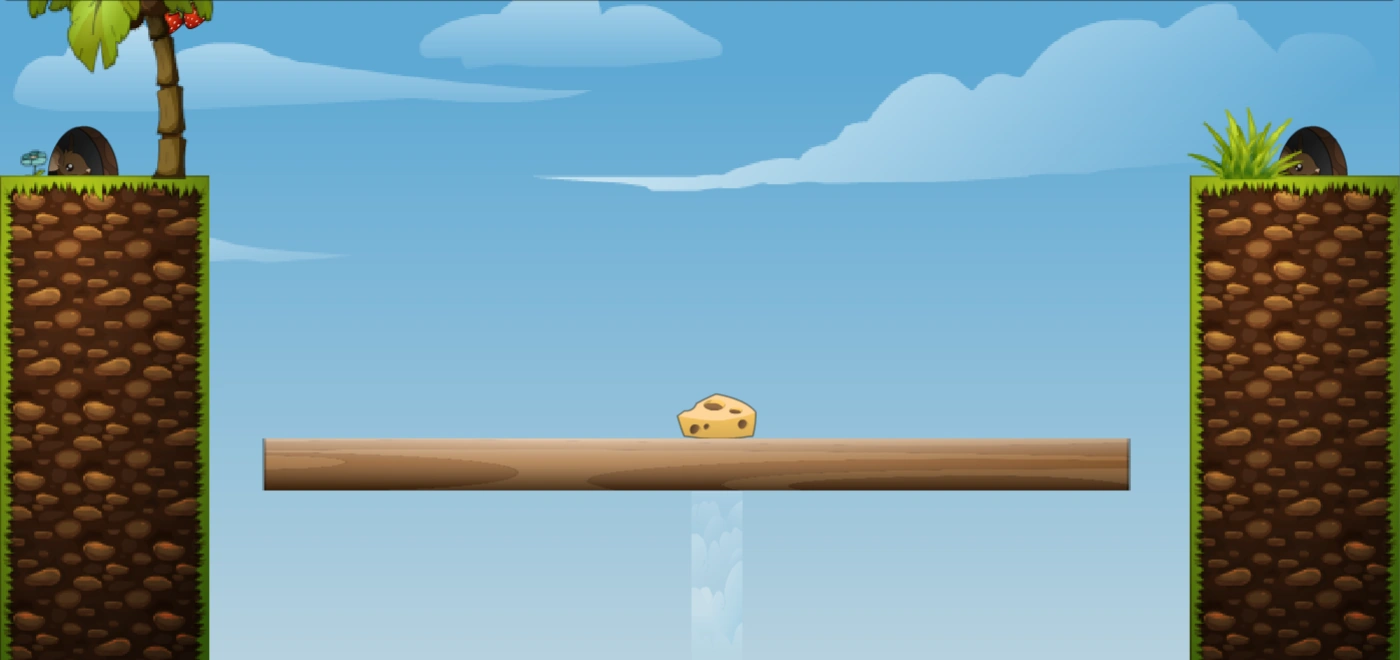  |
Balance is important, after getting the cheese, run to the other side and then wall jump. You can also wait for shaman's help.
| |
| 122 | 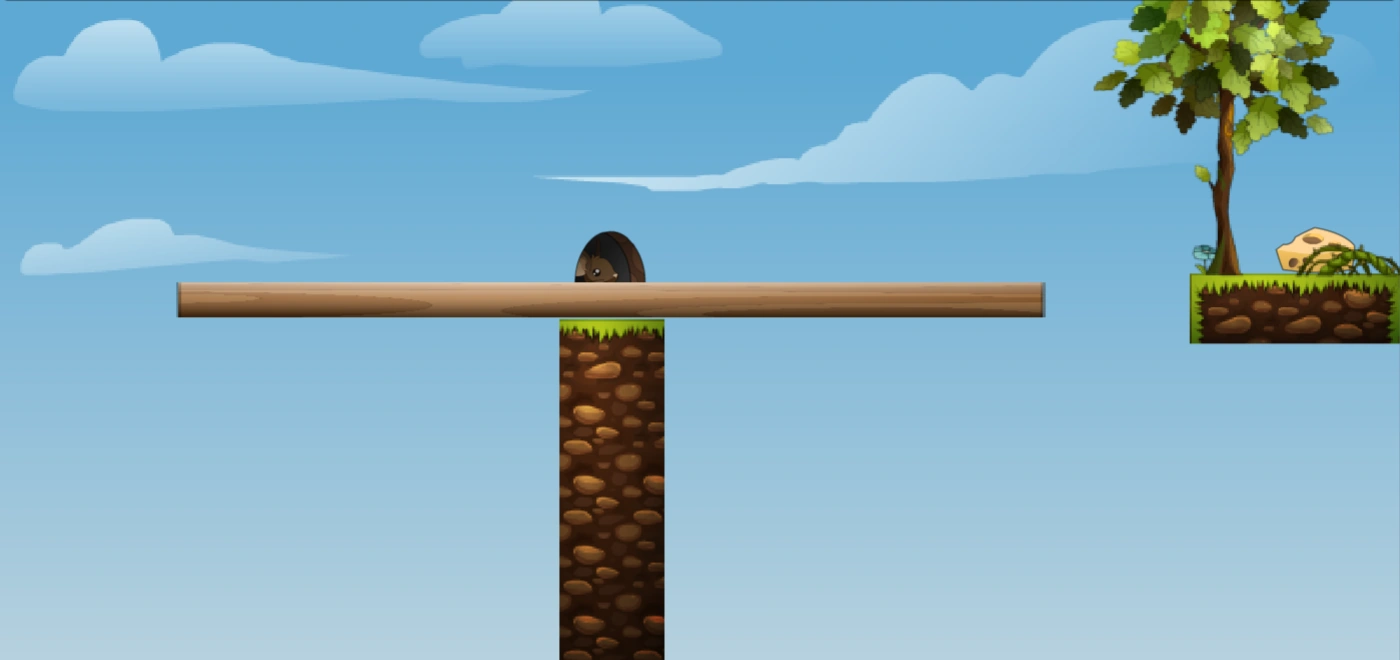  |
Try to balance it enough, or let the shaman put a short red plank underneath it to anchor it. It is the original version of Map 1
| |
| 123 | 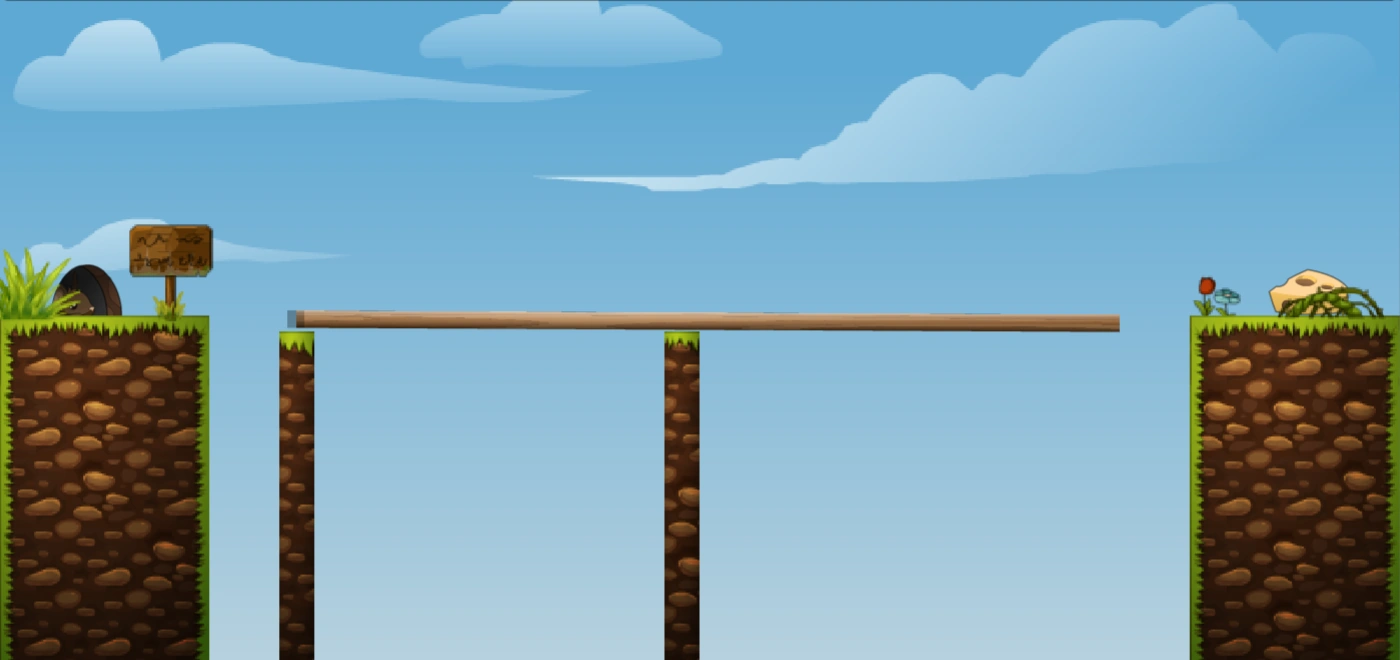  |
Be patient on this one, everyone blindly rushing usually kills the entire group.
A quick rush may be successful on this map, since the plank is partially stabilized. It is the original version of Map 15.
| |
| 124 |   |
It is the same as the Map 35, however, there is no shaman there. So, be even more careful.
| |
| 125 |   |
It is the same as the Map 37, however, there is no shaman there. So, be even more careful.
| |
| 126 |   |
This map is the same as map 78.
| |
| 127 | 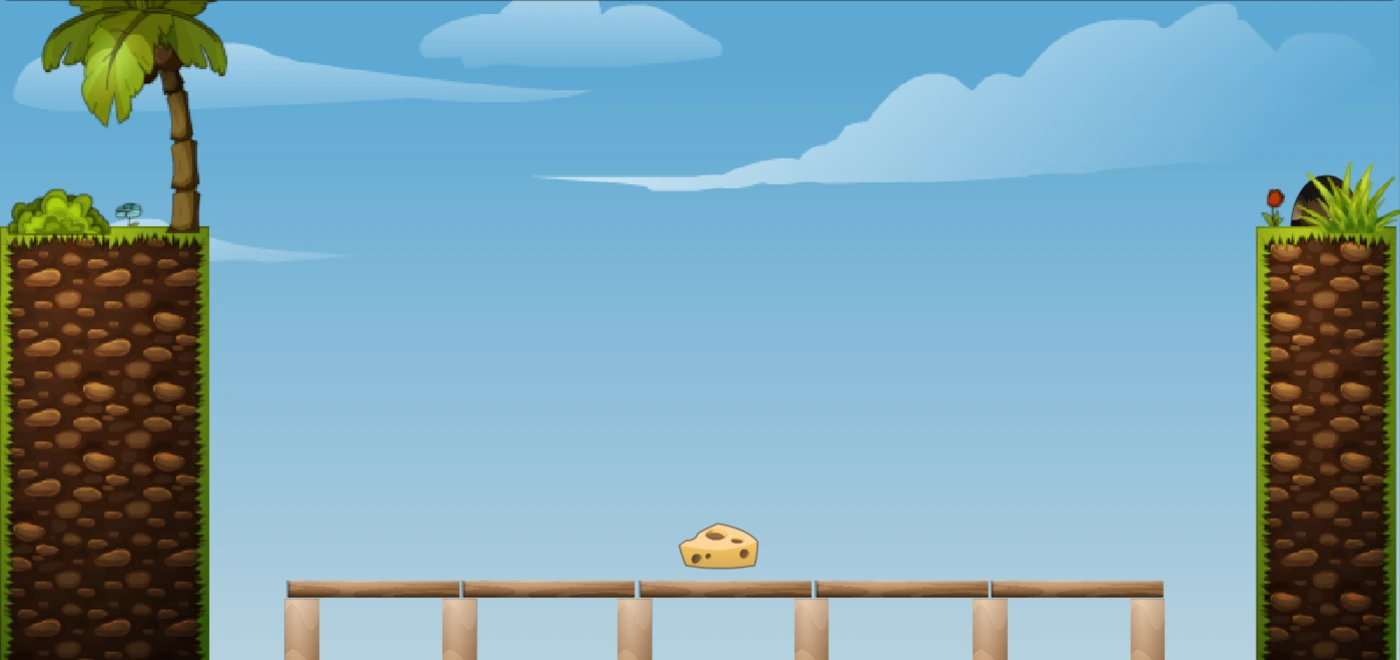  |
The ground where the cheese is at is extremely unstable. Rushers will usually rush to the cheese and wall jump up, but the shaman will have to use what is left of the floor to build up to the hole for the people who can't wall jump.
| |
| 128 |   |
This is the first map to feature water. It is safe to run to the cheese, but once you collect the cheese you have to wait for the shaman to build so you can get back to the hole. As the shaman, you can either build a bridge or just put a lot of boxes
| |
| 129 |   |
Water will make the shaman's buildings float up a bit, which makes this level difficult for Divine mode. For those in normal mode, they can heavily abuse the fact that red anchored planks will not float up.
| |
| 130 |   |
Since the cheese is above the water on this one, if the shaman does not want to build a bridge, they can just make a lot of boxes.
| |
| 131 | 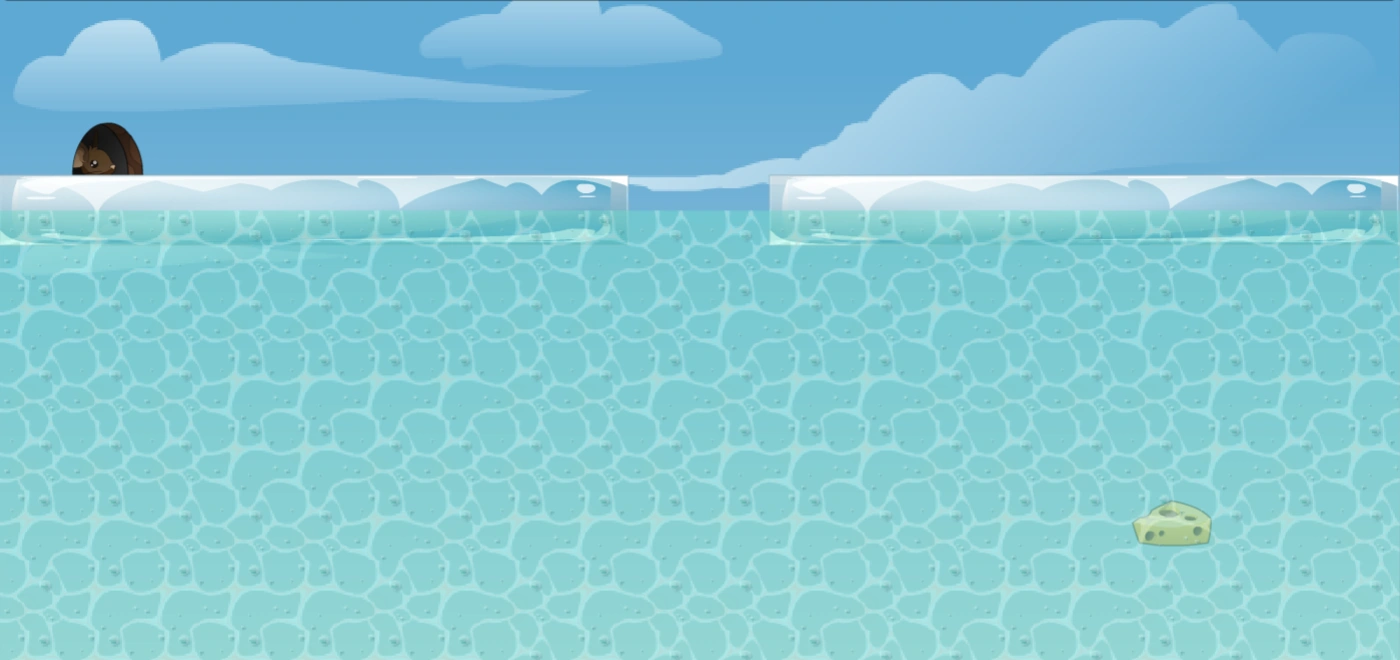  |
A level featuring water, the cheese is underwater, encased in ice. If you have the Spring power, put it relatively low at the middle of the map under the gap. Only one spring is required. If you do not have spring, you need to build a ramp from the entrance of the water to the cheese.
| |
| 132 |   |
It is the same as Map 36, however the balls have been replaced with water. Assist the mice out the water using spirits or a small ramp. It is also possible to jam a plank into the bottom of the wall then cannonball the plank down, launching the mice that were on the water side of the plank upwards, out of the water.
| |
| 133 |   |
A level featuring water. The cheese is above a shallow pool of water. Simply build a ramp, or spirit, but be careful as mice may drown as they descend with cheese. It is also possible to clear simply by putting a lot of boxes in the water.
| |
| 134 |   |
A level with the mouse hole elevated and the cheese in the water.
| |
| 136 |   |
Since this map has collision, the shaman needs to work as quickly as they can to plug up the fake floor below the cheese.
| |
| 137 |   |
As a mouse, when the map is loading, hold right and hope you get pushed to the front of the pack at the top of the cheese tube. If you're the shaman, put balloons at the bottom right corner of the tube.
| |
| 138 |   |
It is possible to beat this level without shaman assistance by running along the side of the middle wall, then when you are falling, with good timing, air jump to the lower wall to wall jump. Other than that, you can wait for shaman assistance.
| |
| 139 |   |
Mice will have to wait for one of the two shamans to build to a hole
| |
| 140 |   |
| |
| 141 |   |
| |
| 142 |   |
You can either wait for the shaman to build to the cheese, or you can try a corner jump to get the cheese without shaman assistance. If you are doing the corner jump method, you have to do it from the middle platform, or one of the two platforms that has a hole on it, or you won't have enough speed to clear the gap.
| |
| 143 |   |
| |
| 144 |   |
Features: Cheese thief | |
| 145 |  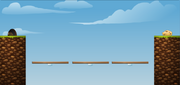 |
||
| 146 | 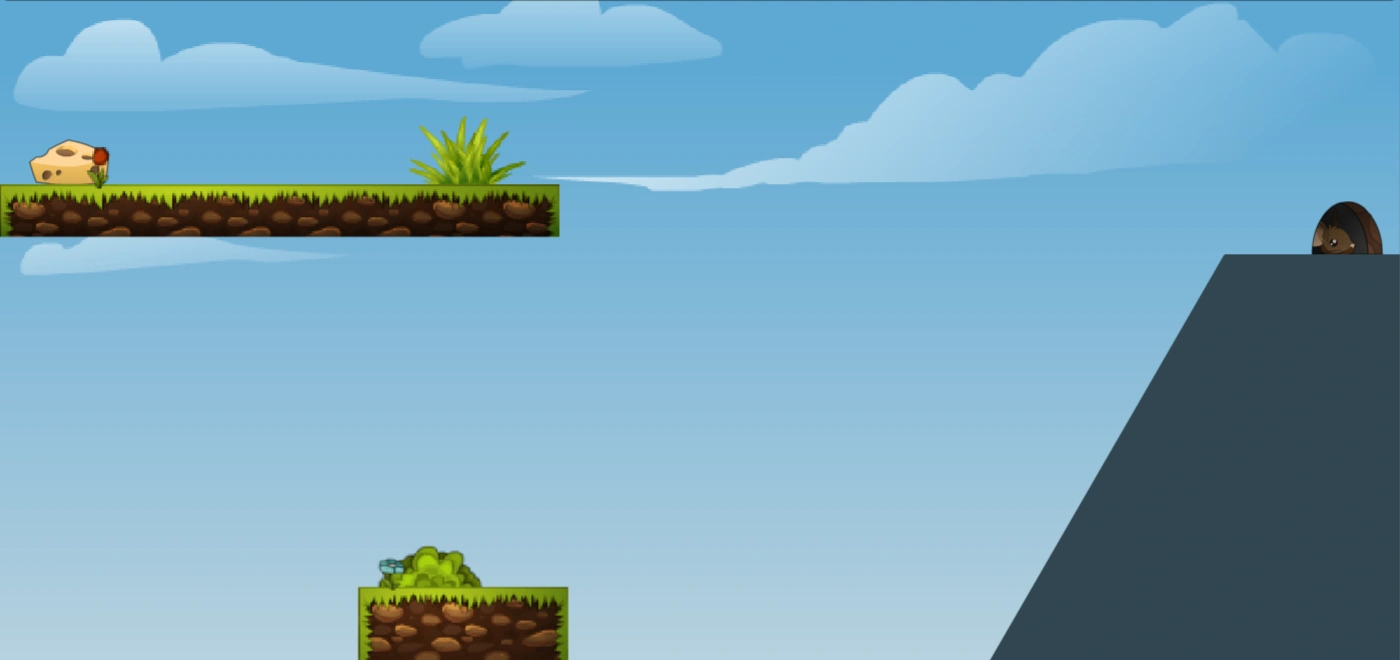  |
||
| 147 |   |
||
| 148 | 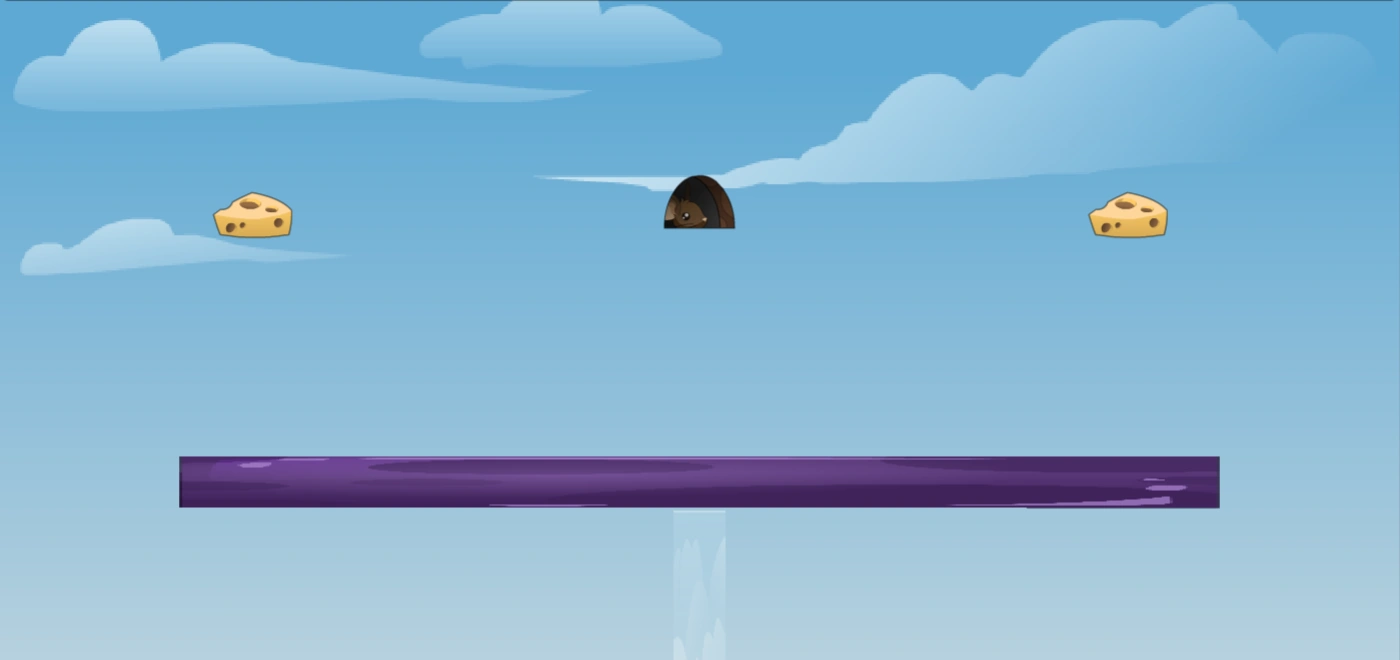  |
||
| 149 |   |
||
| 150 |   |
||
| 151 |   |
||
| 152 |   |
||
| 153 |   |
||
| 154 |   |
||
| 155 |   |
||
| 156 | 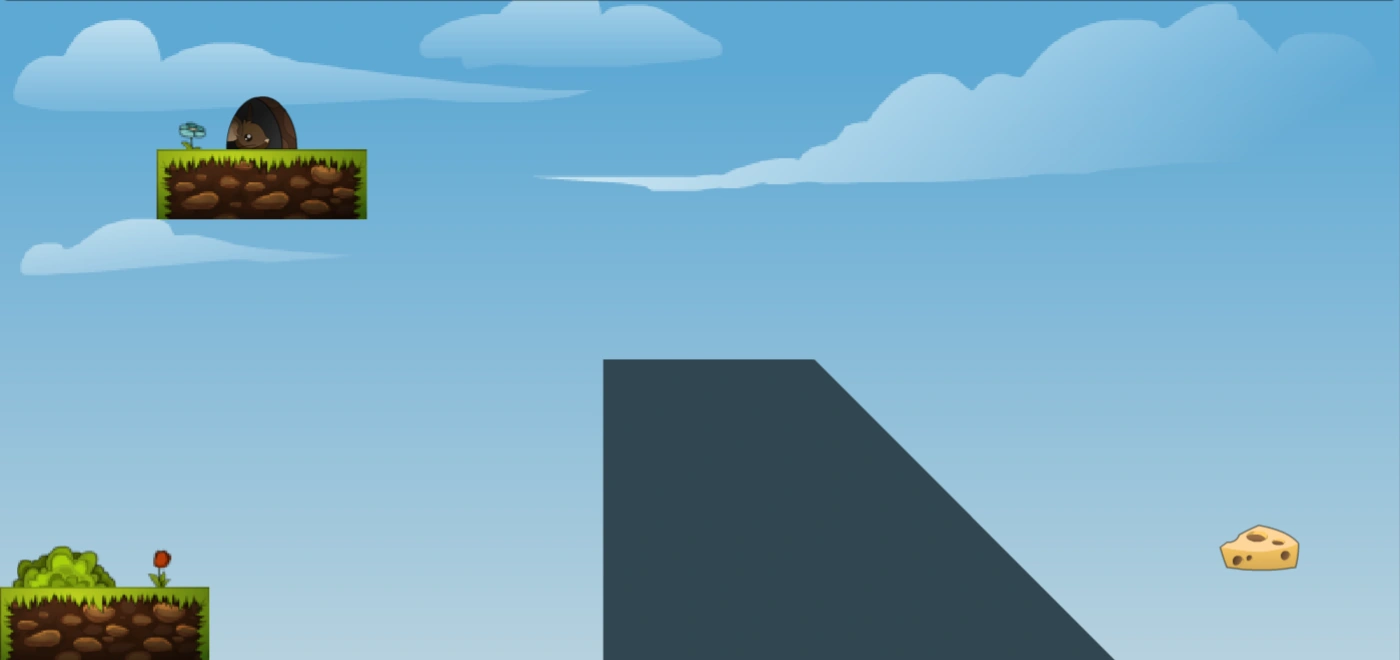  |
||
| 157 |   |
||
| 158 | 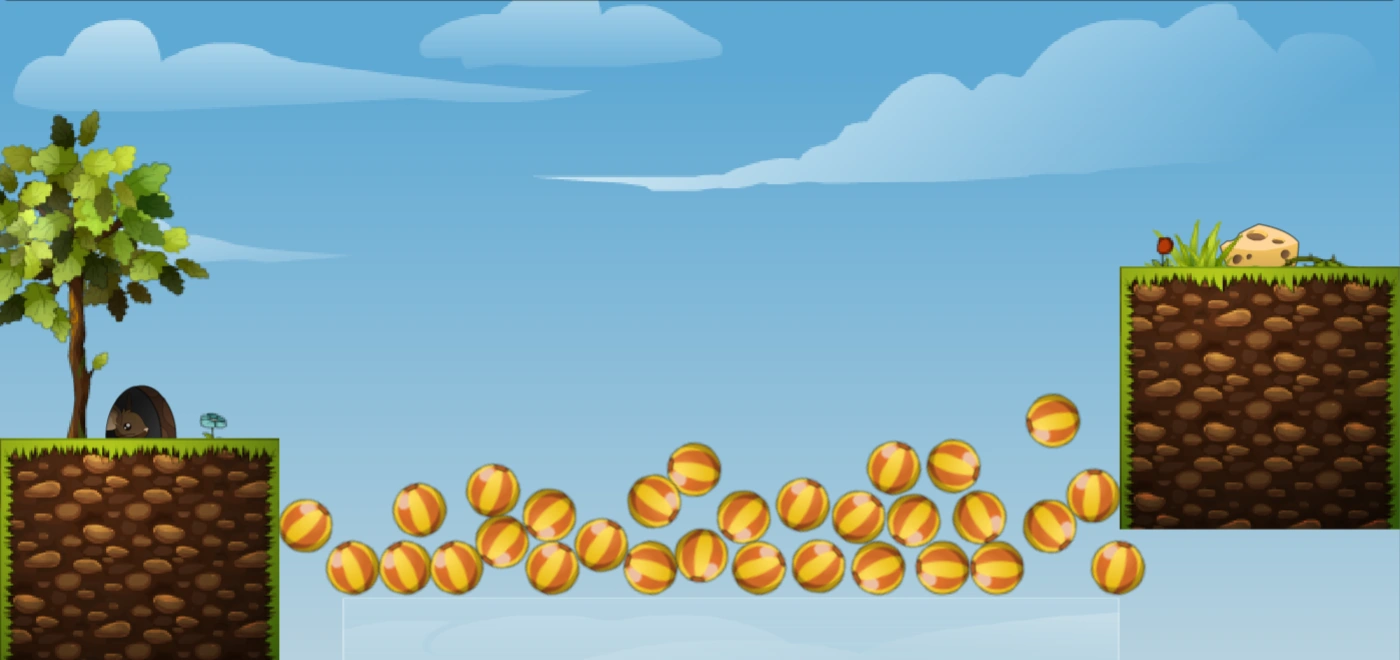  |
||
| 159 |  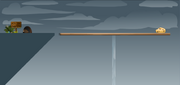 |
||
| 160 |   |
||
| 161 | 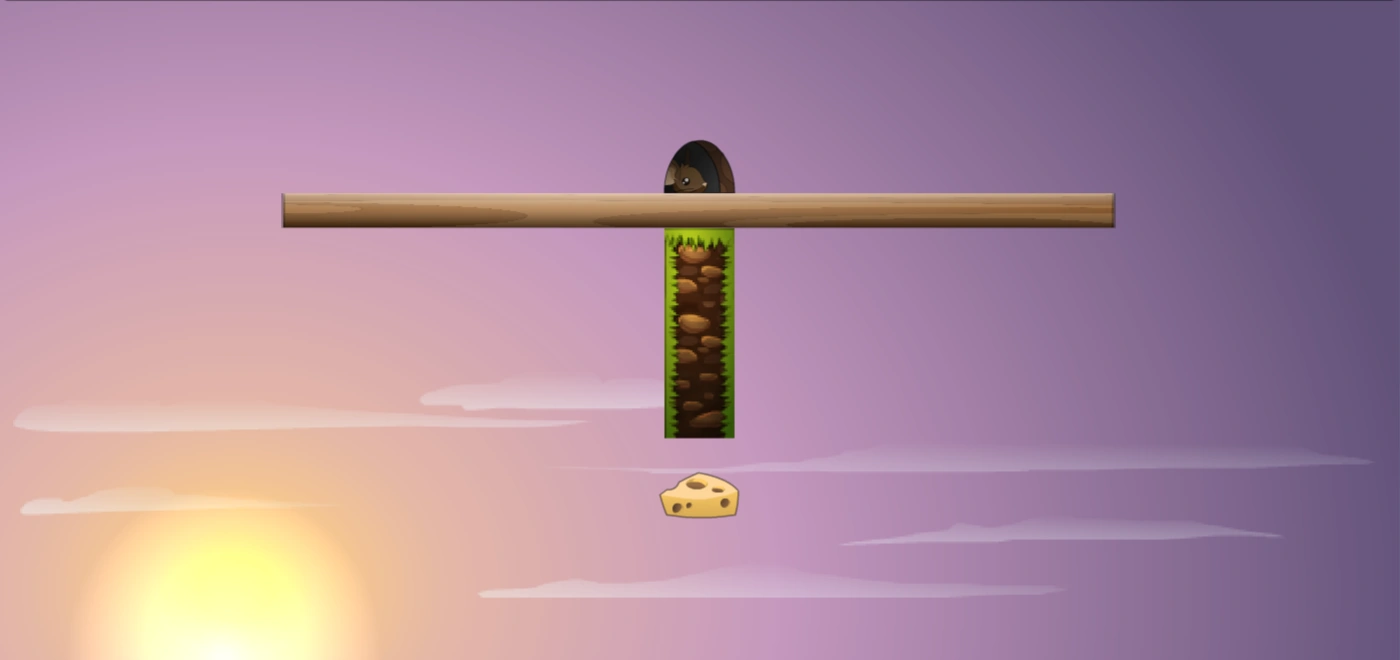  |
||
| 162 |   |
||
| 163 |   |
||
| 164 |   |
||
| 165 |   |
||
| 166 |   |
||
| 167 |   |
||
| 168 | 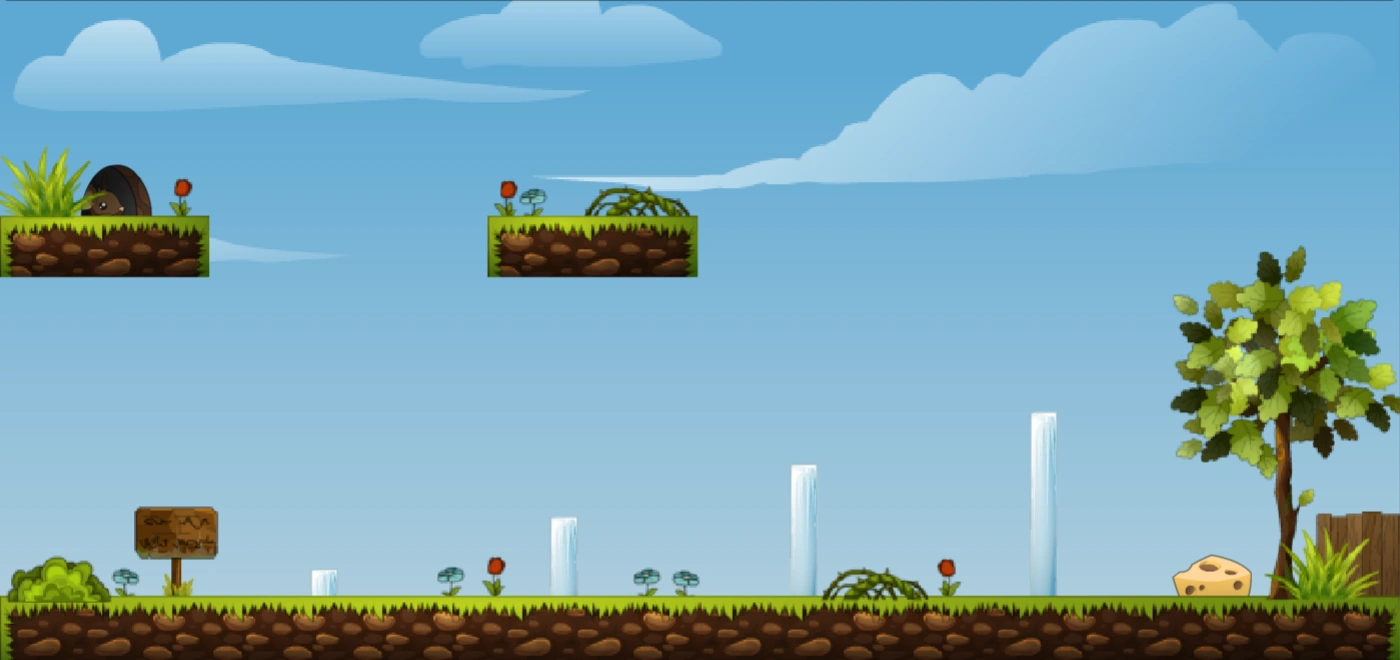  |
||
| 170 |   |
Features: Cheese thief | |
| 171 |   |
Features: Cheese thief | |
| 172 |   |
||
| 173 |   |
||
| 174 |   |
||
| 175 |   |
||
| 176 |   |
Features: Dodue cheese | |
| 177 |   |
Features: Dodue cheese | |
| 178 |   |
Features: Dodue cheese | |
| 179 |   |
Features: Dodue cheese | |
| 180 |   |
Features: Dodue cheese | |
| 181 |   |
Features: Dodue cheese | |
| 182 |   |
Features: Dodue cheese | |
| 183 | 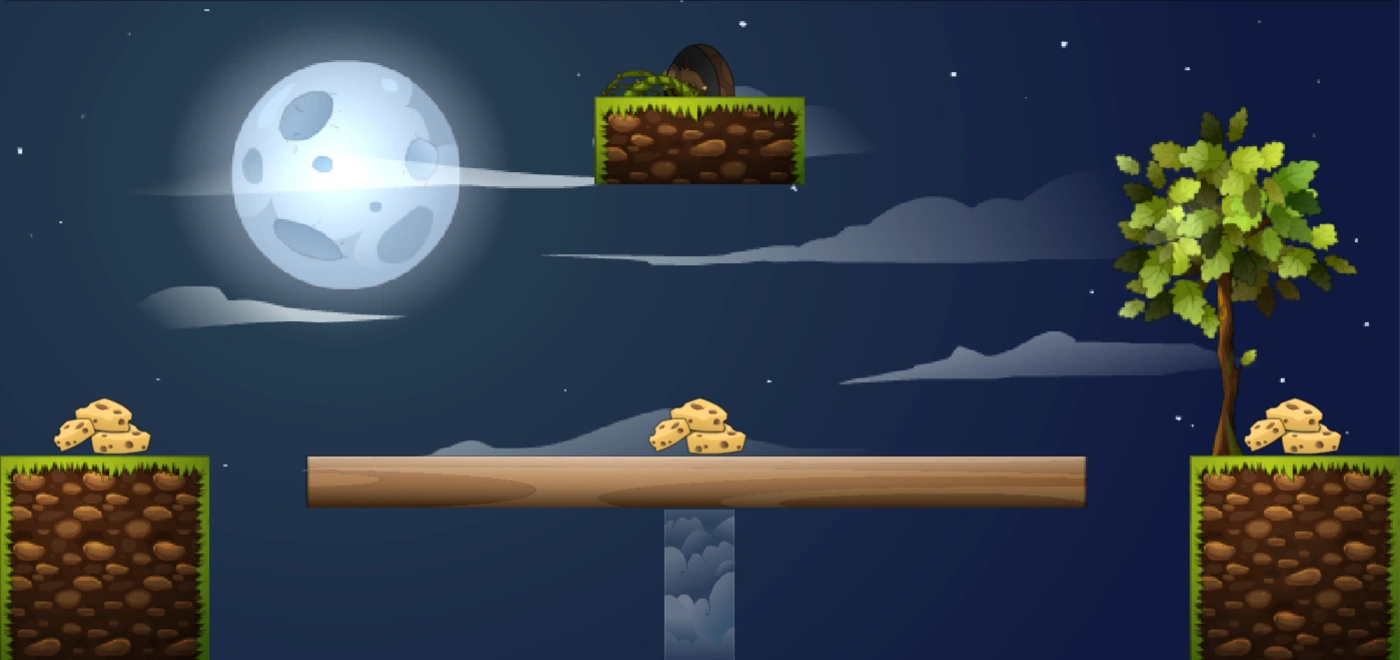  |
Features: Dodue cheese | |
| 184 |   |
||
| 185 |   |
||
| 186 |   |
||
| 187 | 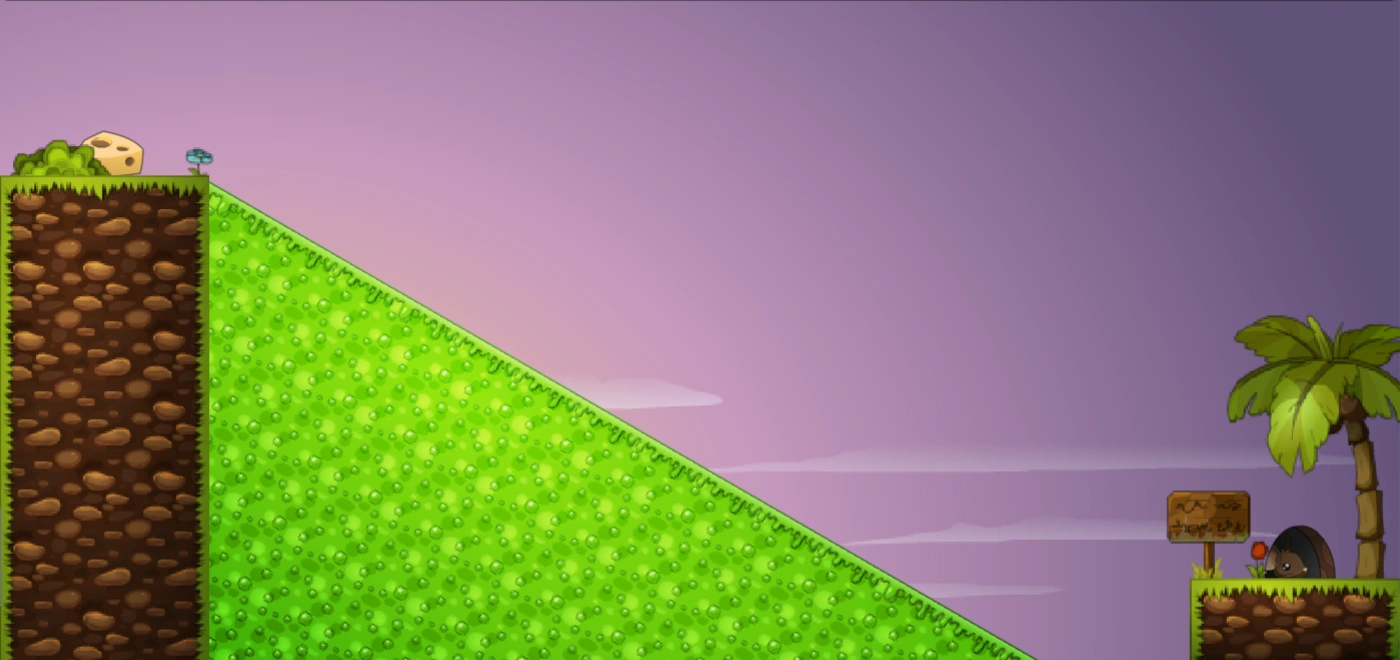  |
||
| 188 |   |
||
| 189 | 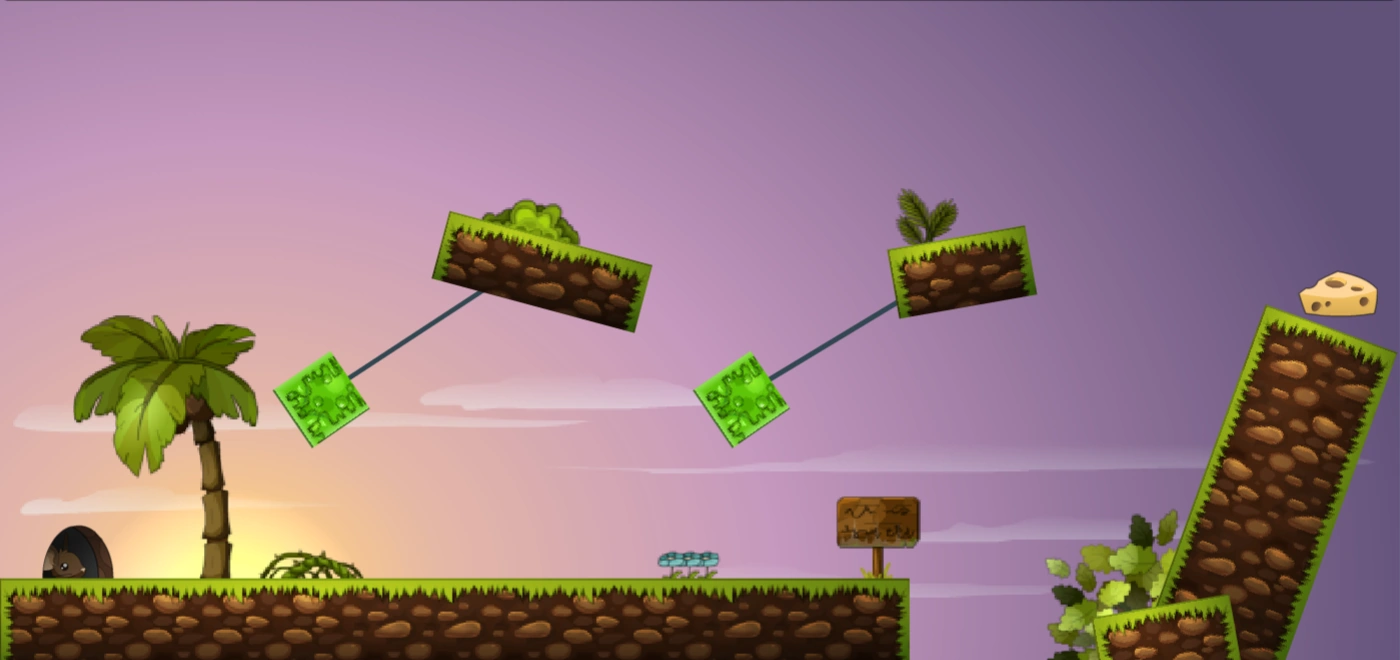  |
||
| 190 | 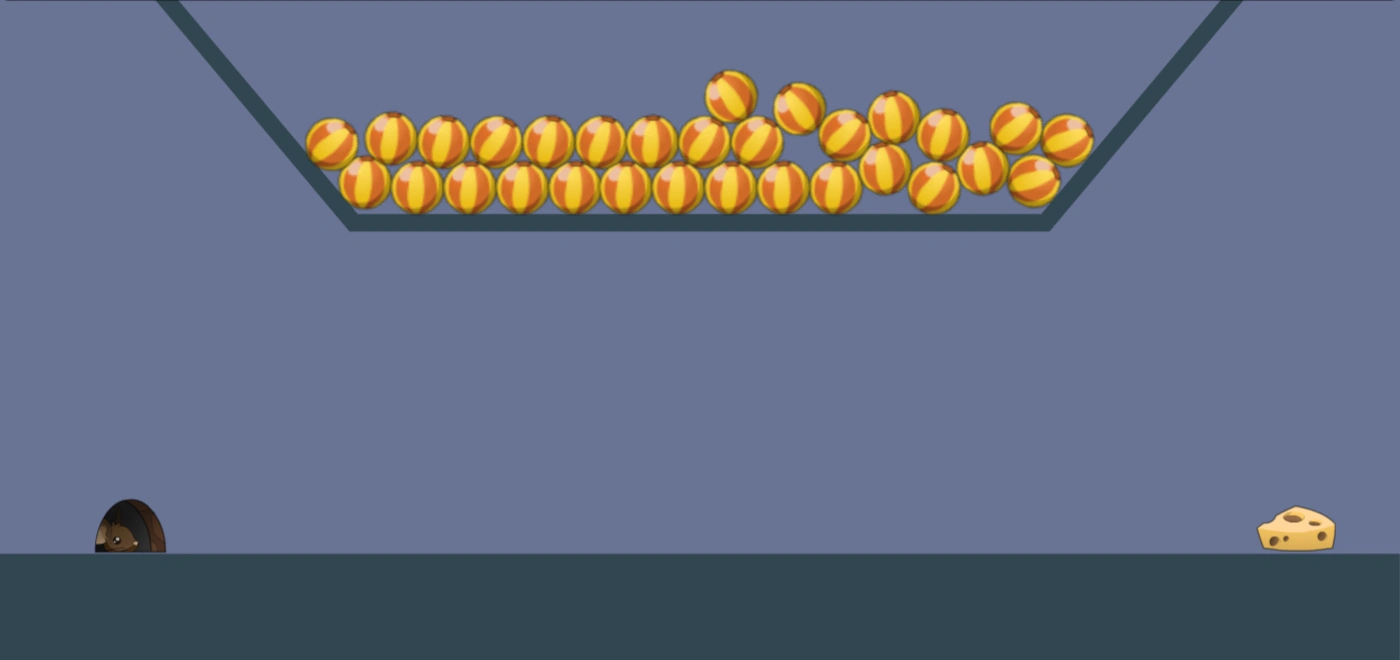  |
||
| 191 |   |
||
| 192 |   |
||
| 200 |   |
This one is the first map which features transformation. Mice can transform into several shaman items, furthermore there is no shaman. To solve this map, two long planks needs to be put with their centers at the inner wooden corners. To stabilize the construction, anvils can be put onto the planks.
| |
| 201 |   |
As this map features transformation, there is no shaman on the map. Instead, each mouse can transform into a shaman item itself. This map consists of ground and a large block of ice in the middle of it. The mice need to stack two large boxes one over the other at each side of the ice block to make the remaining mice be able to walljump over the blockade.
| |
| 202 |   |
This map features transformation, so mice can turn into several shaman items and there is no shaman. On this map, the cheese is raised and can only be reached by stacking two large boxes one over the other directly under the cheese.
| |
| 203 |   |
Since this map features transformation, mice can turn into shaman items and there is no shaman. There are two grounds on the right and on the left of the map. In between them, there is a big gap, inside which there is a small piece of cloud ground. To solve this map, two mice should transform into long planks to cover the gap. The cloud has to be used as a support. Furthermore, anvils can be put on the ends of the planks to stabilize them.
| |
| 204 |   |
On this map, transformation is featured, so mice can transform into shaman items, furthermore there is no shaman. The simplest way to solve this map is to put a long plank over the center of each platform to extend them. Thus mice can easily jump from one platform to the other and finally bring the cheese into the hole.
| |
| 205 |   |
This map features transformation, so mice can turn into several shaman items and there is no shaman. On the left of the map, there is a platform with the hole where the mice spawn. The cheese is located at another platform on the right of the map. Between the two platforms are cloud platforms. To solve this map, some mice should turn into long planks and cover the gaps between the clouds, so that the normal mice can walk over them.
| |
| 206 |   |
This map features transformation, which means that mice can transform into several shaman items; there is no shaman. Once all the mice have reached the raised ground, one mouse needs to transform into a long plank with its left end being flush with the ground's left end. Now put an anvil onto the left of the plank to stabilize the construction and prevent mice from falling off.
| |
| 207 |   |
As this map features transformation, mice can transform into shaman items; there is no shaman. On this map, long planks and anvils should be used to reach the cheese. This is widely considered to be the hardest transformation map.
| |
| 208 |   |
This map features transformation, so mice can transform into several shaman items and there is no shaman. To solve the map, mice need to transform into long planks while they jump towards cloud grounds. This way the gap is covered. The rest of the map can be done without turning into an object.
| |
| 209 |   |
Although this map features transformation (no shaman, mice can transform into shaman items), it can be done completely without a single transformation. Everything that needs to be done is to bounce the trampoline ground, reach the raised platform and wall jump the ground in order to reach the cheese. The much more common, easier and faster way to solve this map is to put a large box next to the small pillar, thus mice only need to walljump until they reach the cheese.
| |
| 210 |   |
As this map features transformation, mice can turn into shaman items; there is no shaman. A good but difficult way to solve this map is to build a stack of large boxes directly under the cheese. But watch out: The boxes might fall over or some mice won't be able to wall jump them!
| |
| 211 |   |
Features: Conjuration | |
| 212 |   |
Features: Conjuration | |
| 213 |   |
Features: Conjuration | |
| 214 |   |
Features: Cheese thief | |
| 215 |   |
Features: Cheese thief | |
| 216 |   |
Features: Collision and dodue cheese | |
| 217 |  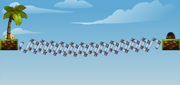 |
||
| 218 | 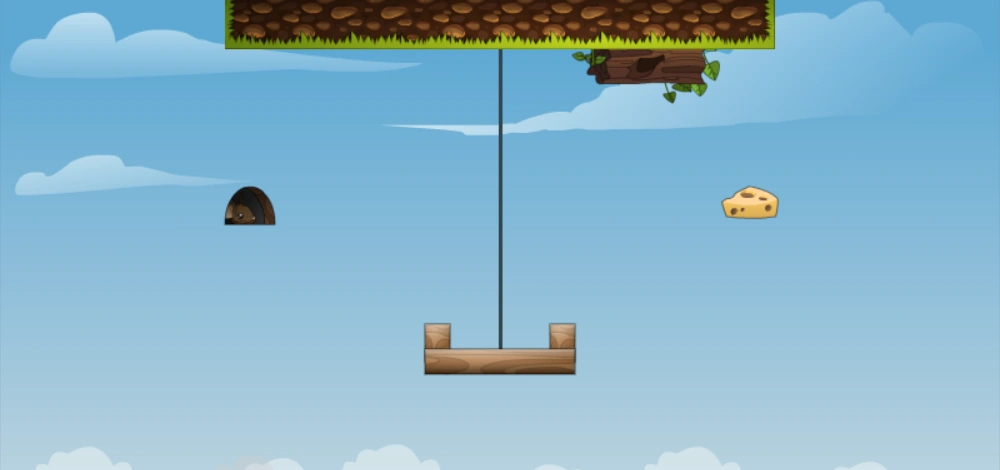  |
||
| 219 | 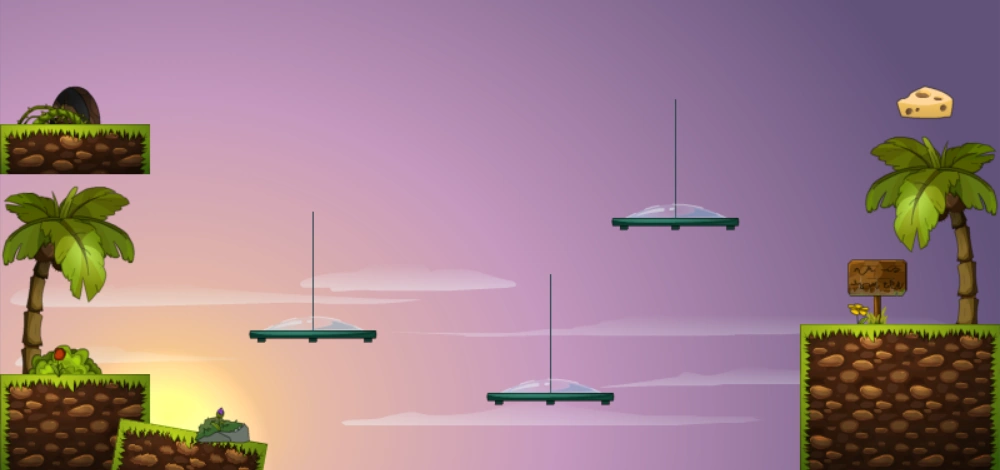  |
||
| 220 |   |
||
| 221 | 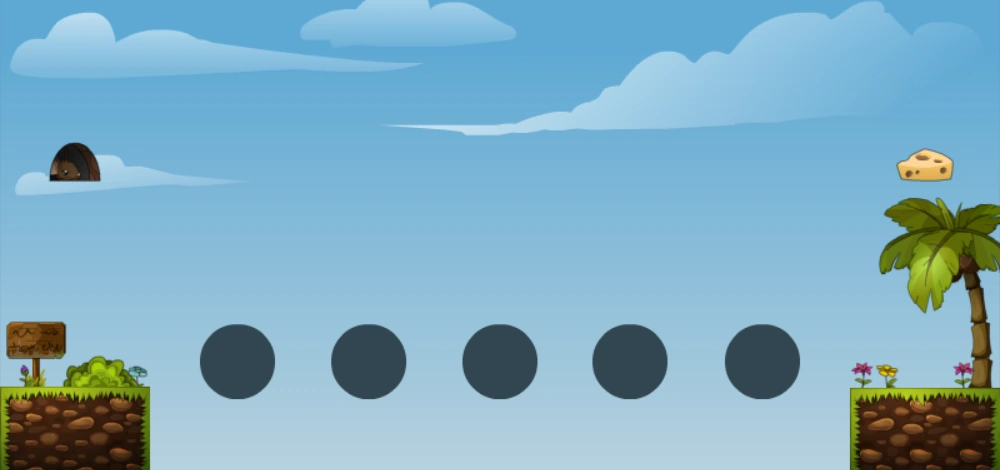  |
||
| 222 |   |
Features: Negative gravity | |
| 223 |   |
Features: Two shamans | |
| 224 |   |
||
| 225 | 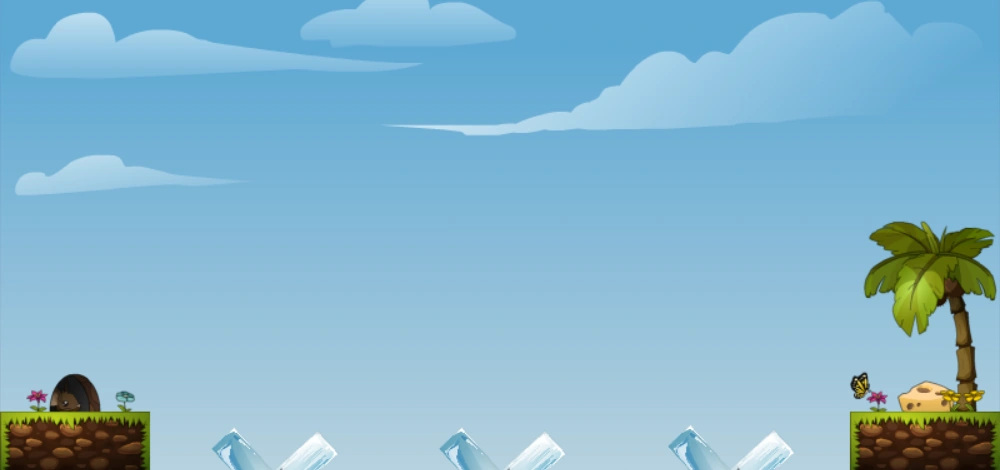  |
||
| 226 |   |
||
| 227 |   |
Features: Two shamans | |
| 228 |   |
||
| 229 | 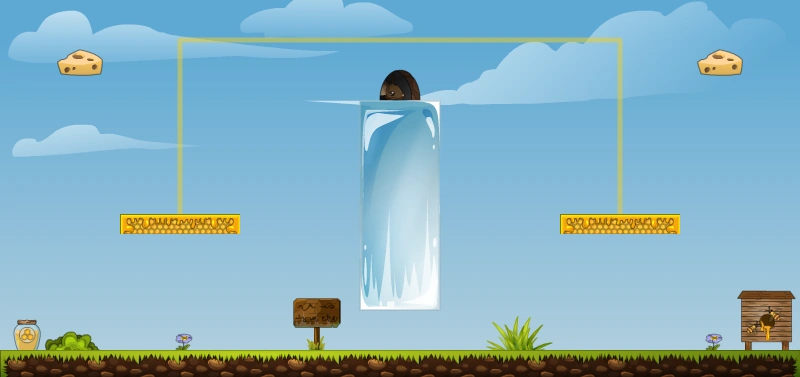  |
||
| 230 |   |
Features: Low gravity | |
| 231 |   |
||
| 232 |   |
||
| 233 |   |
| Vanilla maps | |
|---|---|
| Acid ground | |
| Bomb | |
| Cheese thief | |
| Collision | |
| Conjuration | |
| Dodue | |
| Dual shaman | |
| Gravity | |
| Honey ground | |
| Night mode | |
| Soulmate | |
| Transformation | |
| Water ground | |
| Wind | |
| Other | 0, 1, 2, 3, 4, 5, 6, 10, 11, 12, 13, 15, 16, 17, 18, 19, 20, 21, 22, 24, 25, 26, 27, 30, 31, 32, 34, 35, 36, 37, 40, 41, 42, 54, 55, 57, 58, 59, 60, 61, 62, 64, 66, 67, 69, 70, 71, 72, 73, 74, 75, 76, 77, 78, 79, 80, 85, 86, 89, 90, 91, 92, 93, 94, 95, 96, 98, 99, 100, 114, 115, 116, 119, 121, 122, 123, 124, 125, 126, 127, 145, 146, 147, 148, 149, 150, 151, 152, 153, 154, 155, 156, 157, 158, 159, 160, 161, 162, 163, 164, 165, 166, 167, 168, 172, 173, 174, 175, 190, 191, 192, 217, 218, 219, 220, 221, 224, 225 |
| Removed | |
|
|
|
|
| |
| Map categories | Vanilla maps • 2010 | Event maps | Removed maps | Other maps |
These are old vanilla maps that were removed from the map rotation at some point, except map 801.
| # | Image | Description |
|---|---|---|
| 7 | 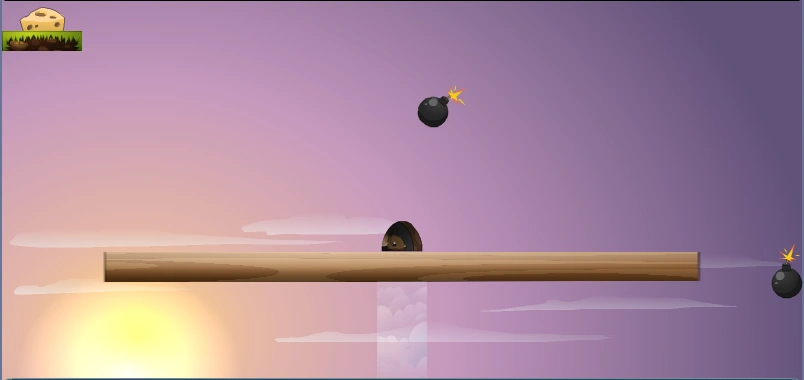  |
On this level bombs will continue to fall at the center of the platform. The cheese automatically teleports to either the left or right side when one minute remains. The best strategy here is to wait in the middle and headbutt the bombs away until the cheese teleports.
|
| 10 |   |
The shaman needs to spirit the mice across the gap to the cheese and back. The shaman should place an arrow at the edge, and wait until all the mice are there, then place a spirit beneath their feet, preferably a bit behind them to blast them further. Some advanced shamans have been known to create a bridge below them, then use a cannonball to move their platform over the hole.
|
| 10 |  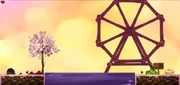 |
This map appeared during Christmas 2019 and Valentine's Day events since 2020. The map is the same as old map 85. |
| 21 | 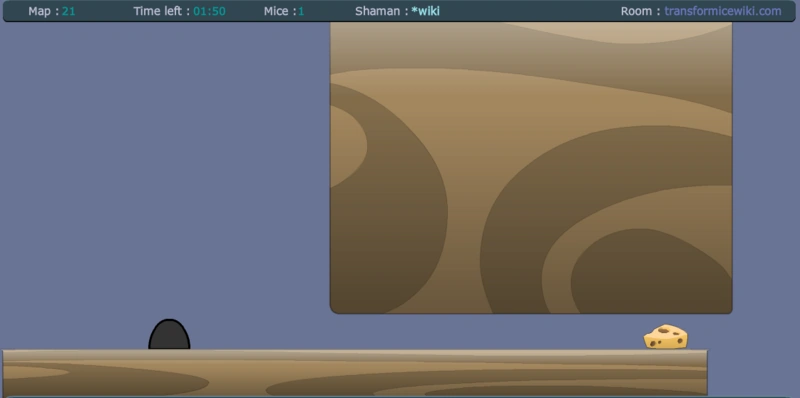  |
Let the people who have the cheese go out, because you can not clip through other mice on this level.
|
| 25 |   |
The only thing the shaman can build is an exploding ball which launches the mice, and is relatively unreliable. For maximum results, try to keep the ball underneath yourself. You can also try to wall jump up the wall for the cheese.
|
| 27 |   |
This simple looking puzzle is in fact a trap. Two holes on either side of the map are invisible until you fall to your death. The shaman should try to stick a world anchored plank over them once they figure out where they are.
|
| 29 | 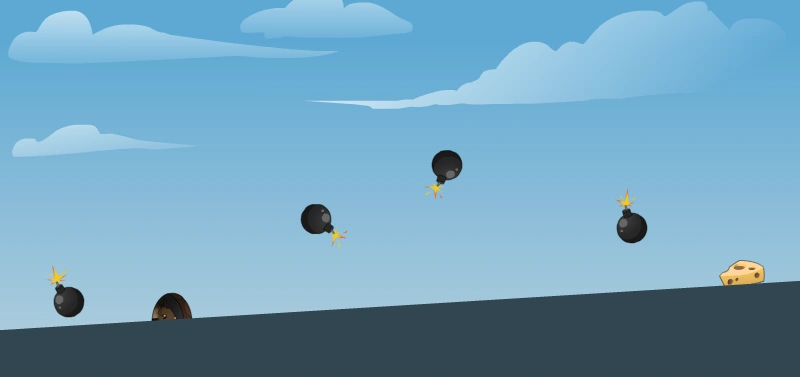  |
Get the cheese and get back avoiding the bombs. Shamans can help by building a series of see through large crates, this makes a bomb proof corridor for the mice to run through. This is an exact replica of 28 except mice collide.
|
| 31 |  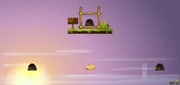 |
If the box is not broken, this map is straightforward. Otherwise, push the box to the cheese and then over to the hole. This may require Shaman intervention in the form of a small ramp or spirit.
|
| 34 |  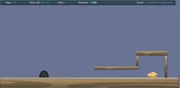 |
Let mice who have the cheese get out of the hole, you can not clip through the other mice in this level. The shaman can cannonball mice towards the cheese. It will not only pack the mice, so more of them will get cheese, but also it helps mice get out of the bottle as the ball rolls away. Another useful building is the "mice-flap" which allows mice in but not out, unless you use a right cannonball to blow them all out at once.
|
| 41 |  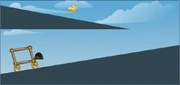 |
The shaman here must quickly block the right side, then usher the mice as far right as possible and build a ramp up to the second level. The shaman can then build another ramp on the lower level to catch the car as it falls over the edge (since some people can't see past the edge), but smart mice won't need it.
|
| 42 | 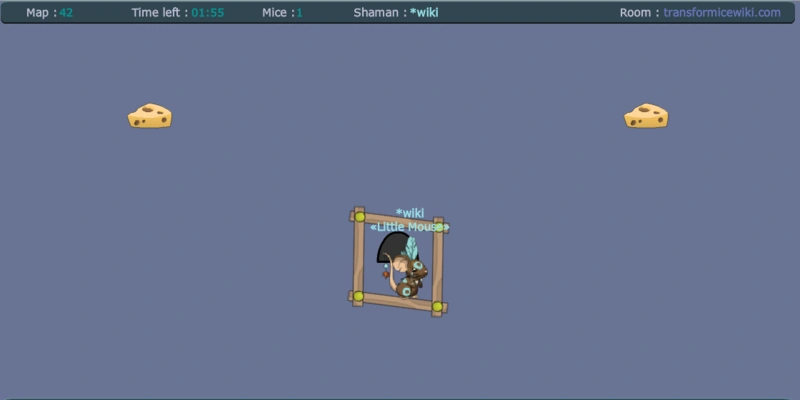  |
Pendulum -- most of the time, it glitches out and everybody dies. But if everyone pushes to one side, only two or three people fall out. It is like a giant swing - everyone should run right, then left, then right etc. until the box gets to the cheese.
|
| 42 |   |
|
| 54 |   |
Run to the cheese by jumping to each raised platform. Left/right controls are reversed as this map is rotated 180 degrees.
|
| 55 |   |
Run to the cheese, but avoid the holes. Left/right controls are reversed as this map is rotated 180 degrees.
|
| 57 | 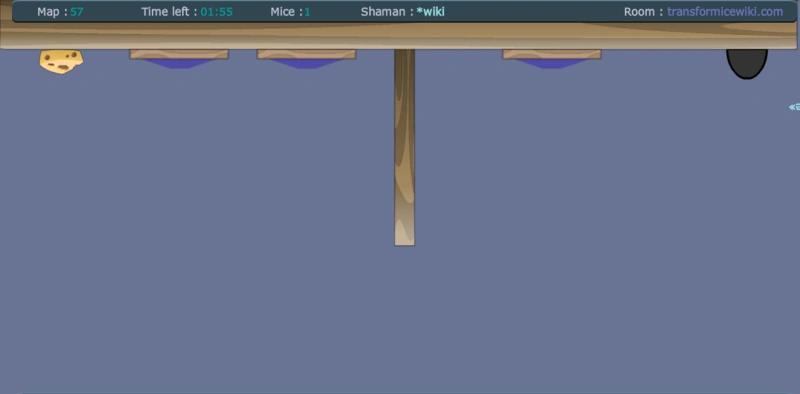  |
Attributes: Inverted, No Shaman |
| 59 | 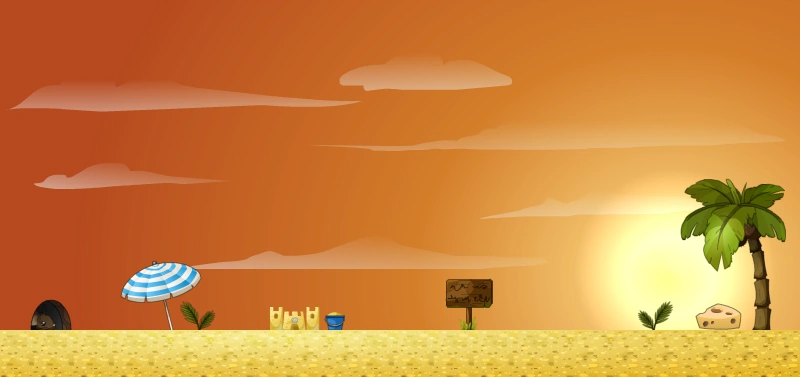  |
This cheese teleports to a random location each time a mouse gets to it. The cheese can't teleport too high for the mice to reach it.
|
| 60 | 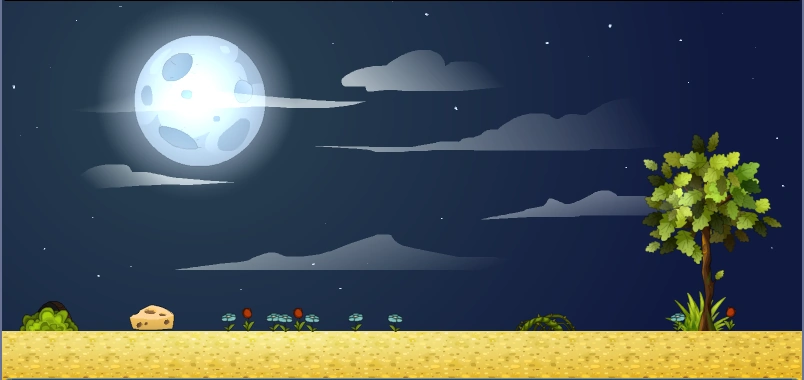  |
This cheese will run away from you. One mouse has to take the bait.
|
| 60 | 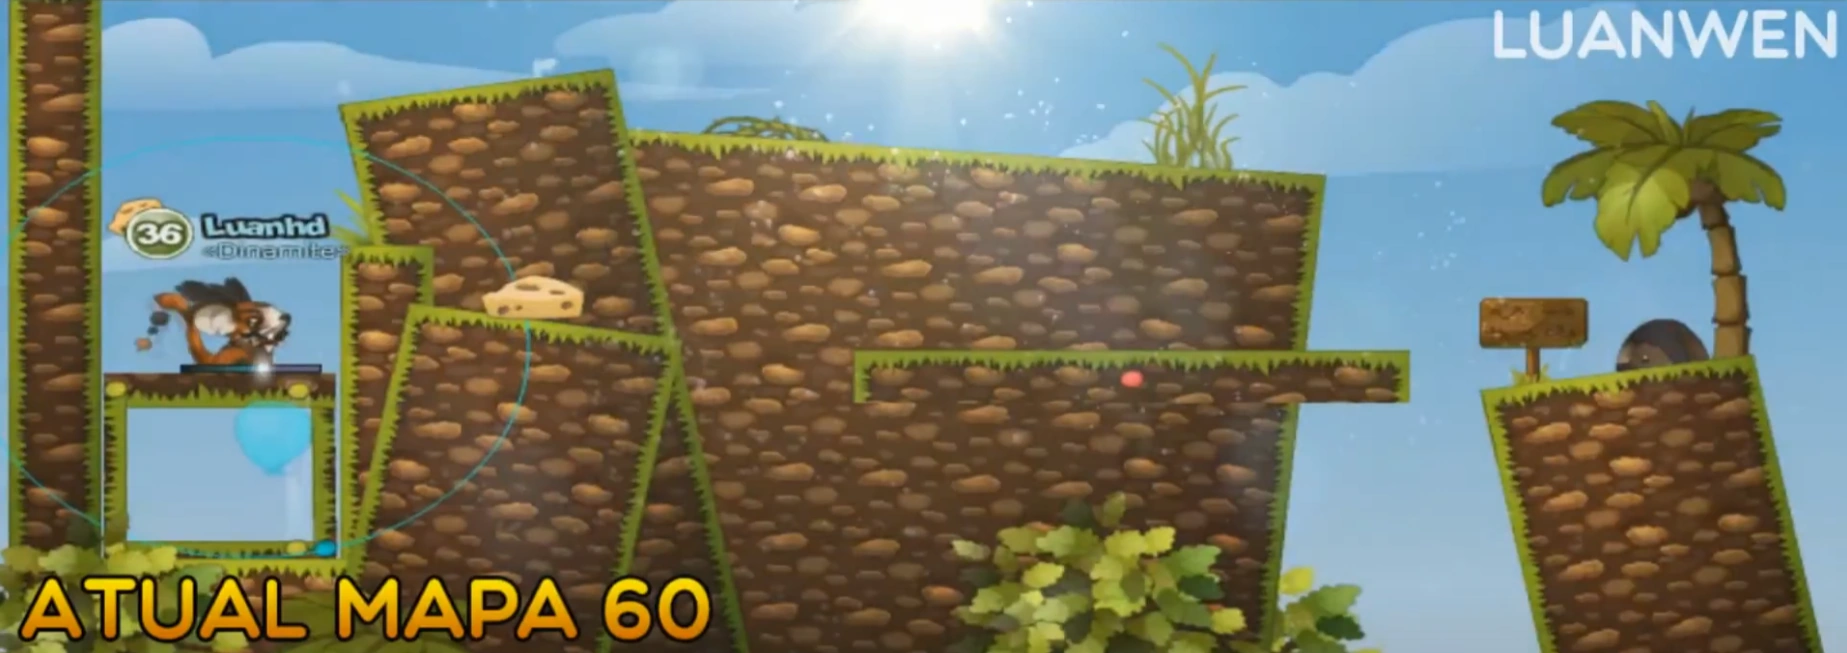  |
|
| 62 | 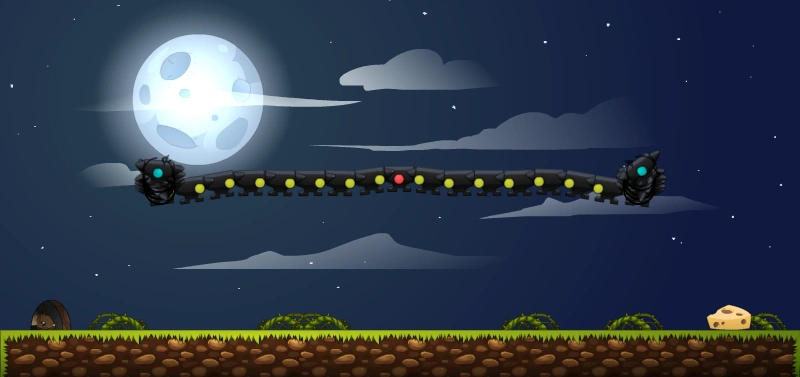  |
In this map the snake like contraption anvil god is made of anvils but not constructed by a shaman. The anvil god is part of the map. The strategy most people use here is a blind rush. It is possible to destroy it by spamming spirits.
There have been instances where the anvil god will double itself, and sometimes fly apart.
|
| 62 |   |
|
| 85 |   |
Mice are paired up and connected together with a string. Your partner's name will appear in green. There is a trampoline ground that mice have to walk over. Partners must stay close together while jumping across or they may end up flying off the map.
|
| 89 | 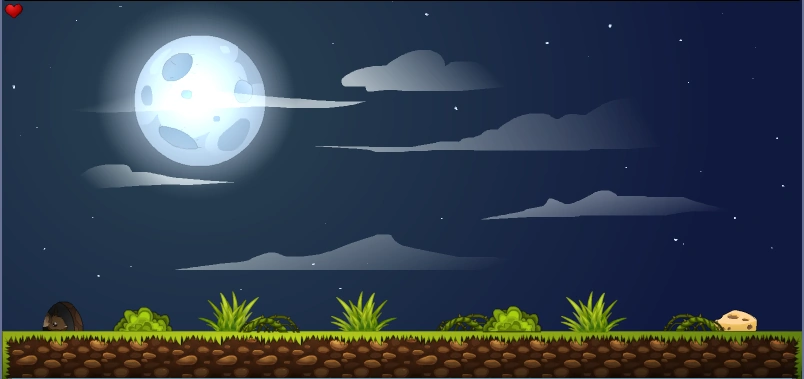  |
Mice are paired up and connected together with a string. Your partner's name will appear in green. On this level the cheese and hole are switched. The mice must stand by the hole to receive their cheese and then run back to the cheese to enter the hole.
|
| 89 | 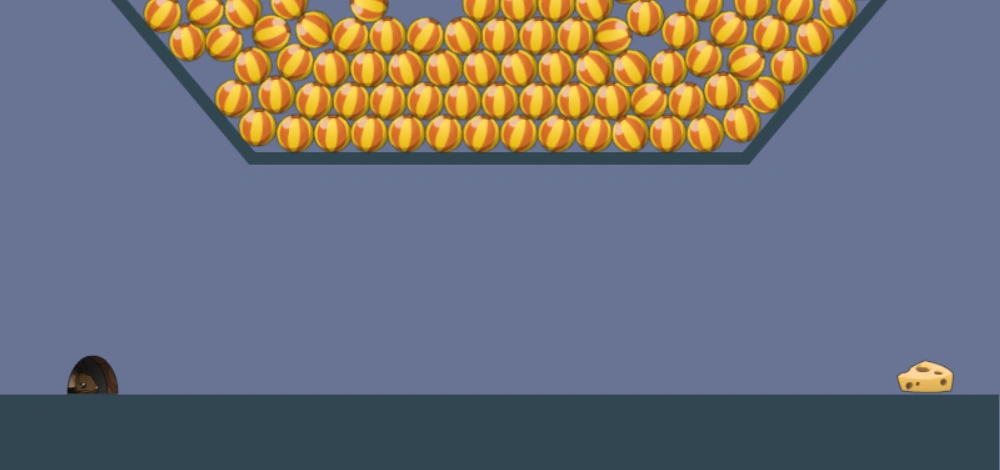  |
Balls fall after 5 seconds. |
| 92 |   |
Shaman must use a left cannon to push the ice block off the map. In a few cases, the mice may push the block off screen by themselves.
|
| 96 | 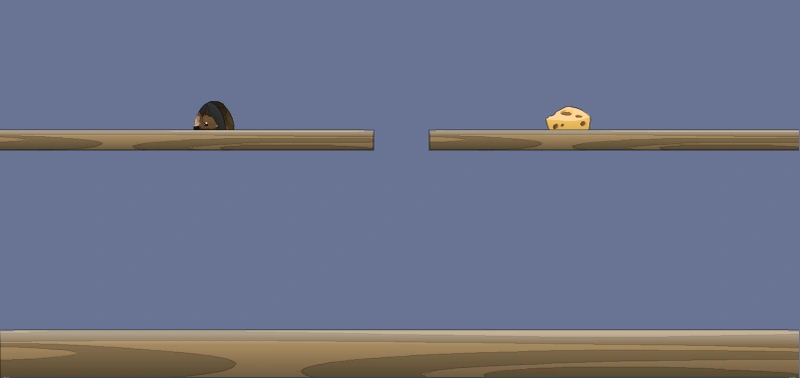  |
Shaman must lift the mice one by one with balloons through the hole on the platform. Mice must stand still or the connection to the balloon will be severed. The hole is otherwise unreachable by mice.
|
| 99 | 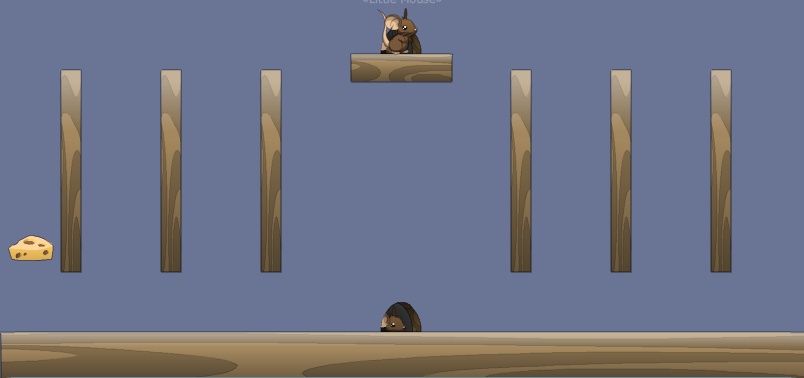  |
Adept wall-jumpers may be able to go down each pit before they find the cheese. Otherwise it is a good idea to send one mouse down and have them tell you where the cheese is located, and then have the rest get it. Be careful not to fall off thinking it is a different level, many lemmings may do this.
|
| 99 |   |
|
| 108 |  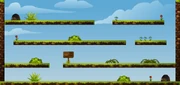 |
The shaman starts off with the cheese. All mice must chase the shaman, and the first ten mice to touch the shaman get the cheese. After all the cheese has been taken from the Shaman, they are killed.
|
| 110 | 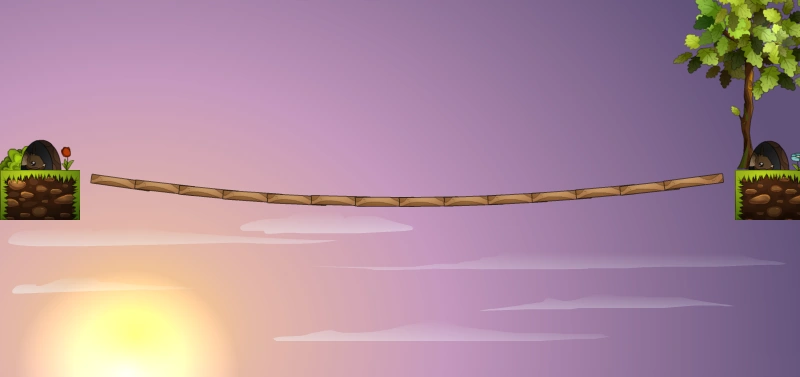  |
The shaman starts off with the cheese. All mice must chase the shaman, and the first ten mice to touch the shaman get the cheese. After all the cheese has been taken from the Shaman, they are killed.
|
| 111 |   |
The shaman starts off with the cheese. All mice must chase the shaman, and the first ten mice to touch the shaman get the cheese. After all the cheese has been taken from the Shaman, they are killed.
|
| 112 | 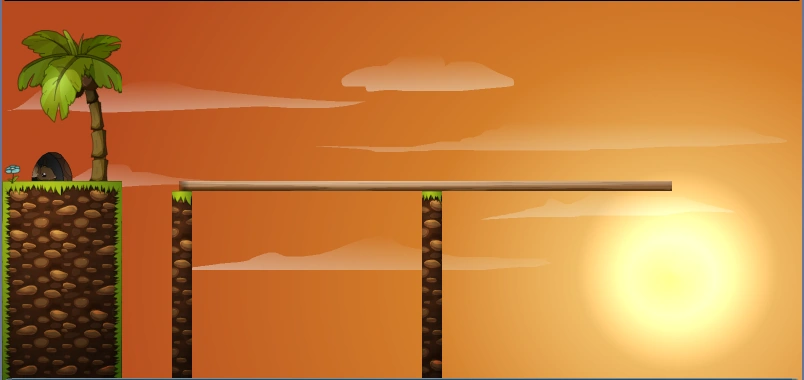  |
The shaman starts off with the cheese. All mice must chase the shaman, and the first ten mice to touch the shaman get the cheese. After all the cheese has been taken from the Shaman, they are killed.
|
| 113 |   |
The shaman starts off with the cheese. All mice must chase the shaman, and the first ten mice to touch the shaman get the cheese. After all the cheese has been taken from the Shaman, they are killed.
|
| 114 |  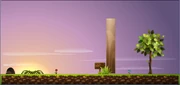 |
The shaman starts off with the cheese. All mice must chase the shaman, and the first ten mice to touch the shaman get the cheese. After all the cheese has been taken from the Shaman, they are killed.
|
| 135 |   |
Map to test scroll |
| 169 | |
This map was introduced on 7 May 2020 as part of the 10th Anniversary enigma. It was removed from the vanilla map rotation when the event ended. The map was a no-shaman version of the old map 62. |
| 801 | 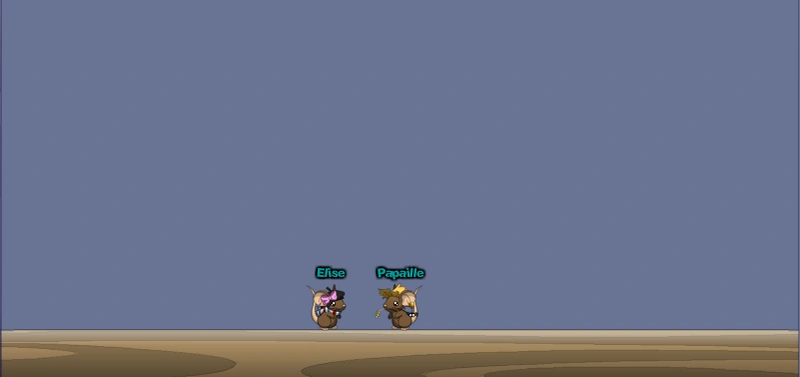  |
A level that tests the NPCs Papaille and Elise.
|
| 801 | 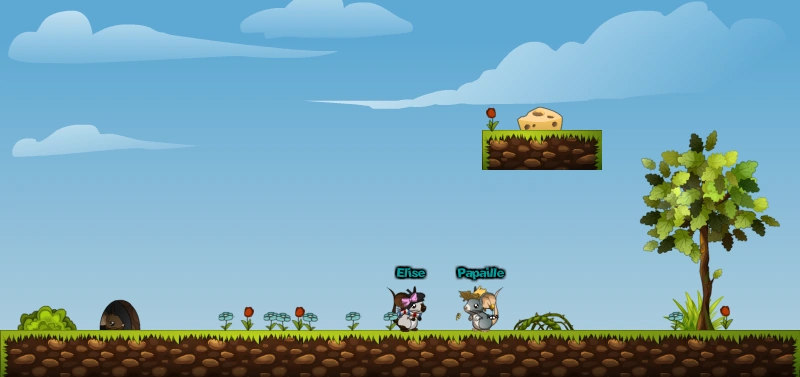  |
.png)
.png)
.png)
.png)
.png)
.png)
.png)
| Vanilla maps | |
|---|---|
| Acid ground | |
| Bomb | |
| Cheese thief | |
| Collision | |
| Conjuration | |
| Dodue | |
| Dual shaman | |
| Gravity | |
| Honey ground | |
| Night mode | |
| Soulmate | |
| Transformation | |
| Water ground | |
| Wind | |
| Other | 0, 1, 2, 3, 4, 5, 6, 10, 11, 12, 13, 15, 16, 17, 18, 19, 20, 21, 22, 24, 25, 26, 27, 30, 31, 32, 34, 35, 36, 37, 40, 41, 42, 54, 55, 57, 58, 59, 60, 61, 62, 64, 66, 67, 69, 70, 71, 72, 73, 74, 75, 76, 77, 78, 79, 80, 85, 86, 89, 90, 91, 92, 93, 94, 95, 96, 98, 99, 100, 114, 115, 116, 119, 121, 122, 123, 124, 125, 126, 127, 145, 146, 147, 148, 149, 150, 151, 152, 153, 154, 155, 156, 157, 158, 159, 160, 161, 162, 163, 164, 165, 166, 167, 168, 172, 173, 174, 175, 190, 191, 192, 217, 218, 219, 220, 221, 224, 225 |
| Removed | |
|
|
|
|
| |
| Map categories | Vanilla maps • 2010 | Event maps | Removed maps | Other maps |
These maps can only be accessed through special means.
| Image | # | Map name | Description |
|---|---|---|---|
  |
@0 | Map @0 | Default tribe house |
  |
444 | Map 444 | This is the totem editor map. It can be accessed by clicking the shaman feather next to the emote buttons.
|
  |
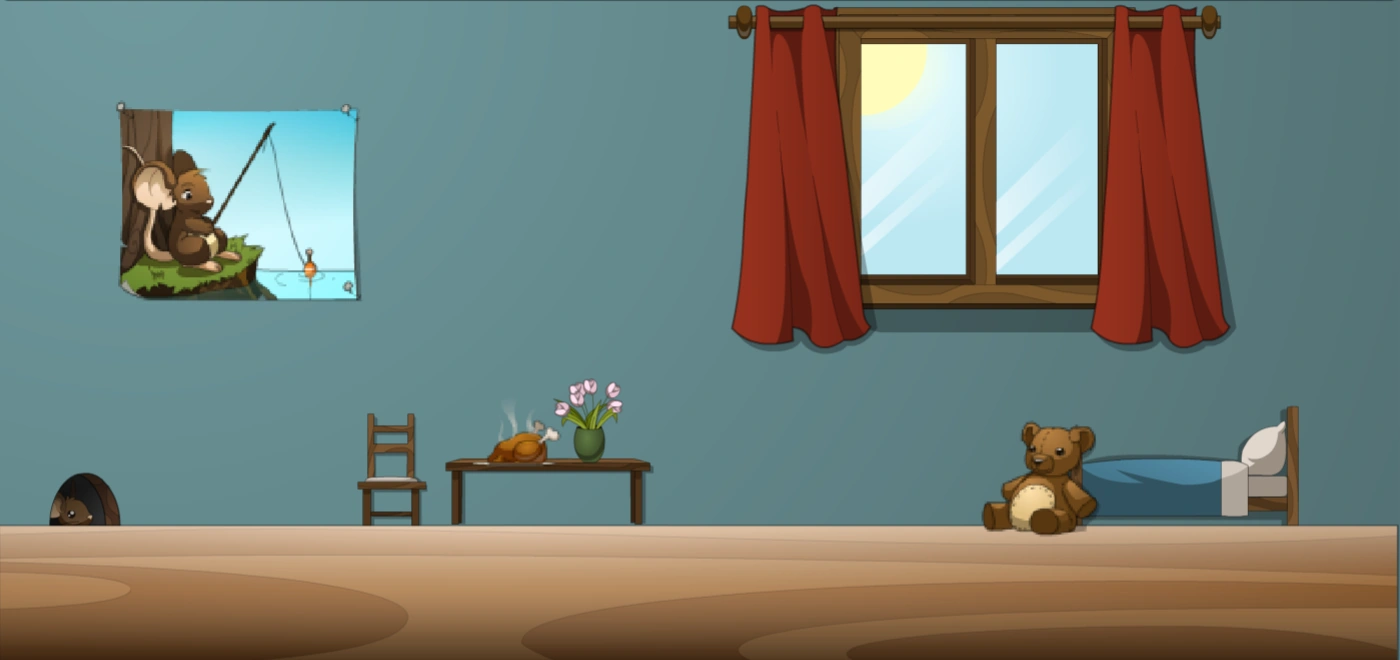
801 | Atelier 801 | A level that tests NPCs Papaille and Elise.
|
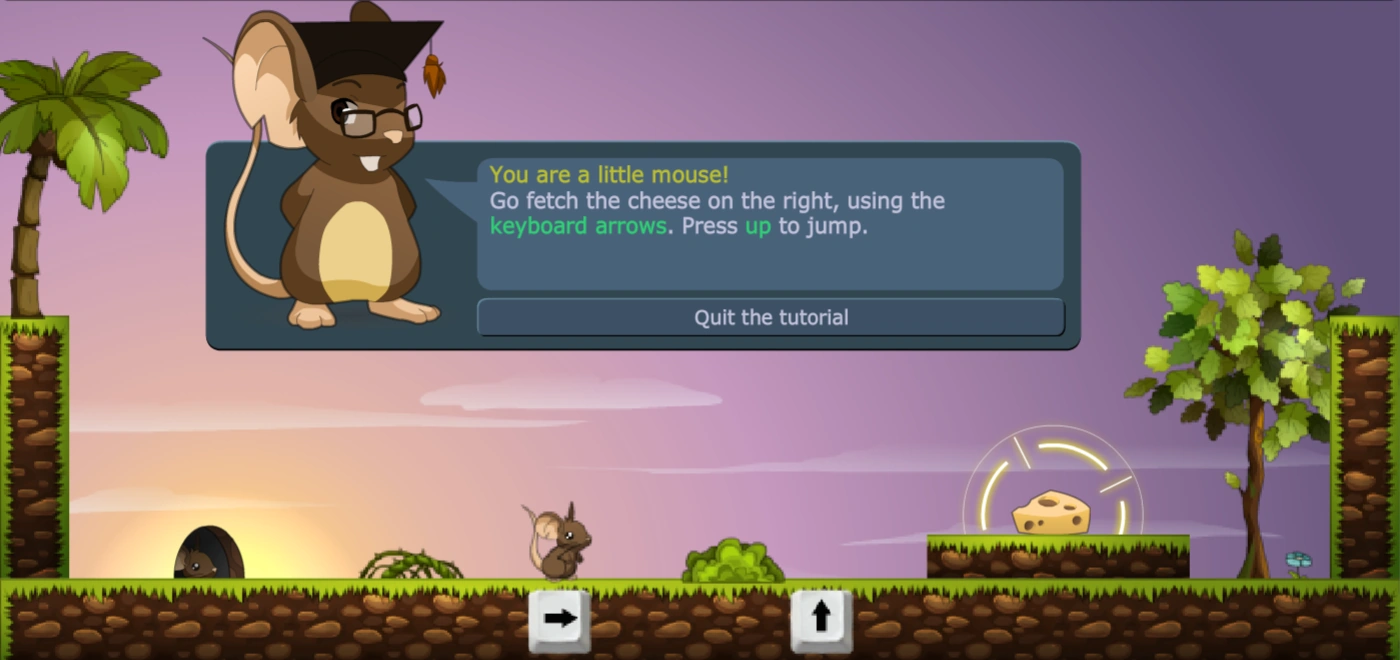  |
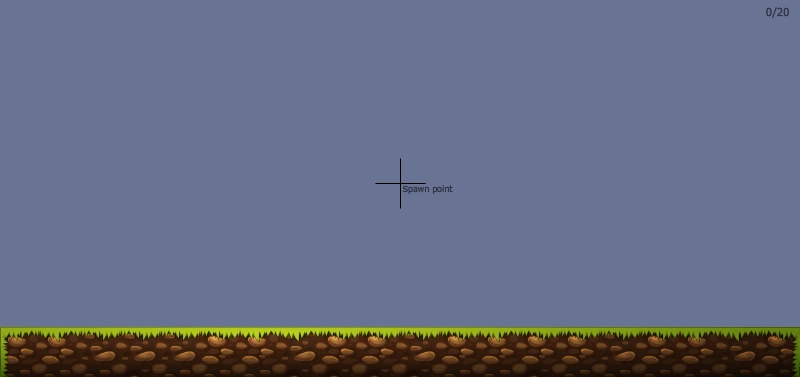
900 | Tutorial | When you first create an account or log in as a guest, you will come across the tutorial.
|